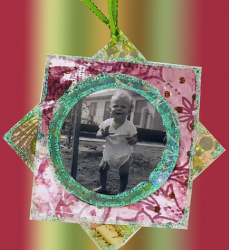
Photo Christmas Ornament
There's nothing more meaningful than a personalized Christmas craft. Find an old photo and use it to create your own Photo Christmas Ornament from Candace Jedrowicz. This is a fantastic gift idea for a friend or family member and will surely lead to smiles and laughter!

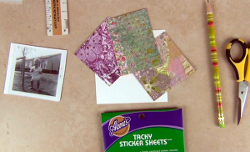
Materials:
- Aleene’s Tacky Double Stick Sheets
- Small photos
- Decorative card stock papers in complementary colors
- White card stock
- Scissors
- Glitter glue – I used clear glitter glue
Instructions:
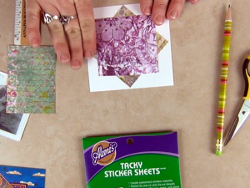
- For this ornament cut two 3″ x 3″ squares of decorative papers, one 4″ x 4″ square of card stock and one 2 1/2″ x 3 1/2″ piece of a third decorative paper. Cut two 3″ x 3″ pieces two 2 1/2″ x 2 1/2″ pieces of Aleene’s Tacky Sticker Sheets.Choose a photo small enough that it can be framed by a 2″ circle.
- Apply one of the 3″ x 3″ Tacky Sticker Sheets to the back of one of the decorative squares. Peel the backing off and stick it to the white card stock with corners touching the sides as shown.
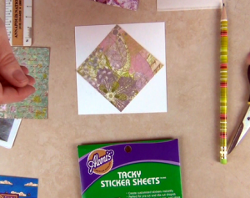
- Repeat with the other square arranging the corners in the opposite direction.
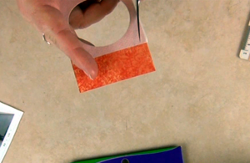
- On the 2 1/2″ x 3 1/2″ decorative paper, measure 1 1/4″ from one end and mark 1/4″ in on both sides.

- On the back of the end you marked, apply one of the 2 1/2″ x 2 1/2″ Tacky Sticker Sheet.
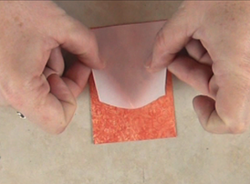
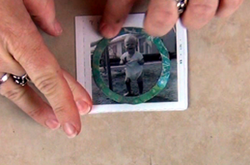
- Turn the paper over and insert the paper in a 2″ hole punch. The end without the Tacky Sticker Sheet is a handle that you’ll need center the paper with the help of your marks. Punch out the center and save it to use on another project.
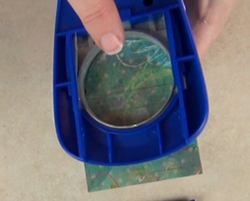
- Cut around the center leaving a 1/4″ ring.
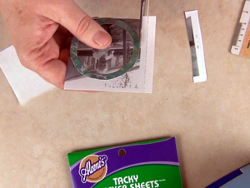
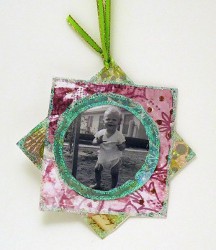
- Remove the backing and stick it to the front of the photo in the best position possible.
- Trim the photo into 2 1/2″ square. Apply the other 2 1/2″ square Tacky Sticker Sheet.Cut the photo around the outside of the frame.
- Stick the photo to the background papers in the center.
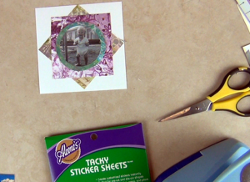
- Decorate the edges with glitter glue, if you like, before cutting the ornament from the white card stock. Once dry, the ornament can be cut out. Punch a small hole for the ribbon to hang the ornament.
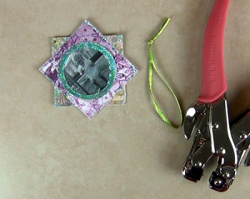
- Here is the finished piece. Don’t forget to include dates and names on the back.Below are several ways ornaments can be shaped and hung.
For comprehensive video tutorial of this project, check out How to Make a Scrapbook Paper Photo Ornament.
Read NextPaper Angel DIY Ornament