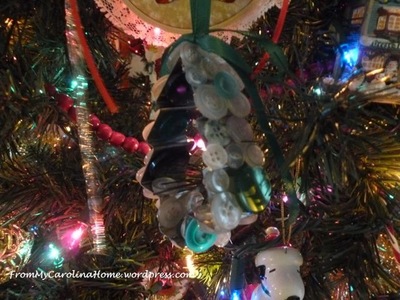
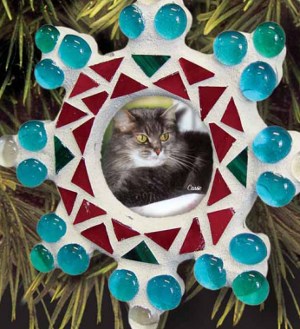
Snowflake Mosaic Picture Frame Ornament
Glass mosaics from Diamond Tech make for creative and interesting holiday ornaments. Mix colors, shapes and textures for unique holiday ornaments for your own tree or presents.
Materials:
- 1 Wooden snowflake picture frame ornament
- 1 Variety package of Jennifer’s Mosaics Stained Glass Chips (red and dark green only)
- 1 Variety package of Jennifer’s Mosaics glass gems (light blue, clear and light green only)
- Jennifer’s Mosaics white grout
- Jennifer’s Wheeled Glass Nippers
- Silicone glue (such as “Liquid Nails”)
- Sponge, bowl, mixing spoon, soft cloth
Instructions:
- Place snowflake ornament on newspaper.
- Turn frame over so that it is facing upward. Nip mirror chips into desired shapes. Arrange so that they form a border around the frame opening. Nip red and green glass chips into small triangles. Arrange the chips so that they form a border around the frame opening, as shown in the photo.
- Working a small sections at a time, apply a thin layer of adhesive to your chips with the craft stick and place and press into place on the frame.
- Next, apply a small amount of glue to the back of each gem and press onto the spokes of the snowflake frame.
- Allow to dry following the directions on the glue packaging.
- Pour 4 oz. of white grout into a mixing bowl. Adding 1 tablespoon of water at a time, mix with a craft stick until the grout reaches “fudge” consistency. It is best to add a little water at a time as you can always add more water, but you can’t take it out! If grout becomes too watery, add drier grout, a small amount until the consistency is correct.
- Wearing your disposable glove, spread the grout into all of the nook and crannies, making certain that all the inner and outer edges are smooth. Wait about 15 minutes for grout to set.
- Begin to brush away the excess grout using the scrubby or a toothbrush. It is very important to remove any grout on the glass before grout is completely dry.
- Using the soft side of the dry scrubby, buff the tiles to a clean shine. Allow 24 hours for the ornament to dry thoroughly.
- Using white acrylic paint, approved for wooden surfaces paint the edge and back of the ornament.
You have now created your mosaic holiday masterpiece! Add a picture or mirror and display it proudly or attach it to a special gift.
Read NextChristmas Carol Ornament