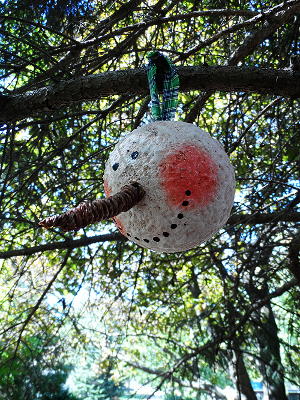
Forged Foil Bird Ornament
Homemade Christmas ornaments can make your tree sparkle and shine! For the Forged Foil Bird Ornament from Heidi Borchers, you can upcycle an old glass ornament into something amazing. Use aluminum folder and vintage techniques for this project.

Materials:
- Aleene’s Original Tacky Glue (in the Gold bottle)
- Glass ornament (or mache ball) – for bird body
- Wooden bead (flat on one end) – for bird head
- Aluminum foil
- Alcohol inks – colors of your choice
- Rolling pin (or other object to roll foil flat)
- Black acrylic paint
- Cosmetic sponge
- Scrapbook paper – for decoration on bird and for nest
- Craft wire
- Beads
- Clothespin
Instructions:
- Tear piece of foil from box into approximate square. (This size worked for the bird size I am creating so you may need to adjust to larger or smaller for your own ornament.) Crumple foil to create texture. NOTE: do not roll foil into a ball! You will not be able to get it back open!
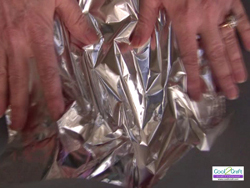
- Gently open and press with hands to flatten.

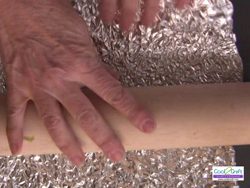
- Use rolling pin to press more texture into foil.
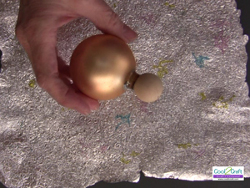
- Glue glass ornament and wood bead together and set aside to dry.
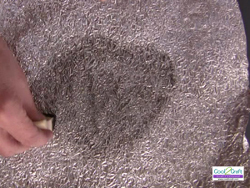
- Apply a coat of acrylic paint to surface of foil with cosmetic sponge. Let dry. This will give the foil a nice antiqued effect.
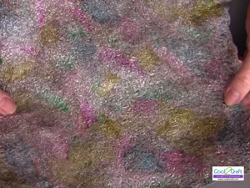
- Drop alcohol inks over the antiqued foil in random pattern. Use cosmetic sponge to blend colors. Let dry.
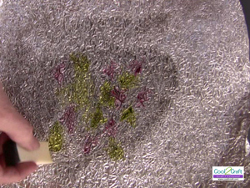
- Lots of alcohol inks make a pretty colored effect on the antiqued foil!
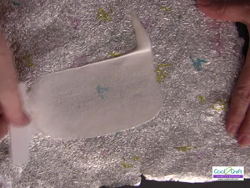
- Use squeegee to apply a smooth coat of Aleene’s Original Tacky Glue to back of foil. Be sure to apply the glue all the way to the edges of the foil.
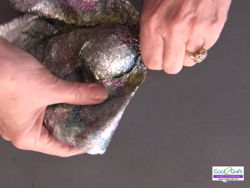
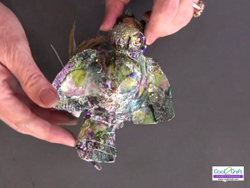
- Place wooden bead section of ornament at approximately the center of the foil. Fold foil up around bead (you are folding the foil in half on the diagonal).
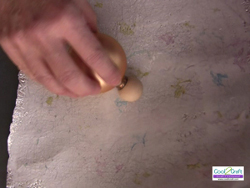
- Begin wrapping the foil around the wood bead (bird’s head) gently pressing in place so that the foil takes on the shape of the head.
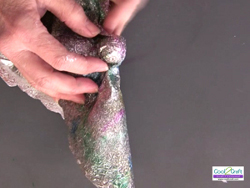
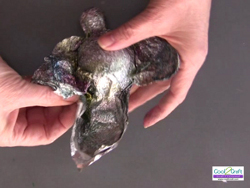
- Press the foil onto the body (ornament) and begin pressing the wings in place by folding the foil over on the sides.
- Continue folding the foil over to create the shape of wings.
- Press and fold foil to create tail.
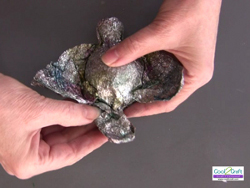
- Apply more Aleene’s Original Tacky glue anywhere you have folded over the foil.
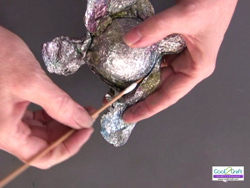
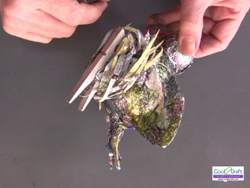
- For additional strength, I tore pieces of scrapbook paper and glued them in place over the seams of the wings and tail. I also added the design element of wire wrapping with beads.
- To finish your ornament, glue clothespin to bottom. Shred scrapbook paper and glue in circle around clothespin to create the look of a nest. Let dry.
For a comprehensive video tutorial of this project, check out How to Make a Look of Forged Metal Bird Ornament.
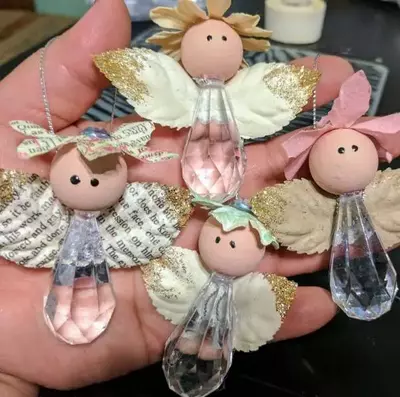
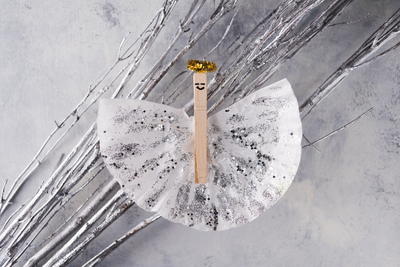
Read NextPaper Angel DIY Ornament
Your Recently Viewed Projects

Thanks for your comment. Don't forget to share!
Craftroom
Aug 27, 2012
link to video doesn't work, it sends you to the home page. can you fix please?
rmckee0917 8927251
Aug 27, 2012
Link to video does not take me there. How can I view this tutorial video?
AnnieApple
Aug 26, 2012
I love this idea and can't wait to try it! But I never heard of the inks listed on this project, where would I find them?
Report Inappropriate Comment
Are you sure you would like to report this comment? It will be flagged for our moderators to take action.
Thank you for taking the time to improve the content on our site.