Winter Stars Part 1 of 3
Winter Stars Part 1 of 3 from Nuts About Needlepoint will give you an overview of this wonderful project. Once finished, you'll end up with a beautiful needlepoint quilt design.

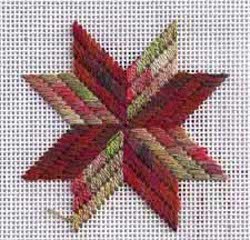
A sparkly sky in icy blues. white, and pale grays is the inspiration for this Scrap Bag Needlepoint piece based on a quilt design.
You can make the quilt in any monochromatic color you like. To do so, first pick out your background color. In my case this was white, pale gray, and pale blue. Pull out all your threads in this color. Then pull out all your threads in the main color of the quilt. In my case this was blue to blue-violet. There will be a few blue-green patches, but not many.
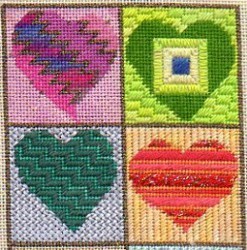
For each block of the quilt you will use two shades of blue and one accent color. As you can see by the sample, you can have the darker shade either as the center or as the points. The only trick is to keep the look varied by not having the same thread in two blocks next to each other.
I try to keep the same thread from appearing in the same row, horizontally, vertically, or diagonally, but then I have lots of thread for these.
The layout will have 5 rows of five blocks. It is stitched on a 14″ square piece of 18 mesh mono canvas. I chose a dark blue for the canvas, as I wanted to have an underlying blue theme. You can pick any color.

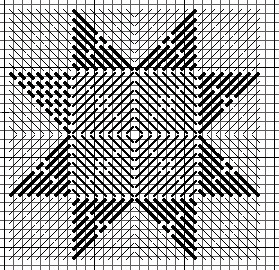
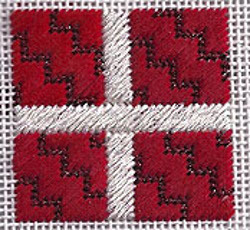
The block is made up of a Scotch variation called Islay. Some are a single color, while some are split between two colors.
Scotch Stitches over more than five threads have a tendency to catch and snag. One way to fix this is to split up the stitches. You lose the smooth box look, but for something which is based on a quilt, you get little divisions, which look like the ties in an old-fashioned quilt.
As the design builds, this creates a nice rhythm.

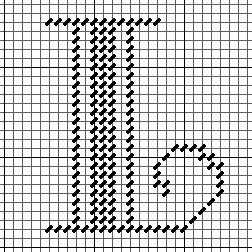
The block has nine Islay and Reverse Islay Stitches in it. The corner blocks can be either of the two stitches. The diagram shows one possibility, the picture at the top of the post shows another.
Begin by finding the center of the canvas. This should be the center of one block.
Always complete a block before moving onto the next block.
As I add blocks I find them easiest to stitch by making a corner block which is next to an already stitched block. Then I stitch the triangle points, then the center blocks, then I finish up the background.
When you are fitting in triangles or making the second triangle on a side, begin with the outside stitches and work towards the corner, this makes the triangles easier to stitch.
Come back next month for the first borders and to see the center section completed.
Read NextLetter "L" Needlepoint Stitch