Joyful Jump Ring Choker
This colorful jump ring necklace project is a great way to show off your crafting skills and the final product makes a great gift.
Materials:
- 20 Gauge Pink Colourcraft Wire
- 20 Gauge Mint Colourcraft Wire
- 20 Gauge Orange Colourcraft Wire
- Jump Ring Maker Tool
- 2 Pairs Chain Nose Pliers
- Beadstorm™ Round Nose Pliers
- Desginer Flush Cutters
Instructions:
- Create jump ring coils using Jump Ring Maker Tool. Follow directions on back of package. You will need the following total jump rings in the following sizes: 28 8mm pink, 14 4mm mint and 32 7mm orange. (The largest dowel is 8mm, the next size down is 7mm and the smallest is 4mm.)
- Create clasp by looping end of orange wire with the tip of a pair round nose pliers while still on the spool, this should be a small decorative loop. Round the wire over your index finger and back around, the wire should be approximately 1”. Clip off excess wire and make a larger loop at the end with your fingers. Bend this so that it is at a 90 degree angle from the first loop and push the loop up on an angle with your fingers to create a hook style clasp. You can also opt to use a pre-made clasp!
- Start from the center of the design and work out in both directions alternating from side to side. This helps maintain the pattern.
- Thread two pink jump rings through two orange jump rings. Secure them closed with your chain nose pliers. Thread two more pink jump rings on both orange rings and secure closed. Thread two mint rings on each pair of pink jump rings and secure closed with your pliers. Attach two pink jump rings through each pair of mint jump rings. See photo for reference.
- The pattern of double ring chain continues as follows: orange, pink, green, pink and orange. Continue attaching rings alternating side to side until you reach the final pair of orange rings on each side (there will be two extra orange rings.)
- Thread one orange jump ring on the final pair of orange links on each side of design. Attach the clasp you made to one of the rings. Secure rings closed with your pliers.
- Check back through the design to secure all rings.
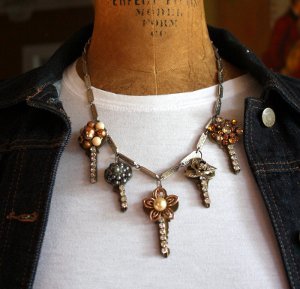
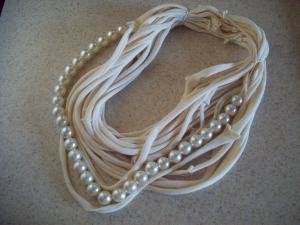
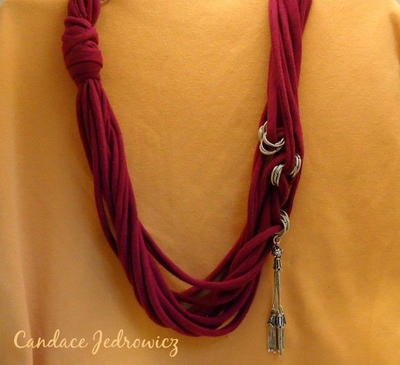
Read NextTee Shirt Beaded Necklace
Thanks for your comment. Don't forget to share!
Weberme
Oct 25, 2016
This is a great way to learn how to make jump rings and make a cute choker at the same time or add more jump rings to make a necklace instead or even add less and make a bracelet instead and make a pair of earrings too. The color possibilities are limitless. I am loving this tutorial already. Great for any level and sounds like so much fun.
jomomma1955
Jan 05, 2010
What a great idea for a first practice piece! Good way to teach a steady hand, making jump rings. My grandson says this looks cool, he'd like one. It's harder to find things to make for boys.
Report Inappropriate Comment
Are you sure you would like to report this comment? It will be flagged for our moderators to take action.
Thank you for taking the time to improve the content on our site.