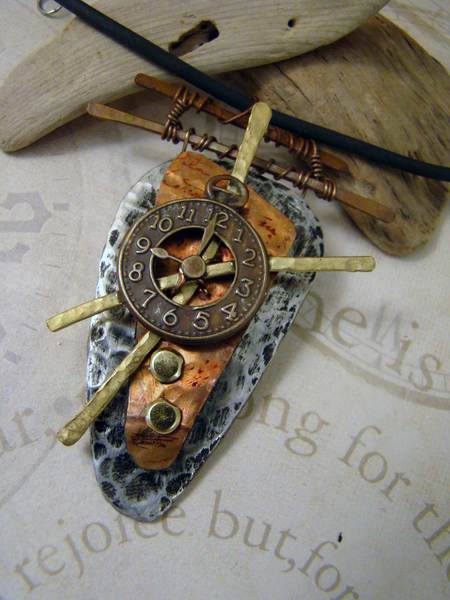
Punk Rock Metal
If you're a punk rocker and want to show it this is a perfect craft for you. Linda Peterson and AMACO shows us how to create metal punk jewelry. You and all your friends can wear the same one to show you're in a band.

Materials:
- ArtEmboss® Metal: Copper Light and Aluminum Medium
- Wire Form Craft wire – copper
- WireForm(R)- One Thin Brass Rod and One Thin Copper Rod
- Rub-N-Buff® - Ebony
- 2 brass brads
- 1 brass clock charm
- Leather cording or cording of choice
- Toggle Clasp
- Pop Dot
- Ball Ping Hammer
- Anvil
- Metal file
- Cardstock
- 1/16” round hand punch
- Scissors
- Double Stick Tape
- E-6000 glue
Instructions:
- Cut large shape from cardstock. Apply tape to one side of cardstock. Apply to aluminum metal and cut out flush. Apply double stick tape to back side however, do not cover back with metal yet. Leave red liner backing on tape.
- Hammer marks into metal with ball ping side of hammer.
- Apply Rub-N-Buff, allow to dry slightly and remove excess with a soft paper towel.
- Cut out shape from copper and repeat.
- Punch out two holes where desired and apply brads.
- Cut two pieces of copper rod approximately 1 3/4” and 2” long. Hammer flat against anvil. Hammer ends more to flatten. File ends smooth to remove any rough edges.
- Cut copper rod to 1 1/2” long and 1” long. Hammer and file ends.
- Add pop dot to back of copper piece and collage copper, charm and brass rods on top of aluminum. Glue elements into place.
- To finish the piece, wrap longest copper rod with copper wire. Begin wrapping smaller rod with copper wire leaving a 2” length of wire. Continue wrapping until center. Create a loop and continue wrapping to end. Leave a 2” wire extending.
- Wrap the ends around the longer rod to secure and leave an extention of at least 1/2”. Create a coil.
- Apply coils to back side of pendant. Apply metal over top and cut flush. Smooth edges with wooden stylus to soften.
www.AMACO.com
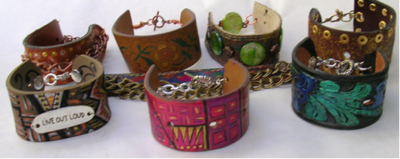
Read NextRecycled Belt Leather Bracelets
Your Recently Viewed Projects
Thanks for your comment. Don't forget to share!
Report Inappropriate Comment
Are you sure you would like to report this comment? It will be flagged for our moderators to take action.
Thank you for taking the time to improve the content on our site.