Leaf Mask

In this project we are going to create a fairy mask with the shape of a realistic leaf, perfect to hide your identity when attending a magical ball or to complement your outdoor outfit to allow you to be one with the forest. We chose for our fairy character a shade of brown that goes with the tones of autumn and tree logs and matches the other items of our fairy’s outfit. Although our fairy belongs to the autumn court, you can use leather of other colors or undyed leather to create the tones you want.
Materials List
- 1 (8" [20-cm]) sheet of brown leather,1/8"(3 mm) thick
- Leather dye (we used Pro Dye in dark brown and black)
- 2 (12" [30-cm]) ribbons, 1/2" (1.3 cm) wide
- Contact glue
- 2 (3/8 - 3/4" [1–2 cm]) metal rings
- Marker, pen or pencil
- Leather cutter or scalpel
- Awl or beveler leather tool for texturing
- Brush to apply the dye and glue
- Sponge or a piece of cotton or wool fabric to blend the dye
- Foam mannequin head
Instructions:
-
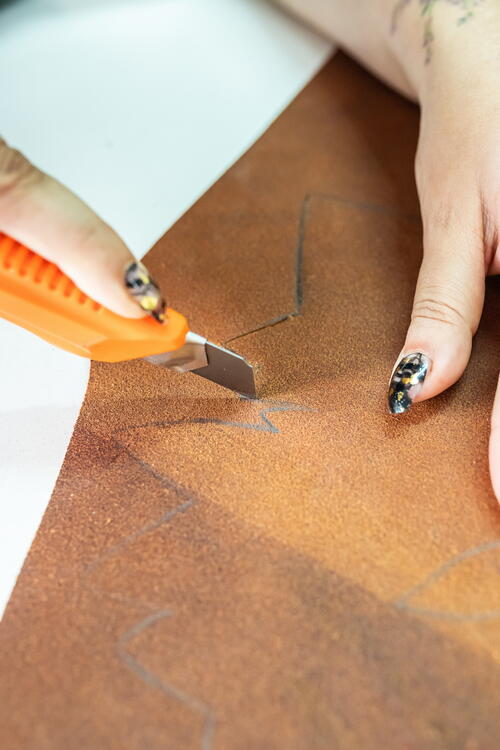
Turn to the project pattern for this piece. Trace it onto paper and cut it out. Trace the pattern on the leather using a marker, pen or pencil.
-
Using a leather cutter or scalpel, cut around the outer margin of the piece and cut out the holes for the eyes.
-
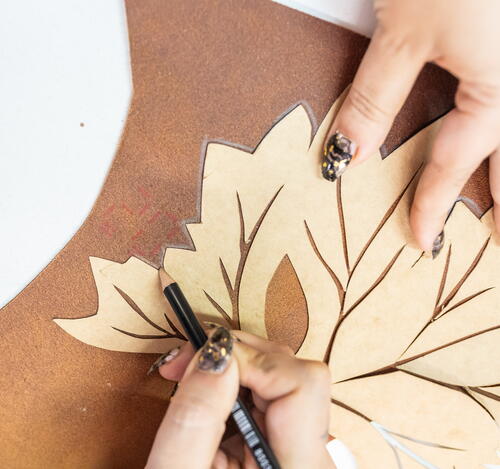
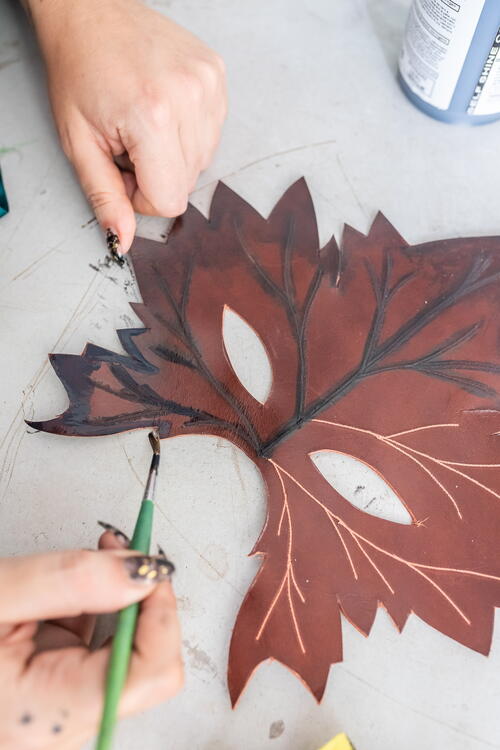
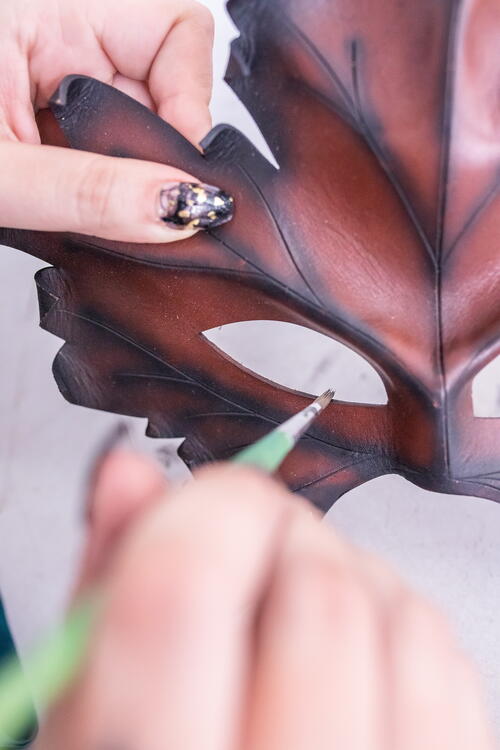
Make very superficial cuts, without going through the thickness of the leather, to depict the veins of the leaf.
-
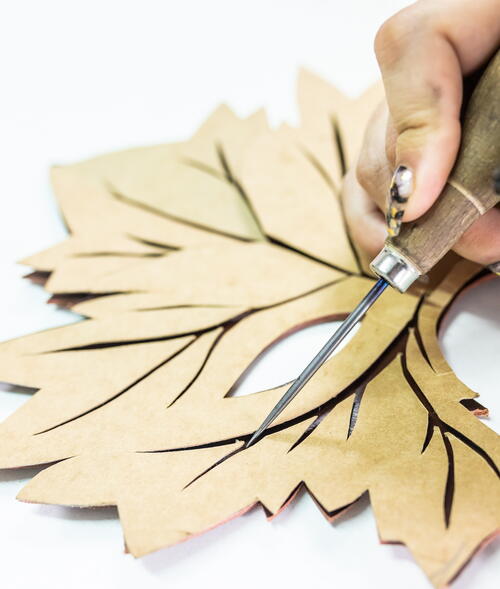
Deepen the surface cuts in the veins by exerting pressure with an awl to open them and give depth to the markings.
-
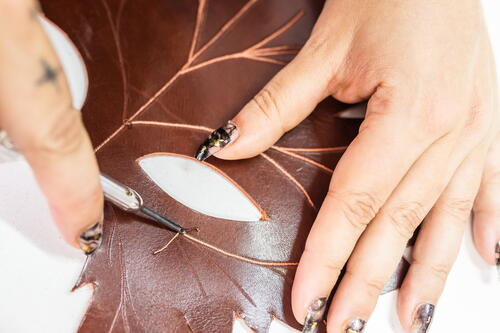
Paint the vein lines with the dark brown leather dye using a brush. Work as quickly as possible to avoid leaving brushstrokes visible. You can also tint more easily with a larger sponge to cover more surface area without leaving brush lines, but you will waste more dye this way.
-
Paint the outer edges of the mask with a brush and the black dye.
-
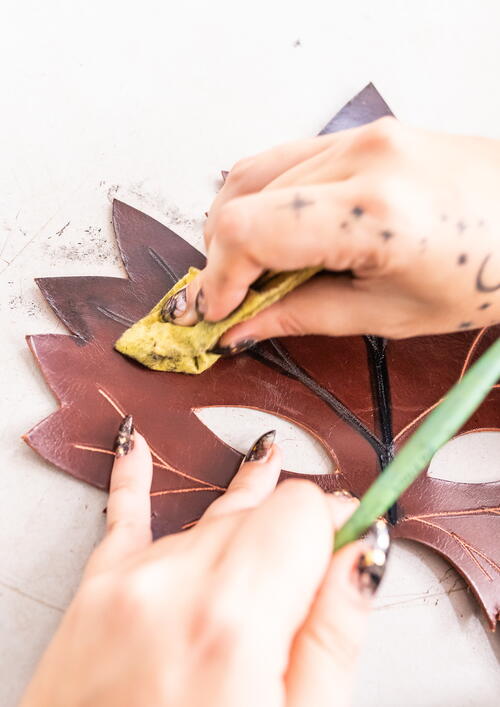
With a sponge or piece of cotton or wool fabric, blend the dye strokes.
-
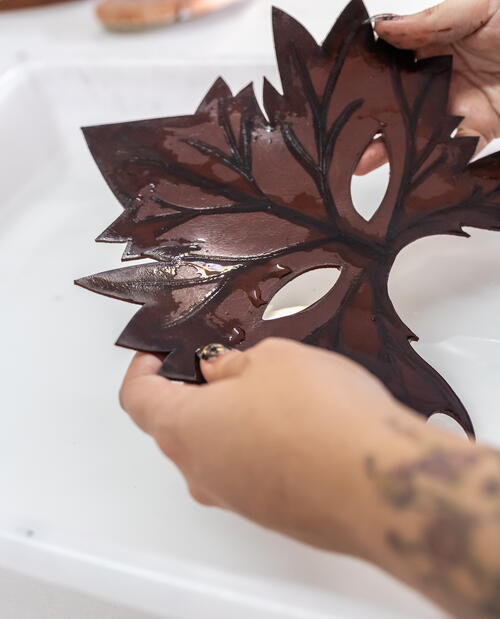
Allow the dye to air-dry and then briefly soak the entire mask in water until it is moistened.
-
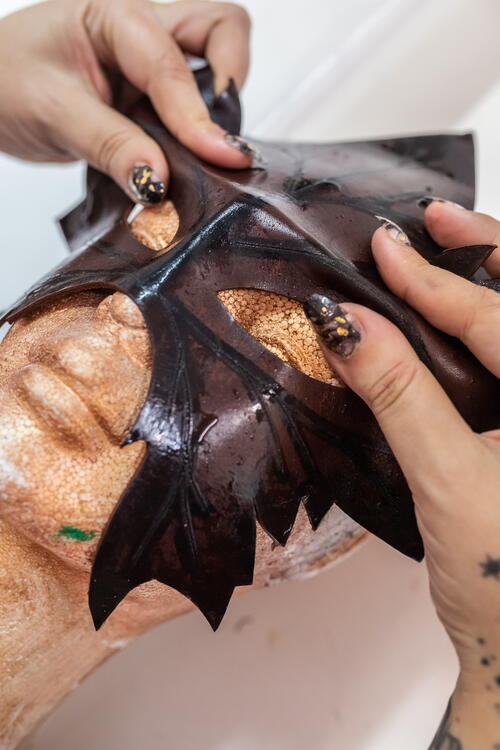
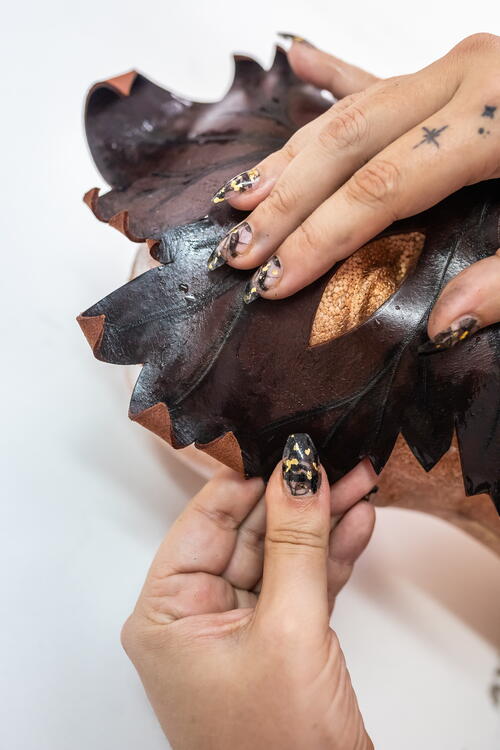
Using a foam mannequin head, apply pressure with your fingers to mold the moistened mask to the shape of the face so that it acquires three-dimensionality and conforms to the face.
-
Twist the tips of the leaves by turning or pinching them to make them look more realistic.
-
Let the mask dry on the mannequin.
-
When the mask is completely dry, paint the outer margins and the edge of the opening for the eyes with black leather dye.
-
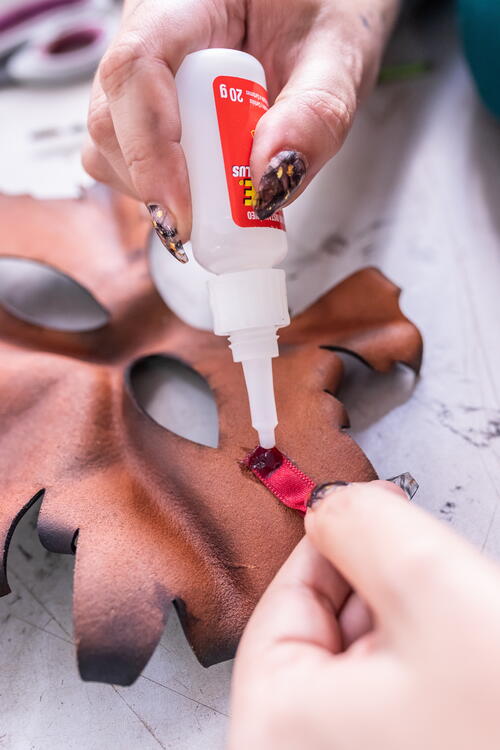
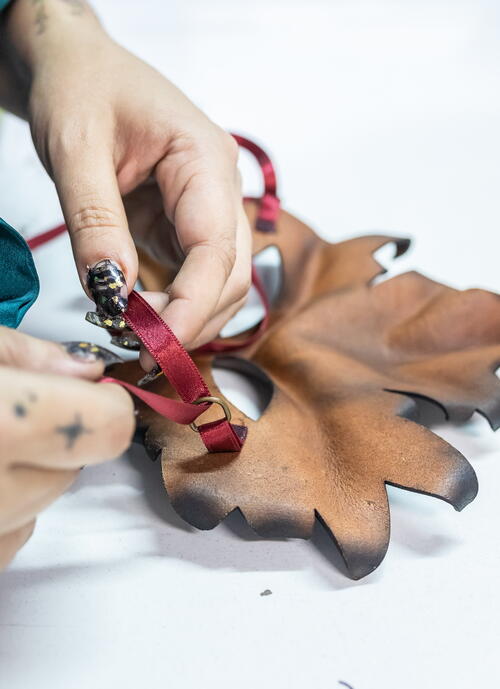
Finally, cut two pieces off one of the ribbons, each piece about 3 inches (8 cm) long. Glue the end of one ribbon to the inside of the mask, between the outside of the eyes and the edge of the mask. Thread one of the metal rings onto the ribbon. Then fold the ribbon over the ring and glue it down, to trap the ring. Repeat this on the opposite eye with the other 3-inch (8-cm) ribbon. Thread the 12-inch (30-cm) ribbon through the rings and use it to tie the mask to your head.


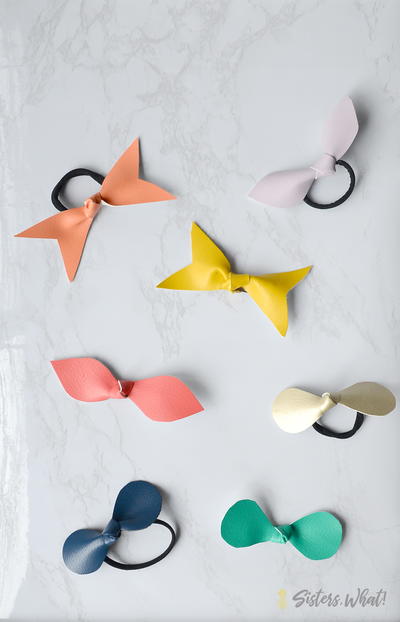
Read NextNo Sew Leather Hair Ties