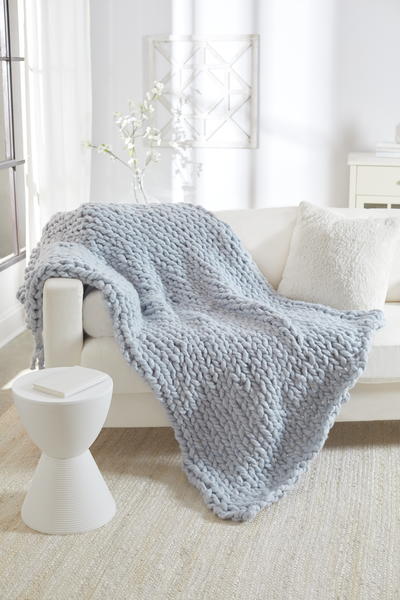
No Needles Knit Blanket
Learn how to knit a blanket without needles by following this step-by-step tutorial!

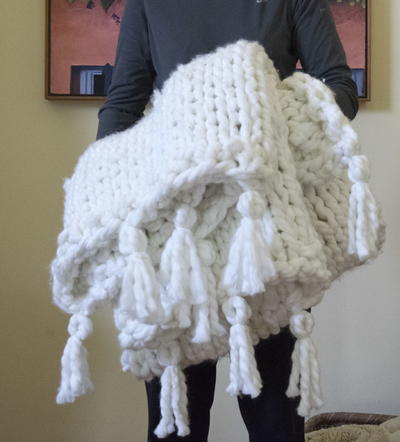
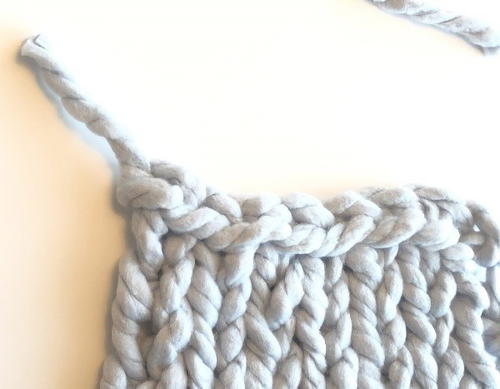
Want to knit a blanket without learning how to knit? This fantastic no needles knit blanket is created using your fingers and a jumbo weight yarn! In fact, you'll be mesmerized by how easy this beautiful blanket is to create. Follow the step-by-step photos and instructions to learn how to knit a blanket without needles. You'll knit an afghan in no time at all that is deliciously cozy! Just because you use your fingers doesn't mean you won't achieve the same effect as an ordinary knit pattern. Don't bother with needles: knit with your fingers and you'll love the results.
From the Designer: This cozy blanket is perfect for beginners, because no needles are used! You can see how the loops are formed in knitted fabric without having to learn to use any awkward needles. You’ll love how comfy-cozy your blanket is! Visual learners can refer to our HOW TO FINGER KNIT information at the end of the pattern.
Notes:
- This throw is made without knitting needles. The stitches are formed with your fingers.
- Try to keep the size of your loops consistent throughout.
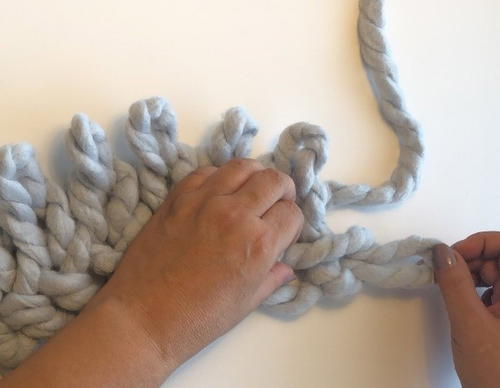
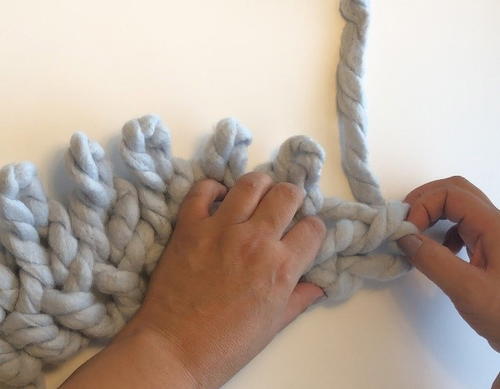
- For ease of handling, work with the blanket laid out on a table. As the piece grows, roll or fold it to keep it out of the way of the row being worked.
- To join a new ball of yarn, tie a tight knot, leaving an approximately 3" tail to be woven in when the knitting is done.

Yarn Weight(7) Jumbo
Gauge2 sts = 4” (10 cm); 3 rows = 4” (10 cm). CHECK YOUR GAUGE.
Finished SizeThrow measures 47” x 62” (119 x 158 cm)
Materials List
- RED HEART® Irresistible: 8 balls 7641 Silver
Instructions
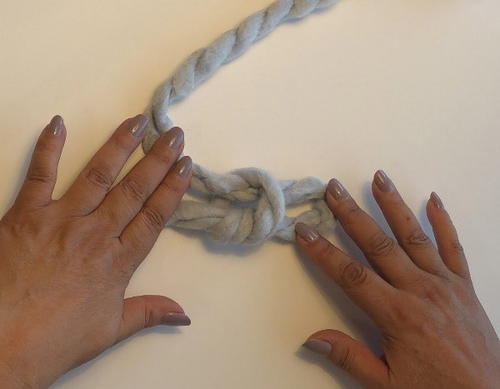
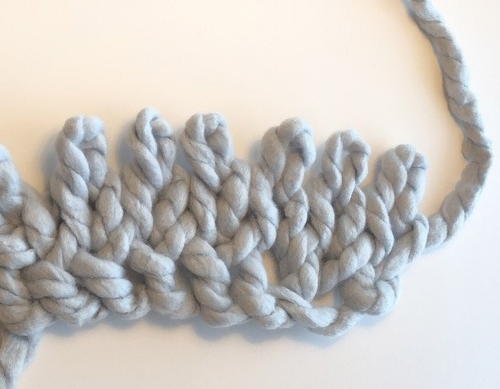
Using your fingers, chain 24.
-
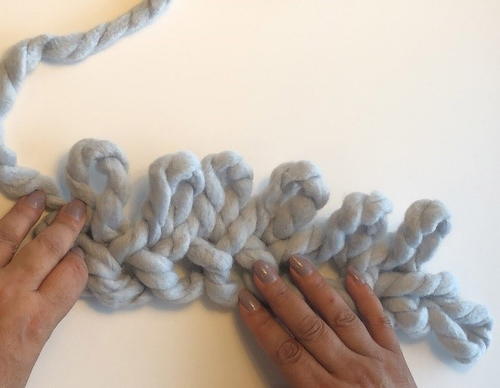
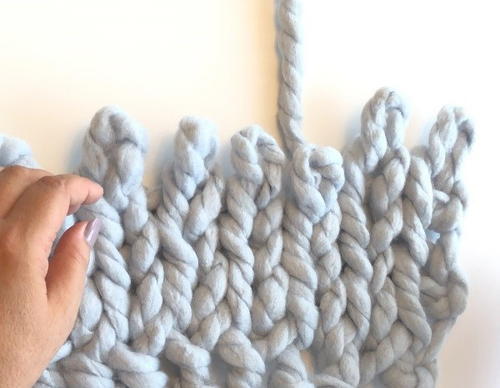
Row 1: Starting with the next to last chain, pull a loop through the side of each chain.
-
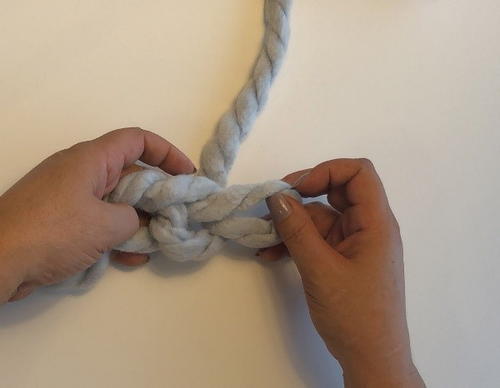
Row 2: Work back in the other direction, pulling a loop through each of the loops made in Row 1, with the final loop in the last chain. 23 sts.
-
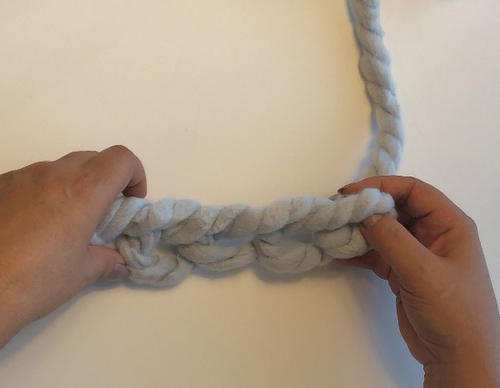
Continue working back and forth in rows until piece measures approximately 60".
-
Bind off (see how-to information below).
Finishing
Use your fingers to weave in ends on the wrong side.
How to Finger Knit
-
Begin your chain by making a slip knot.
-
Pull the yarn through the loop of the slip knot to make your first chain stitch.
-
Keep pulling the yarn through the new loop until you have the desired number of chains. For this pattern, make 24 chain stitches.
-
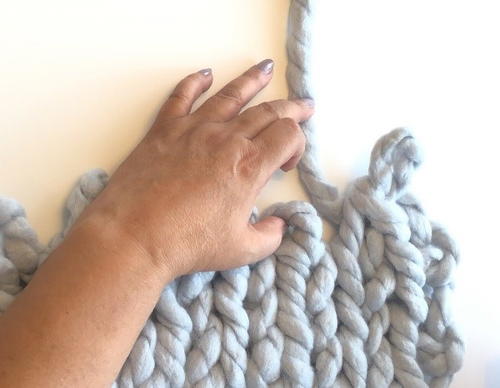
To begin the first row, create a new loop by pulling the yarn through the side of the second to last chain.
-
Continue creating new loops in the side of each chain until you reach the end.
-
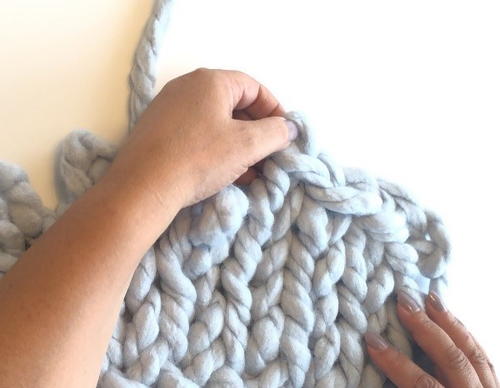
Begin your second row by pulling a new loop through the loop just made.
-
Continue pulling a new loop through each loop of the previous row, working from left to right, until you reach the last loop, which is actually the last stitch of your beginning chain.
-
Finish the row by pulling a new loop through that chain.
-
Continue working back and forth in rows until piece is the desired length.
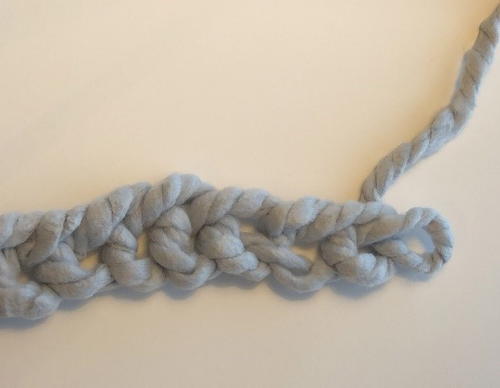


Binding Off
-
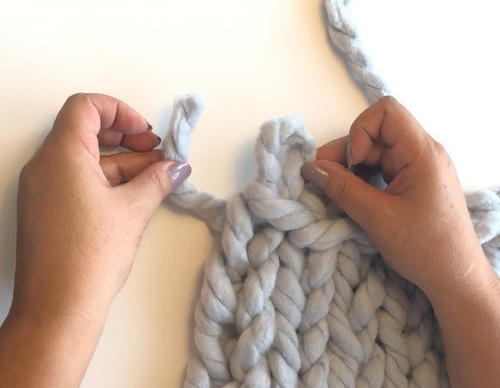
To bind off, begin by knitting the first two stitches.
-
Pull the second stitch through the first stitch.
-
The first stitch has been bound off.
-
Knit the next stitch and pull it through the loop to the right, binding off another stitch.
-
Continue to end of row. One loop remains.
-
Cut yarn and pull the cut end through the remaining loop to fasten off.


Abbreviations
- st(s)
- stitch(es)
Have you ever tried finger knitting? What did you make?
Read NextDiagonal Basket Weave Knit Blanket