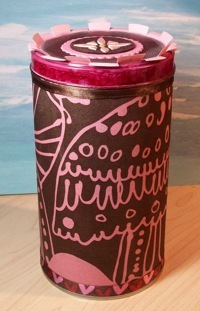
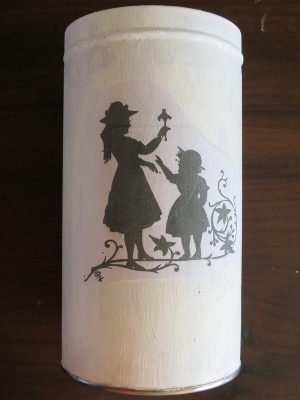
Vintage Decoupage Tin
Take an old tin and turn it into something new! This Vintage Decoupage Tin is a great way to repurpose an old cookie tin and turn it into a kitchen decor item, a gift, or a cute way to store utensils or craft supplies. This project uses a cool "burning" technique to give the illusion of vintage ware. The smoke accent is then sealed in with layers of Mod Podge so it won't smear or smudge over time.
Materials:
- An old chocolate tin with a loose-fitting lid
- Wwo copies of a suitable black and white silhouette image
- 10/32” paint brush
- Water-based primer
- Deco Art Glue
- Mod Podge
- Water-based varnish
- Acrylic paint in the following three colors: black, white and antique bronze
- Sponge ~ use one that was inside a medicine bottle
- Candle and box of matches
- Hairdryer
- Pair of standard scissors
- Few sheets of old newspapers to protect the working area
- An old cloth
Instructions:
-
With a slightly wet 10/32” brush, paint a thin layer of the water-based primer over the tin and dry the tin thoroughly with the hairdryer.
-
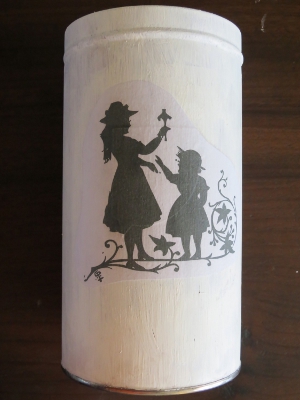
Next, using the same paint brush, add a layer of white acrylic paint to the tin and dry thoroughly with the hairdryer.
-
Cut out the two copies of the silhouette image and decide how they will be placed on the tin.
-
With the 10/32” brush, paint a substantial amount of Deco Art Glue to the back of the first picture. Turn the picture around and put it in position on the tin, but do not press it down.
-
With the brush, spread glue to the front of the picture, lightly applying pressure so that it will stick to the tin.
-
Working from the middle of the picture, and from inside towards the outside, rub out all the air bubbles and excess glue from the back of the picture. Use an old cloth to clear any excess glue from the tin.
-
Use the hairdryer to dry the picture thoroughly.
-
Repeat steps 4-7 with the other picture.
-
With the 10/32” brush, paint a thin layer of Mod Podge over the tin. The Mod Podge will protect the pictures and give the product a smoother finish.
-
Again, dry the tin thoroughly with the hairdryer.
-
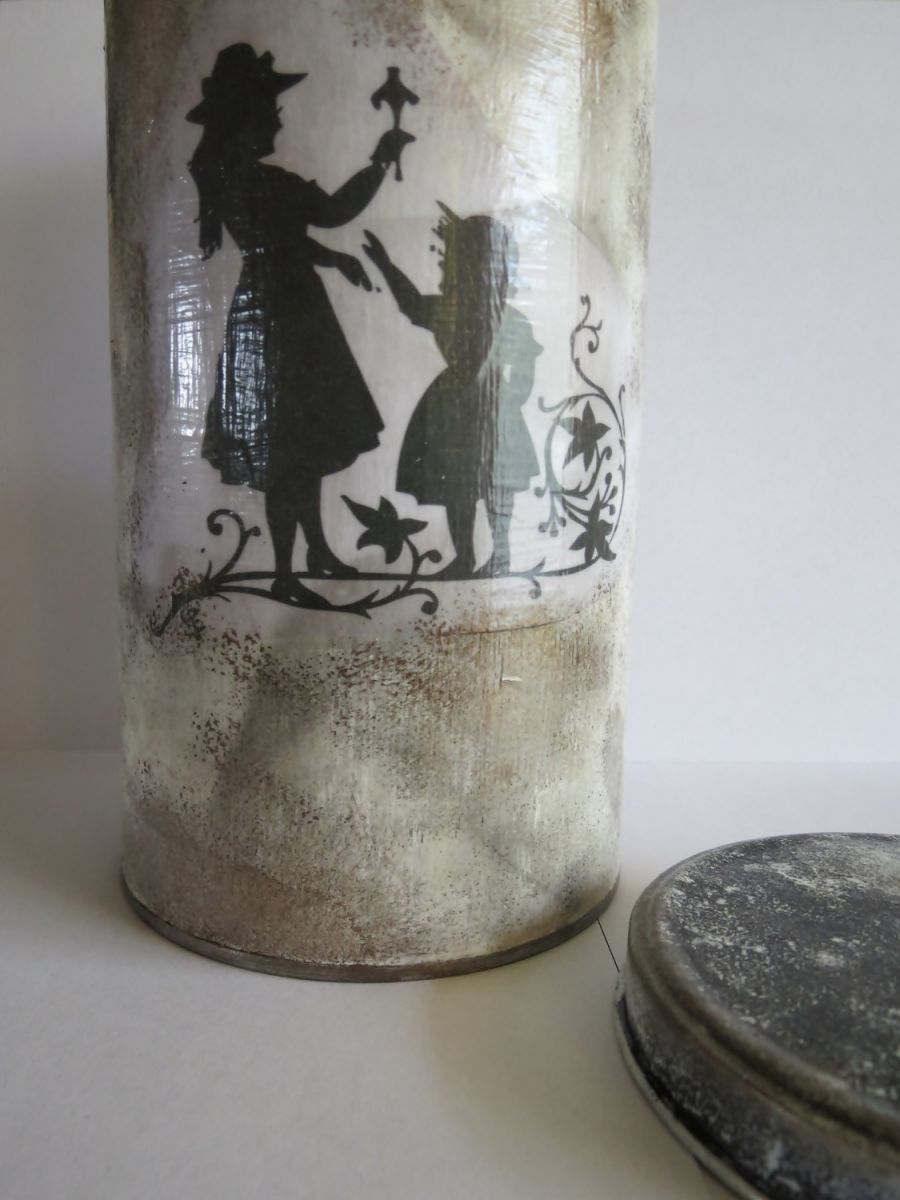
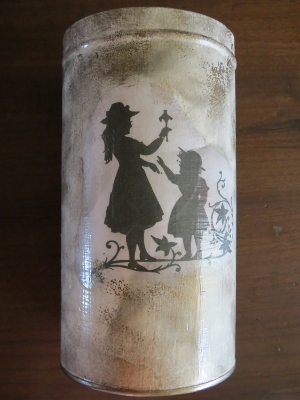
It is now time to add some detail with the candle’s smoke. Light the candle and bring the candle closer to the tin. Drag the candle all along the tin in a circular motion. You will see darker shapes forming on the surface of the tin. Do not hold the candle too close and be careful, the tin will become hot from the heat of the candle.
-
Using the sponge, give the tin a wash with the antique bronze acrylic paint. Remember not to use too much paint when using a sponge, as this will cause the paint to smudge. Remove excess paint by dabbing it onto a sheet of newspaper before applying the sponge.
-
Dry the tin thoroughly with the hairdryer.
-
Repeat steps 9-10 ~ you need to apply at least 6 coats of Mod Podge, but remember that with every layer, the direction in which the Mod Podge is applied, must be changed from horizontal to vertical to horizontal, etc. Also, remember that after every layer of Mod Podge, the tin must first be dried thoroughly with the hairdryer. Please note: Do not add more than one layer of Mod Podge on the area that will be under the lid once closed, as this will cause the lid to eventually get stuck to the tin.
- With the 10/32” brush, add a layer of water-based varnish to the tin, again using the hairdryer to dry the tin thoroughly.
Instructions for making the lid:
-
With a slightly wet 10/32” brush, paint a thin layer of the water-based primer over the lid and dry the lid thoroughly with the hairdryer.
-
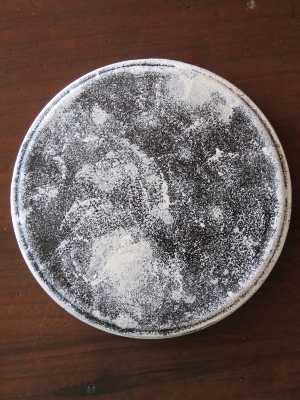
Next, using the same paint brush, add a layer of black acrylic paint to the lid and dry thoroughly with the hairdryer.
-
Using the sponge, give the lid a wash with the white acrylic paint. Remember not to use too much paint when using a sponge, as this will cause the paint to smudge. Remove excess paint by dabbing it onto a sheet of newspaper before applying the sponge.
-
Dry the lid thoroughly with the hairdryer.
-
Repeat step 3, now using the antique bronze acrylic paint.

- With the 10/32” brush, add a layer of water-based varnish to the lid, again using the hairdryer to dry the lid thoroughly.
Tips:
- Paper Seal was deliberately not used, as the running of the ink added to the vintage look. If preferred, one can paint a thin layer of Paper Seal over the copies of silhouette image before gluing them onto the tin.
- To clean, wipe with a damp cloth and do not use strong detergents. Not dishwasher safe.
- When doing decoupage, do not use the highest heat setting on the hairdryer.
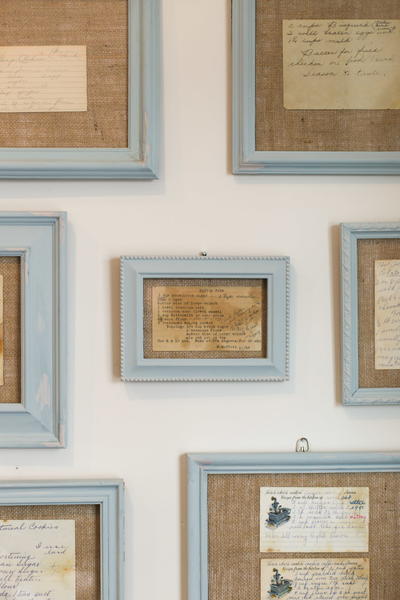
Read NextHeirloom Recipes DIY Framed Wall Art
Your Recently Viewed Projects
Thanks for your comment. Don't forget to share!
Report Inappropriate Comment
Are you sure you would like to report this comment? It will be flagged for our moderators to take action.
Thank you for taking the time to improve the content on our site.