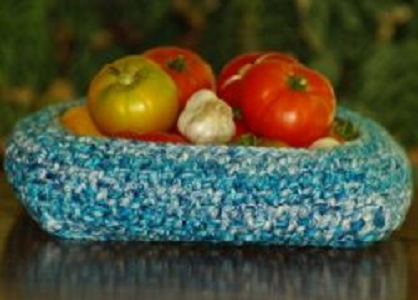
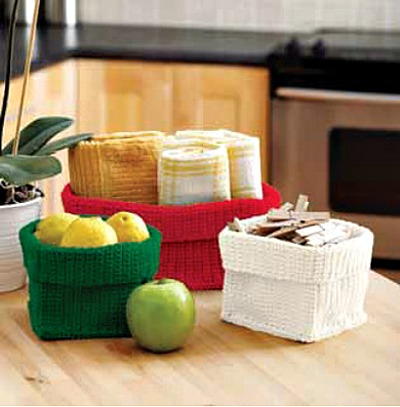
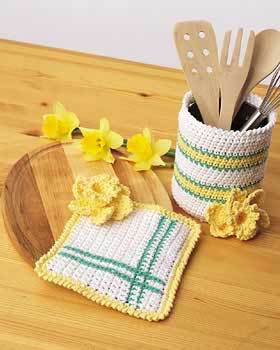
Easy Soft Sided Basket
Using a bulky weight yarn you can crochet this easy crochet basket pattern from Premier Yarns. This makes for a nice decorative piece for your kitchen. Fill it with fruit or use it to hold you mail.

Materials:
- Yarn: Deborah Norville Collection Serenity Chunky Weight
- 500-07 Seven Seas – 3 balls
- Crochet hooks: US K-10½ (6.5mm), US J-10 (6mm) and US I-9 (5.5mm)
- Extras: Yarn needle, 9" square piece of stiff plastic canvas
Gauge
Rnds 1-6 of base = 4¼" with size K-10½ hook. Use any size hook necessary to obtain the specified gauge.
Abbreviations:
beg – beginning
ch – chain
dc – double crochet
rep – repeat
rnd(s) – round(s)
sc – single crochet
sk – skip
sl st – slip stitch
st(s) – stitches
* – repeat the instructions after asterisk as specified
[ ] – repeat instructions between brackets the number of times specified
Special Stitches
Dc2tog: [Yo and draw up a lp in next st, yo and pull through 2 lps on hook] twice, yo and pull through rem 3 lps on hook (1 dc dec). Note:
When working dc2tog over post sts, maintain st pattern by working beg of each st around front or back of st below.
Fpdc (front-post double crochet): Insert hook around post of specified stitch from front to back to front and pull up a lp, [yo and draw yarn through 2 lps on hook] twice.
Bpdc (back-post double crochet): Insert hook around post of specified stitch from back to front to back and pull up a lp, [yo and draw yarn through 2 lps on hook] twice.
Project Notes
• Always work first sc of base in same sc as joining.
• Ch 2 at beg of dc rnds does not count as a st.
Basket Base (Make 2)
Beg at center of base with larger hook, ch 4; join to form a ring.
Rnd 1 (RS): Ch 1, [3 sc in ring, ch 2] 4 times; join with a sl st in first sc
– 3 sc on each side.
Rnd 2: Ch 1, sc in same st as joining, sc in each of next 2 sc, (sc, ch 2, sc) in next ch-2 sp—corner formed, * sc in each of next 3 sc, (sc, ch 2, sc) in next ch-2 sp; rep from * twice; join with a sl st in first sc – 5 sc on each side.
Rnd 3: Ch 1, sc in same sc as joining, * sc in each sc to next ch-2 sp, (sc, ch 2, sc) in corner sp; rep from * around, sc in each sc to first sc; join with a sl st in first sc – 7 sc on each side.
Rnds 4-14: Rep Row 3 – 29 sc on each side.
Fasten off first Basket Base at the end of Rnd 14. Do not fasten off second Basket Base.
Join Bases
Rnd 15: With WS facing and piece of plastic canvas sandwiched
between and with working Basket Base facing, ch 1, * sc in each sc
to next ch-2 sp, 4 sc in ch-2 sp; rep from * 3 times; sc in each sc to
first sc; join with a sl st in first sc – 132 sc.
Side
Rnd 16: Ch 2, working in back lps only,dc in same sc as joining, * dc in each sc around to 4-sc corner; [dc2tog] twice; rep from * 3 times, dc in each rem sc to first sc; sk beg ch-2 and join with a sl st in both lps of first dc – 124 dc.
Rnd 17: (Note: Work around each dc2tog as 1 st.) Ch 2, fpdc around first dc, bpdc around next dc, * fpdc around next dc, bpdc around next dc; rep from * around; sk beg ch-2 and join with a sl st in first fpdc.
Rnd 18: Ch 2, bpdc around first fpdc, fpdc around next bpdc, * bpdc around next fpdc, fpdc around next bpdc; rep from * around; sk beg ch-2 and join with a sl st in first bpdc.
Rnd 19: Ch 2, fpdc around first bpdc, bpdc around next fpdc, * fpdc around next bpdc, bpdc around next fpdc; rep from * around; sk beg ch-2 and join with a sl st in first fpdc.
Rnds 20 and 21: With J hook, rep Rnds 18 and 19.
Rnd 22: With I hook, rep Rnd 18.
Rnd 23: Rep Rnd 19, working 2 dc2tog in each corner of each side – 112 sts.
Last Rnd: Sl st in front lp of each st around; join with a sl st in first st; fasten off.
Finishing:
With RS of base facing, join yarn with sl st in any unworked lp on Rnd 15, sl st in each st around; join with a sl st in first st; fasten off.
Weave in ends.
TIP! To make a smaller basket, simply work fewer rounds on the base— stop when the base is the diameter you want and proceed directly to
Rnd 16. To make a larger basket, simply repeat Rnd 3 until the base is size you want. You will need to adjust the size of the plastic canvas liner to fit the bottom. Similarly, the sides can be made higher or lower by working more or fewer side rounds.
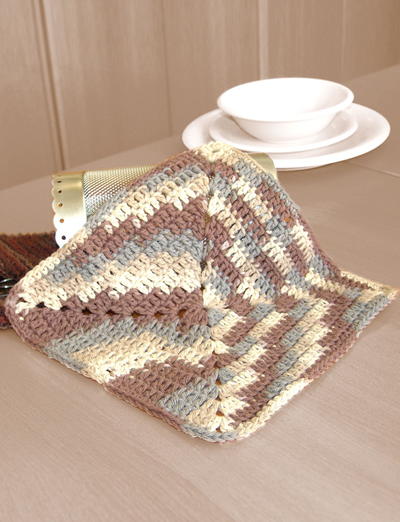
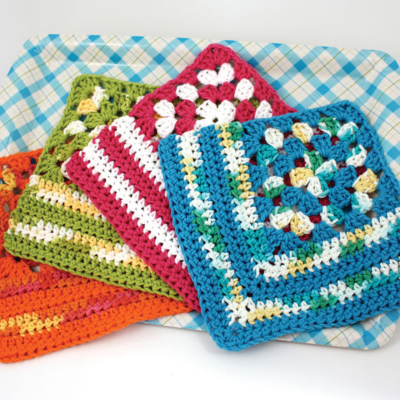
Read NextGranny Crochet Dishcloth Pattern