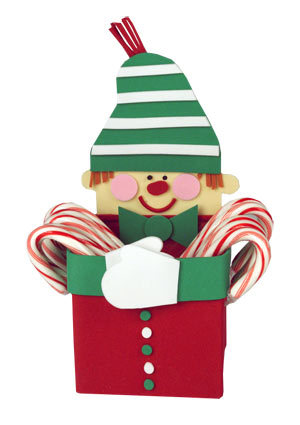
Elf Candy Cane Holder
Have kids create an Elf Candy Cane Holder using foam materials and Glue Dots. Easy Christmas crafts are a great way to get kids excited for the holiday season. Have kids create this project before the holidays and display it on a kitchen table. This is also a great item to display on a desk or mantel. If you don't have candy canes, you can throw in other festive candies and sweets. Everyone will love the look of this adorable free craft project and will want to know where you bought such an adorable piece. They won't believe it when you tell them it's handmade by kids.

Materials:
- 1" Glue Lines
- Mini Glue Dots
- Craft Glue Dots
- Photo cube (MCS Industries, 3" X 3")
- Craft foam in red, green, white, pink, light brown, black and flesh colors
- Scissors
- Pencil
- 1/8" hole punch; 1/4" hole punch
Instructions:
- Take photo cube box apart and insert one half into the other leaving the top open. Secure the sides with Craft Glue Dots.
- Cut green craft foam 14-1/2" X 1" for the arms.
- Cut red craft foam 3-3/4" X 15" for the body.
- Cut 4 strips of white foam, 1/4" X 4" for the hat.
- Cut out the head, hat, fringe, gloves, cheeks, mouth, nose, bowtie and bowtie center from the various foam colors.
- Cut or punch 2, 1/8" circles from black foam for the eyes and 1/4" circles from the white and green foam for the buttons.
- To assemble, apply 1" Glue Lines around the photo cube at the top middle and bottom.
- Then cover all four sides of the photo cube by wrapping the large red craft foam around the photo cube. (where the ends meet will be the back of the elf.)
- Use 1" Glue Lines to attach the white foam strips to the hat. (Cut off excess white foam.)
- To create the face, attach the eyes, cheeks, nose and smile using Mini Glue Dots.
- Create the hair by cutting strips of brown foam and attaching with Mini Glue Dots.
- Using 1" Glue Lines, attach the hat to the face and the face to the back of the photo cube so the face is facing to the front of the elf's body.
- Apply Glue Lines around the top edge of the outside of the box and secure the arms so they wrap around to the front. Attach the gloves to the arms using Craft Glue Dots. Now attach the buttons to the body front using Mini Glue Dots.
- Finish the hat off with fringe and attach to the back of the hat using Mini Glue Dots.
- Assemble the bowtie by adding the green circle to the center using Craft Glue Dots and secure the bowtie under the elf's face.
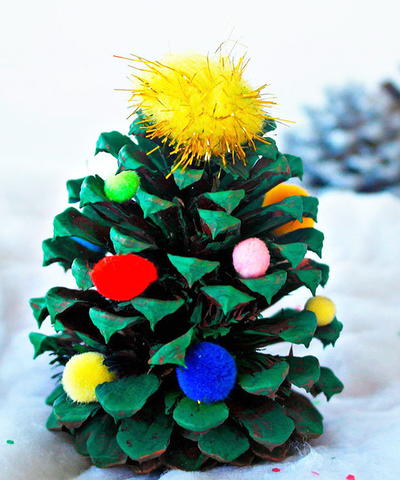
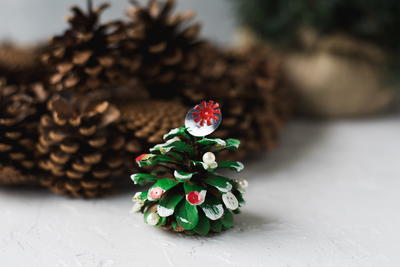
Read NextEasy Pinecone Christmas Craft
Your Recently Viewed Projects
Thanks for your comment. Don't forget to share!
lolla yassine
Dec 04, 2012
its a really cute for houses so i think its adorble you can do it with santa >> its cute for an orrement !
Report Inappropriate Comment
Are you sure you would like to report this comment? It will be flagged for our moderators to take action.
Thank you for taking the time to improve the content on our site.