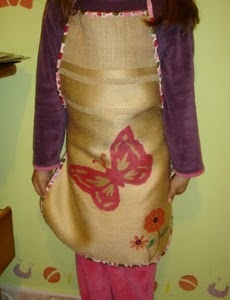
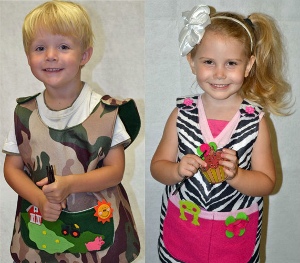
Kids' Reversible Aprons
Protect the kids' clothing with kids' reversible aprons from The New Image Group. This child apron tutorial is cute and easy to make using our free apron pattern, and if you get tired of the design, just reverse it!
Materials:
- 2 solid or patterned CPE Craft Packs
- Sewing machine
- Matching or contrast colored thread
- Scissors
- 4 large colored buttons
- Embellishment of choice
- Pattern
Instructions:
- Using patterns, cut two apron pieces. (One from each color or print of your choice.) And four pocket pieces. (Two from each color choice.)
- Sew your pockets together with right sides face to face. Leave a small area un-sewn on bottom of the pocket.
- Turn the pocket right sides out. Finger press all seams open.
- Turn in bottom seam of opening of pocket. Sew together.
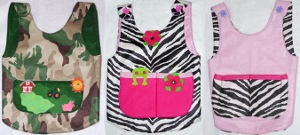
- Sew your chosen embellishments onto the pockets.
- Position one pocket. Place the pocket on the side you want to show. I did one print and one solid side as sample.
- Sew the 3 sides of the 2 pockets onto the apron body. One on each side to show.
- Sew apron body together face to face, print to print or solids used. Leave a small opening at bottom of apron to turn right sides out.
- Turn apron inside out. Finger press all seams flat open. Sew the bottom opening together. Be sure to turn the seam allowance inside before sewing together.
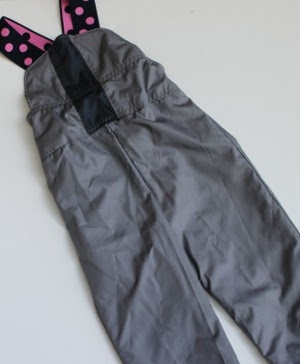
- Sew a button hole the size of button used on the long side of the shoulder strap. Cut open button hole.
- Sew on colored buttons on short sides of the shoulder strap. One on each side.
- Optional ---sew straps together as if button is in place. Sew button onto strap. (No button holes needed for this.)
- Press your apron with a pressing cloth.
Suggestions:
- Use this as a dress pinafore layer! Add a ruffle around the armhole top and the outside edge of the apron. Add matching ties on back.
- Hand wash. Or spot clean with a damp cloth. Do not dry in dryer. Always press with pressing cloth.
Read NextKids Animal Tail