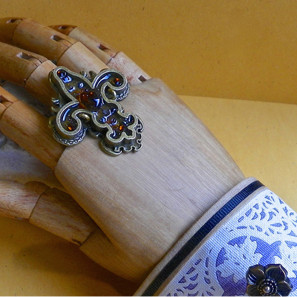
Fairytale Ring and Matching Cuffs
Feel like Parisian royalty with this Fleur-de-lis Fairytale Ring and Matching Cuffs. The Fleur-de-lis is symbolic of the French monarchy, and once you learn how to make a ring with this enchanting design, you will feel much like a queen yourself. Your outfit will be fully completed with these lovely matching cuffs as well - no sewing required! Select any colors you wish and pamper yourself with a few beautiful new accessories. Your friends will be wondering what museum they came from.

Materials:
- Small Fleur bezel
- Vintage Brocade die
- Artisan Explorer or Grand Calibur diecutting machine
- Heavy duty clippers
- Small faceted beads
- Heart bead
- Flat-back crystals
- Ice Resin
- Beading pliers – round and flat nose
- Heavy gauge wire
- Raw canvas
- Cotton fabric
- Rotary trimmer
- Dye ink pad
- Aleene’s Fabric Fusion Adhesive
- Iron and pad
- Straight pins
- Grosgrain ribbon
- Grommet and tool
- Elastic cord
- Buttons
- Needle and thread
Instructions:
Ring

- Clip off the loops at each end of the bezel.
- Fill the bezel with small faceted beads.
- Prepare the resin according to the manufacturer’s directions and fill the bezel with resin.
- Place a heart bead in the center on top of the faceted beads and set aside.
- Before the resin is completely set and dry, place some flatback gems on the resin while it’s still tacky to accent. Allow to dry completely.
- Wrap some wire around your finger to determine the proper length and trim.
- Feed each end of the wire through the holes from the back of the bezel and make small loops at each end. Angle the loops with the pliers to nest in close to the edge of the bezel.
- Use flat-nose pliers to pinch the ring wire in at the top (on the back of the ring) and then smooth out the circle as needed to fit comfortably on your finger.
Cuff

- Lightly rub an almost-dry stamp pad over the die.
- Place the die on the magnet sheet attached to a base plate, then place a strip of canvas evenly on top.
- Add the blanket and the embossing plate on top and run it through the machine.
- Take out the printed canvas, trim around the design as needed and heat set the ink with an iron.
- Trim a piece of fabric about a half inch larger than the canvas all the way around. Lay the fabric wrong side up, then place the canvas on top right side up. Press in some seams to fold up over the edges of the canvas on the two long sides.
- Glue the seams in place and let dry. Glue some thin grosgrain ribbon on top to accent the edges.
- Trim and miter the corners of the ends of the cuff and glue them down. Pin to hold in place while they dry.
- To make a closure, punch a hole at one end and insert a grommet. Loop a piece of elastic cord through the grommet with a knot in the back.
- Sew on some decorative buttons, placing one button at the other end of the cuff to loop the cord around.
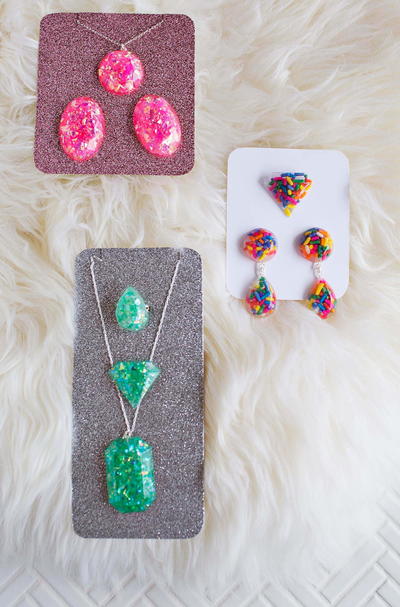
Read NextEasy Epoxy Resin Jewelry