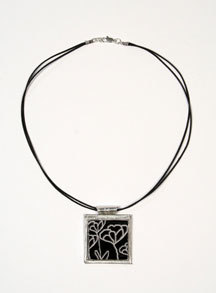
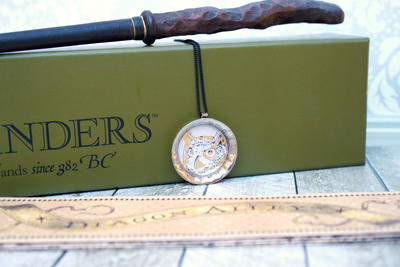
Pewter Tulips Pendant
Create a stylish pewter tulips pendent from AMACO, or use this technique to create your own jewelry design from clay and metal embossing sheets.

Materials:
- AMACO® Art Emboss Soft Metal Sheets - Pewter
- AMACO® Pasta Machine
- AMACO® Beveled Edge cutters - large set (square)
- AMACO® PolyBlade
- AMACO® PolyRoller
- AMACO® Polymer Clay & Craft Oven (optional)
- FIMO® Soft polymer clay - White or black depending on background of drawing
- Liquid FIMO® Decorating Gel
- FIMO® Gloss Varnish
- Artwork any line drawing or photo - scanned into computer and reduced to desired size
- HP T-shirt Transfer for dark colors
- ThermOWeb - Super tape ¼" strips, flat 4 x 6 sheet
- Artistic Wire: 22 gauge non-tarnish silver wire
- Pure Allure: Toggle and charm of choice
- Beadalon: Leather cording.
- FiberMark - Whiteboard (or any heavy cardstock)
Instructions:
-
Size the photo and print onto t-shirt transfer paper. Cut out.
-
Mix together: ¼ package Translucent and ½ package White FIMO® Soft to get an off-white tint.
-
Flatten clay through the thickest setting of the pasta machine and double it's thickness. Use square beveled edge cutter to cut shape from clay. Round off corners with PolyBlade.
-
Peel off backing from transfer to leave a rubbery photo. Place artwork (image side up) onto square. Burnish with PolyBlade to remove any air bubbles. Gently remove air bubbles from transfer. Press edges of decal around side of tile.
-
Bake for one hour according to temperature located on clay package then allow to cool. Apply generous amount of Liquid FIMO® Decorating Gel over tile. Remove any air bubbles and bake for 20 minutes following manufacturer's baking temperatures. Apply thin coat of FIMO® varnish and allow to dry.
-
Metal backing: Measure tile and add 1/8" to each side. Cut a piece of cardstock to this measurement. Apply double stick tape to one side. Remove backing and lay onto pewter. Cut out leaving a 1/8" border around all sides. Clip corners diagonally. Fold edges to back using wooden stylus.
-
Cut a piece of wire 2"long. Create a loop at one end.
-
Apply tape to back, remove backing. Apply loop to back allowing end of wire to extend past shape. Lay onto pewter and cut out flush. Use wooden stylus to secure and flatten the pewter. Add bead of choice to wire and finish with loop.
-
Apply tape around edge of tile. Cut Pewter metal sheet into 3/8" a 3/8" wide strip. Remove tape from around edge of tile. Wrap pewter around, trimming excess. Using a wooden stylus, gently flatten edges towards the front and back. Ease the pewter around the corners in necessary. Lay tile onto flat tape and cut out. Remove backing, center tile onto pewter tile. Cut two strands of leather cord to desired length. Place pendant on to cording. Add toggles as desired.
Notes:
-
If your artwork includes words, it is not necessary to reverse the words when using the dark t-shirt transfer.
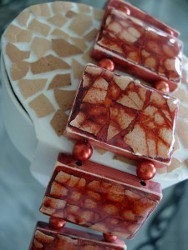
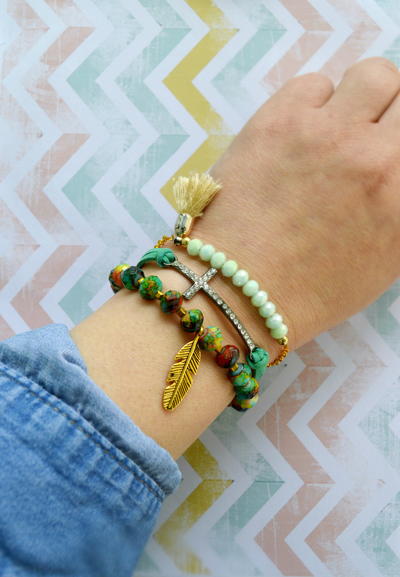
- Crop out different sections of the artwork to create small additional charms. Follow the instructions above to create these tiles. You may choose to create a charm bracelet to coordinate. Add a variety of metal charms to enhance theme.
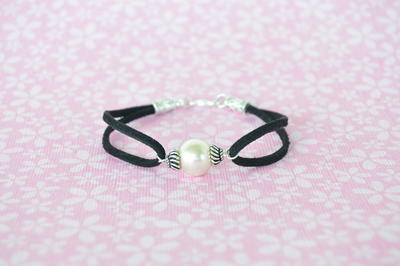
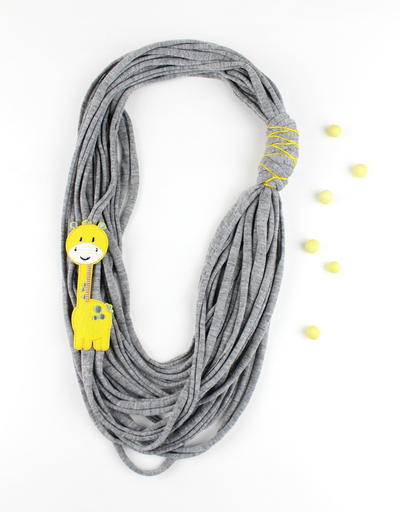
Read NextNo Sew Fabric Necklace