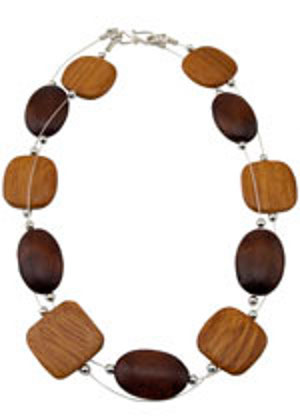
Modern Art Two Strand Necklace
This earthy Modern Art Two Strand Necklace is great for almost any outfit. Made with wooden beads on two separate strands, this artistic DIY necklace is perfect for day or night, and can easily be worn any time of year. Want a full set? Create a matching bracelet or earrings with extra beads. This necklace is great for beginners and makes a wonderful gift for almost any occasion. Women of all ages are sure to love this modern and stylish accessory!

Materials:
- Six Flat Square Light Wood Philippine Beads
- Five Flat Bean Dark Wood Philippine Beads
- Twenty two Crimp Covers
- Twenty two Size 1 Crimp Tubes
- One EZ Crimp Sterling Silver S-Hook Clasp with Ends
- Two Extra Matching EZ Crimp Ends
- Two Sterling Silver Heavy Duty 8mm Jump Rings
- 49 Strand .015 Beadalon Silver Plated Wire
- Designer Flush Cutters
- Beadstorm™ Chain Nose Pliers
- Mighty Crimp Tool
- Bead Board
Instructions:
-
Cut off two 20” lengths of wire. Attach one end of each to an EZ Crimp end using Mighty Crimp Tool.
-
On the first strand, move two inches down the wire and attach a crimp tube to the wire by flattening with the chain nose pliers. Check to be sure that the tube is stationed in place before next step.
-
Cover tube with a crimp cover using the Mighty Crimp Tool.
-
Slide on one dark brown bead and attach a second crimp tube a little bit past the end of the bead (there needs to be enough space to accommodate a crimp cover, without exposing any excess wire.)
-
Continue 2” down the wire from the bottom of the first crimp cover and repeat process. Station a wooden bead every two inches on the wire until reaching final bead.
-
Attach end of wire 2” from final crimp cover to second EZ Crimp end using Mighty Crimp Tool.
-
Keeping the first strand in the channel on a Bead Board, lay out the lighter wooden beads along the edge for proper placement on second wire. The lighter beads should fall within the spaces between the darker on the finished design.
-
Starting close to the EZ Crimp end, approximately ¼” from the clasp, secure a crimp tube.
-
Cover with a crimp cover.
-
Moving down approximately 2”, repeat. Continue your way around the strand until reaching the final bead.
-
Attach EZ Crimp end approximately ¼” from final crimp cover.
-
Place crimp ends on one end of each strand on a jump ring and secure closed. Repeat for other side.
- Attach S-Hook to both jump rings and secure.
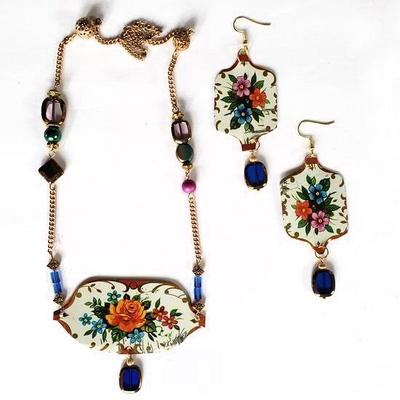
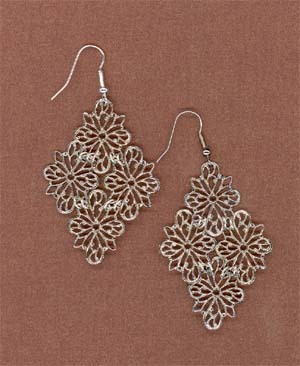
Read NextFiligree Earrings


Thanks for your comment. Don't forget to share!
Report Inappropriate Comment
Are you sure you would like to report this comment? It will be flagged for our moderators to take action.
Thank you for taking the time to improve the content on our site.