This project was submitted by one of our readers, just like you.
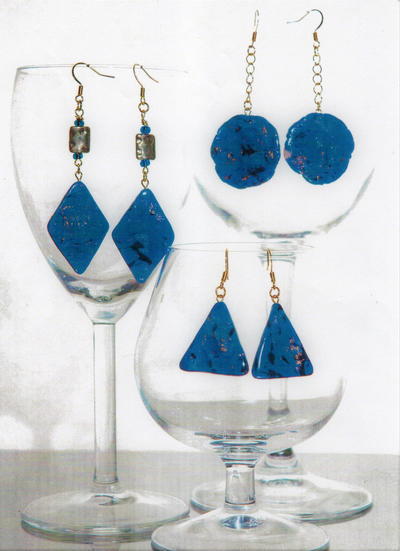
Lapis Lazuli Earrings

Lapis Lazuli Earrings
"Making faux lapis lazuli jewelry is snap with just a few blocks of polymer clay and some gold leafing sheets! If you don't have the polymer clay tools and supplies used here, you can sub out things found around the house. This project is super easy, fast, and lots of fun to make! It would make a great girl’s night out project! Look no further for a super inexpensive gifts that looks like you spent a fortune! You can turn out a ton of earrings from this one recipe! If you aren’t in a hurry to make several pairs the clay can be wrapped in plastic and stored for future use. "
NotesWhen using kitchen items for polymer clay, they are no longer not safe to use for food preparation.
Follow all manufacturers’ instructions for all products used here.
Use baby wipes to clean hands and tools after using clay.
Project TypeMake a Project
Bead TypeMiscellaneous
Time to CompleteIn an evening
Bead Technique UsedChainmail/Wirework
Bead Project TypeEarrings

Materials List
- Premo! Sculpey One 2 oz. blocks each: Black 5042, Ultramarine Blue 5562
- Premo! Scupley III: One block Purple S302 513
- Premo Sculpey Accents: One 2 oz. block each: TranslucentS302 010; Pearl 5101
- Gold leafing sheets of choice
- Jewelry findings: Gold tone eye pins, jump rings, chain, fishhook earring findings, and beads of choice
- Sculpey Super Slicer # ASBSET or single edge razor blade
- Sculpey Acrylic Roller AS8AR or rolling pin
- small clay cutters of choice (optional)
- extra fine grit wet/dry sandpaper (sanding sponges from the hardware store work great)
- Smooth, non-porous surface for cutting such a ceramic tile
- Ovenproof baking tray or ceramic tile and card stock
- Needle nose pliers (2 sets)and Wire cutters or sturdy scissors
- Acrylic Floor Polish (non-yellowing) such as Future Floor Wax or polymer clay varnish
- Misc.: Wooden BBQ skewers (2), Baby wipes, Aluminum foil, super glue, flat artist paint brush
Instructions
-
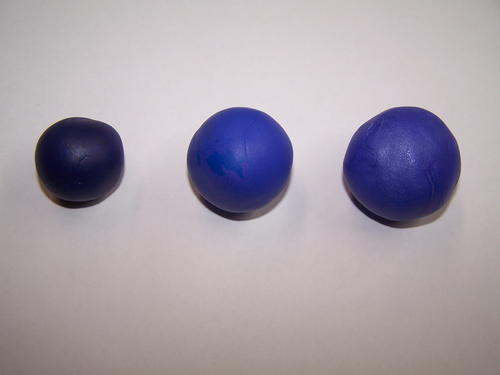
Cut 3 bars from the block of Ultramarine Blue clay. Cut one bar from the Purple clay. Hand condition both colors to combine them. Divide into 4 parts. Form a ¼” ball of Black and blend into one part. Blend ¼ block of Pearl into one part. Leave remaining parts as is. Form all three colors into balls (Step 1). Refrigerate clay 30 minutes to firm up.
-
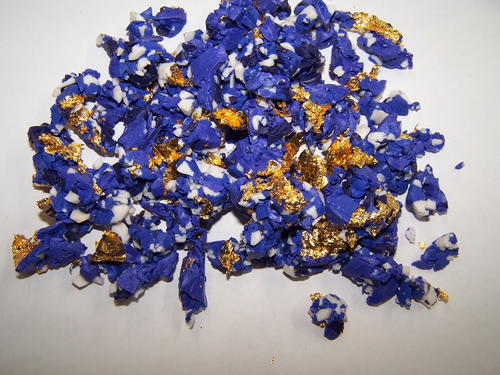
Remove clay from refrigerator and place on cutting surface. Cut one bar of Translucent clay. Use clay blade to chop all clay into small pieces. Add ¼-1/2 sheet of gold leaf and chop until mixed (Step 2).
-
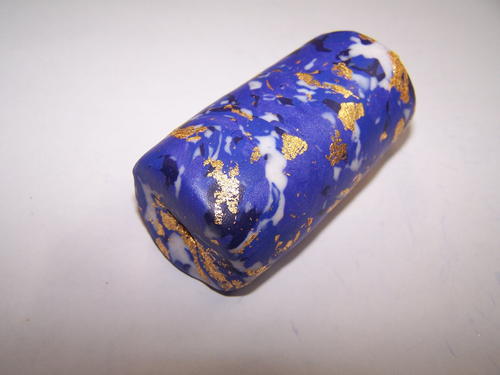
Form a log of clay by pressing the chopped clay together. Do not blend the clay but rather push to together with firm pressure. Roll gently into a log shape (Step 3).
-
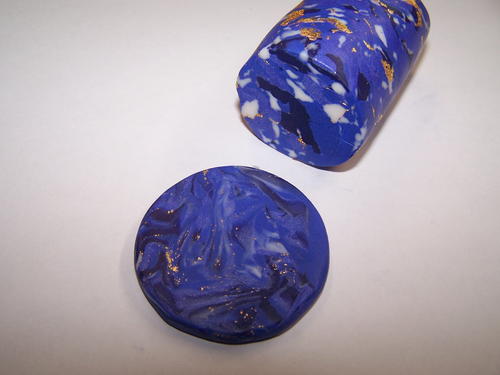
Cut a 1/2” slice of clay off the log (Step 4). To roll an even sheet of clay, lay wood skewers on either side of the clay and continue rolling until the clay is level with the skewers (Step 5).
-
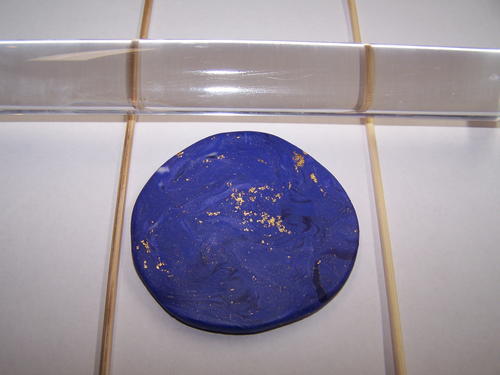
Forming the shapes: Use the cutters of choice to cut two identical earrings. From irregular circles of similar sizes for free-form earrings. Use the slicer or razor blade to lift the shapes. Use gently finger pressure to smooth edges. If you do not have small cutters make a template form card stock and use a blade or craft knife to cut the shapes.
-
Use scissors or wire cutters to cut eye pins down to approximately ½”. Add a tiny drop of super glue to the end of the pin. Insert cut end of eye pins into the top of each earring.
-
Baking the clay: Cut a sheet of card stock to fit the baking tray or tile. Lay clay pieces onto the card stock. Make a tent out of aluminum foil to protect oven from polymer particles and to keep clay from scorching. Bake according to manufacturer’s instructions. Let cool then gently remove baked clay pieces.
-
Place sandpaper in a small container with cool water and a drop of dish soap. Sand baked clay pieces until smooth. Dry then buff clay pieces on a piece of terry cloth or denim.
-
Use the artist brush to apply several thin coats of floor wax. Let dry between coats. Buff on cloth again.
-
Use jump rings to connect fishhooks and clay pieces. Hold jump ring between two sets of pliers at 9:00 and 3:00 with opening at 12:00. To open the ring pull toward you with one hand and away from yourself with the other.
-
Circle earrings: cut two identical lengths of chain to desired length. Use pliers to open the eye pin slightly. Insert one end of chain then close eye pin.
-
Triangle earrings: Insert the eye pin and the earring finding into the open jump ring. Close jump ring.
-
Diamond shaped earrings: Insert beads onto eye pin then use pliers to form a loop at the open end of the eye pin. Attach jump rings to either end of the bead assembly, then attach to fishhook and bead assemblies

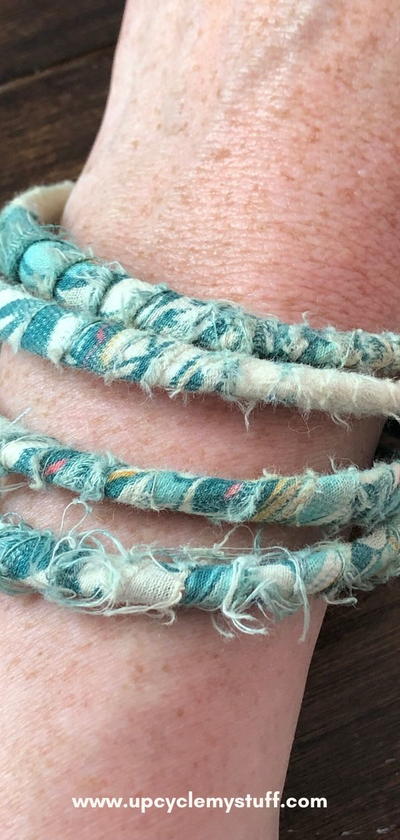
Read NextNo Sew Fabric Necklace