Unforgettable Accent Lamp
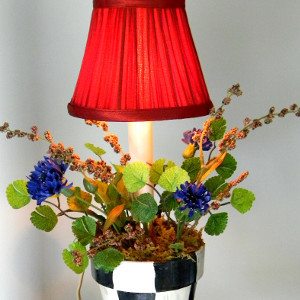
Learn how to make a lamp that will add a little whimsy to any room of the house. This Unforgettable Accent Lamp is simple to make and will inspire you and your guests with its cheerful glow. It's just the lamp you need to replace anything that might have gotten dull over the years. See the magic that a little bit of crafting materials can do while you are making a lamp. Once you have a color scheme that truly pops, this Unforgettable Accent Lamp will be the room's centerpiece.
Primary TechniqueGeneral Crafts

Materials:
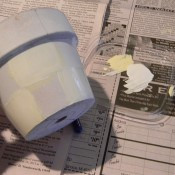
- Small pot
- Kilz spray primer
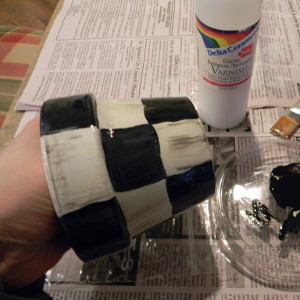
- White, cream, and black craft paints
- Flat paint brush
- Glossy varnish
- Pencil
- Floral foam
- Candlestick lamp (available at Joanne’s Fabric Stores)
- Small lamp shad
- Moss
- Silk floral stems
- Hot glue and glue gun
Instructions:
- Spray pot with Kilz primer and let dry.
- Draw a vertical and horizontal line across bottom of pot. Then draw two or more diagonal lines across the bottom of the pot.
- Draw lines straight up the sides of the pot where the lines on the bottom meet the edge.
- Using a flat paintbrush, dip it in the white and a little cream paint and then paint in every other square.
- Using black with a little bit of cream paint on the brush, paint in the left over squares.
- OPTIONAL: Brush a very light coat of black paint over the white/cream squares to give it an older, more worn look.
- Once paint is completely dry, apply a layer of glossy varnish.
- Decide how high you want the candlestick lamp to stick up and then hot glue a layer of floral foam to the bottom of the pot.
- Hot glue the candlestick lamp on the floral foam.
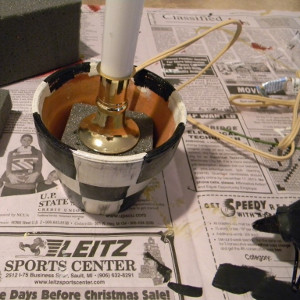
- Hot glue more floral foam around the candlestick lamp.
- Hot glue moss to cover the floral foam.

- Cut pieces of silk flowers and greens and poke into floral foam.
- Be sure to add lamp shade before you do this step so you can see exactly how it will look.
- Stick the stems into the foam without glue so you can move them if you want but you can squeeze a small amount of glue at the end of the stem before you stick it in the foam if you want to make it more secure.
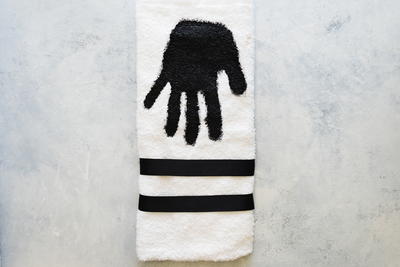
Read NextDIY Custom Hand Print Dish Towel