Framed Monogram
If you like this project, then you'll love the free sewing patterns featured in the eBook, 21 Easy Sewing Projects: DIY Designs and Sewing Craft Ideas. Download a copy today - it's free!
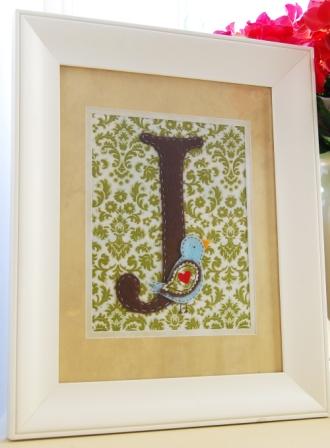
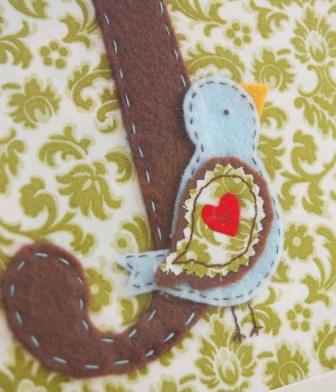
Abby Welker of A Feathered Nest shows us how to create a beautiful, framed monogram with felt and fabric. A bird embellishment tops of a simple sewn creation for truly creative decor. Make one for every member of the family!
Materials:
- Picture Frame
- Cardstock
- Fabric the size of your frame
- One sheet of matching felt
- Additional felt for embellishments
- DMC Floss or thread in a contrasting color
- Hand-sewing needle (needs a sharp tip, not a blunt tip)
- Fabric glue
- Thin piece of cardboard the size of your frame. (I cut up a cereal box)
Instructions:
STEP 1: Letter Stencils
Find a font you like, print your monogram letter on cardstock and carefully cut out the monogram. Since you'll be tracing with a felt-tip marker, turn your letter face-down so it's reversed. Trace with a felt-tip marker, cut out your monogram, and since you traced in reverse, you won't see any of the markings.

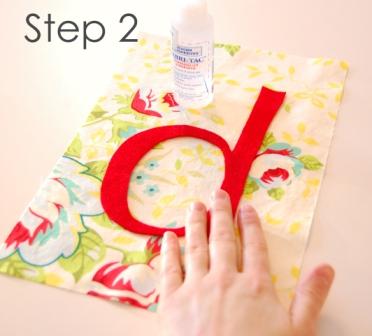
STEP 2: POSITIONING
Position your monogram on your fabric and press it down firmly with your hand. The felt should stick to the fabric a little.
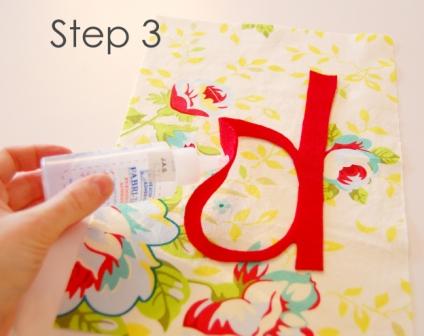
STEP 3: GLUE
In order to secure the mogram so you can hand-stitch without it slipping, we're going to glue it down. Without lifting the monogram off of the fabric, because you've already positioned it, carefully lift parts of the monogram and apply a tiny bit of glue down the center of the letter. Remember that you'll be stitching along the outer edges so you'll want to keep them clear of glue. Press everything down neatly and let the glue set for a few minutes.
STEP 4: THREADING NEEDLE
With either 2 lengths of DMC floss or sewing thread, thread your needle and put a knot in the end. Here is an amazing tutorial on how to knot your thread. (why reinvent the wheel, right?) If your letter has a rounded center, like e, a, d, p, etc. start your thread on the inside circle so you can work your way around the letter without having to stop.
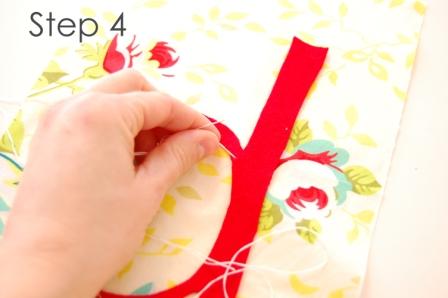
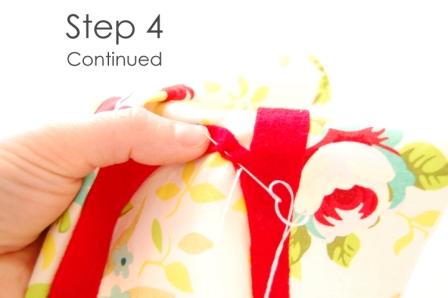
STEP 4 continued: STITCH
Once you've brought your needle up and your knot is secure in the back of your fabric, make even stitches all along your monogram. It's easier to take 2 or 3 stitches at one time rather than one at a time. When you're done, tie a knot with your thread in the back of your fabric.
If you are going to make any embellishments for your monogram, attatch them now. Using cardstock templates make shapes and cut them out. Simple shapes are best: bird, flower, tree, hearts, a square house with triangle roof, etc. Be careful, however, not to make your embellishment too thick because remember that this is all going in a frame.
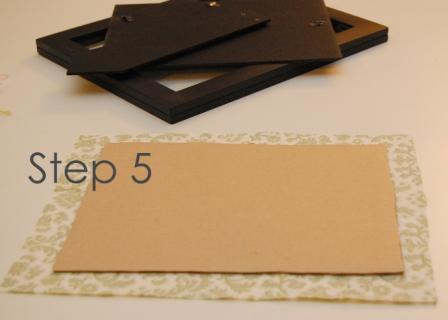
STEP 5: Using hot glue or tacky glue, affix your fabric to the piece of cardboard. To make sure your cardboard is the right size, trace the glass pane from your frame and when you cut out your cardboard, make sure to cut it a few millimeters shorter than your traced shape since you'll be wrapping fabric around it.
Now frame your creation and enjoy!!!
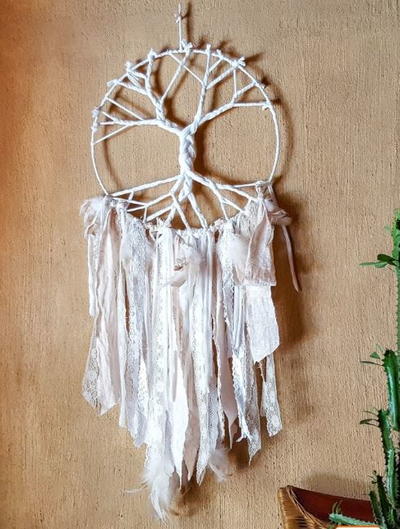
Read NextT-shirt Yarn Dreamcatcher
Your Recently Viewed Projects
Thanks for your comment. Don't forget to share!
Weberme
Aug 08, 2016
What a great gift for a baby shower and so easy that you can even get your child to do this. They can even make on for mom for Mother's Day or one for Dad for Father's Day. Just think of the smile on their face when they finish their beautiful gift all by themselves. I like how you can control the cost by how much you want to add and they will be excited to pick out their embellishments. You can even let them make one for the friends birthday. And you can even upcycle by using things around the house.Thanks for the idea.
Report Inappropriate Comment
Are you sure you would like to report this comment? It will be flagged for our moderators to take action.
Thank you for taking the time to improve the content on our site.