Easy to Clean Placemat
Want to know how to make placemats that are durable and kid-friendly? This easy to clean placemat will help you create vinyl laminated placemats that will stand up to anything grubby fingers can touch!

Materials:
- One yard of home decor weight fabric
- One yard of complimentary fabric, preferably home decor weight, but not necessary
- 3 packages of iron-on vinyl (2 yds x 17" per pack) - creative couponing at Jo-Ann's worked well for me here.
- Corresponding thread
- Iron
Instructions:
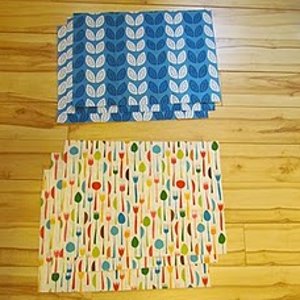
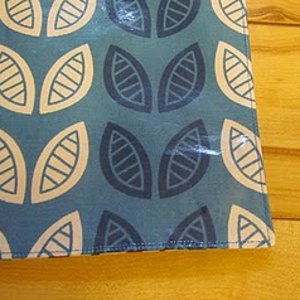
- Start by cutting out your fabric pieces. Each piece should be 19.5" x 14". be sure to pay attention to which way you want the print to go on your placemat.
- Next, cut out your vinyl pieces.

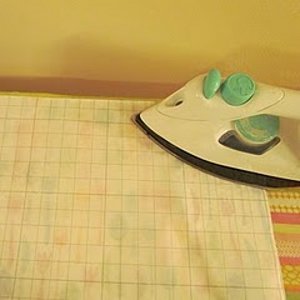
- Now is your chance to iron out your fabric perfectly smooth. Hold the steam though...you don't want your fabric wet.
- Peel off the vinyl piece from the backing.
- Place it on top of the RIGHT side of your fabric.
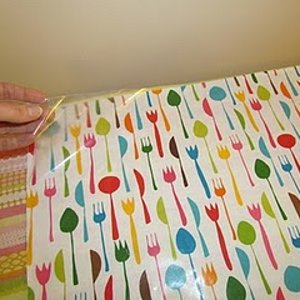
- Smooth out.
- Now place the paper piece on top of the vinyl.
- With your iron on medium heat and no steam, begin pressing...follow package instructions to be sure you get a good bond.
- Now flip your fabric piece over and press again.
- Turn it back over and peel off the paper. Voila. Repeat with the other 7 fabric pieces.
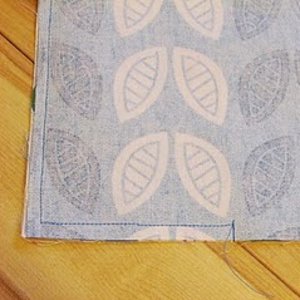
- Now place your two different fabrics with right sides facing each other. Do not pin as you'll puncture the vinyl. Carefully sew around the edges leaving a large hole for turning - this is much more difficult to turn than regular fabric...leaving a large opening will help cut down on wrinkling. Note how I sewed "into" the piece before I started sewing around the edges. This helps keep everything more stable when you are turning.
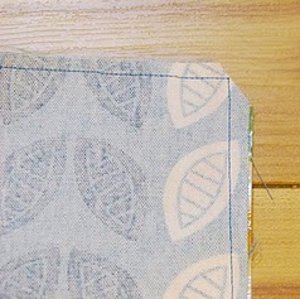
- Cut all four corners on the diagonal.
- Turn the placemat inside out. it will be a wrinkly mess:. Don't worry.
- Go back to the ironing board. Fold under the opening and hold it steady. Meanwhile, place the paper that you used for pressing back on top and iron the opening. Warning: The two sides will fuse together...so you only get one shot here. Now continue to press the whole placemat, both sides. I found that using high heat here was very helpful.
- Now top stitch all around. Tip: Use a dark colored thread, otherwise with frequent wiping, light colors will become very dingy.
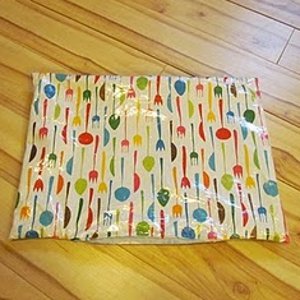
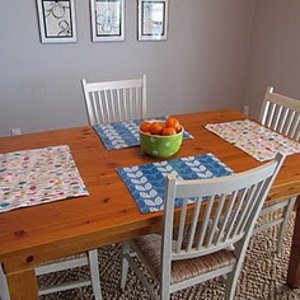
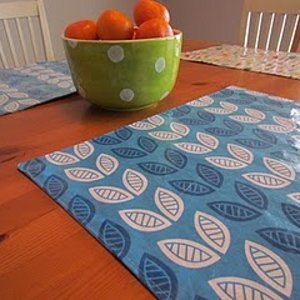
- And now you're all done!
Read NextDoor Stop Monster
Your Recently Viewed Projects
Thanks for your comment. Don't forget to share!
Linda
Jan 21, 2017
Perfect vinyl placemat project tutorial for beginners and experienced sewers. I'm willing to attempt to learn how to use vinyl for other projects.
Weberme
Aug 04, 2016
All these years of sewing and I did not know that you could buy vinyl pieces to iron on your placemats. I always thought I needed to use sunbrella or the printed vinyl to make them. I could never find one I liked. This is great now I can go and pick out any fabric I like and iron the vinyl on it and get just what color or pattern I like. Anyone make any yet? I will be making some for housewarming gifts.
Katharine
Jun 19, 2013
I didn't know there was iron vinyl. I haven't been paying attention, I guess, at the sewing store. This is probably cheaper than oil cloth. :)
PennyPinchersPurse s
Jan 27, 2013
VERY cool! Thank you for sharing!!! :0) I linked to this project on one of my blog pages, too! http://penny-pinchers-purses.blogspot.com/
Report Inappropriate Comment
Are you sure you would like to report this comment? It will be flagged for our moderators to take action.
Thank you for taking the time to improve the content on our site.