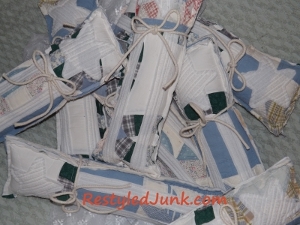
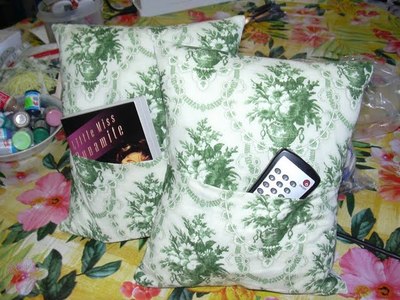
Charming Little Country Pillows
Gather up old quilts and bedspreads to create your own Charming Little Country Pillows. Free pillow patterns like this one help you get creative and save big on home decor at the same time. Best of all, you can reuse and recycle items you already have on-hand. Charming Little Country Pillows don't take long to make, so you can create a bunch at the same time. Cover a chair or bed with these Charming Little Country Pillows and turn your space into a rustic escape.

Materials:
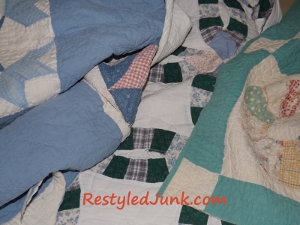
- Scraps from two different cutter quilts
- Scissors
- Measuring tape
- White chenille bedspread scraps
- 5-inch star pattern
- Marking pen
- Straight pins
- Sewing machine
- Stuffing
- Cotton clothesline
Instructions:
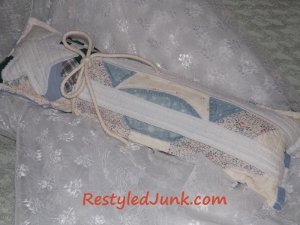
- Cut two 6-inch-wide by 18-inch-long rectangles from an old cutter quilt. Cut one 6-inch-square from a different cutter quilt. This project is ideal for using those scraps from previous projects you just couldn't part with.
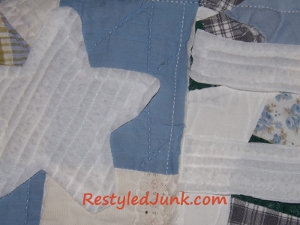
- Cut two 1 1/4-inch-wide by 12-inch-long strips from white chenille bedspread scraps. Trace a 5-inch star on a scrap of the white chenille. Cut out the star shape.
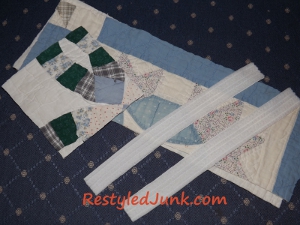
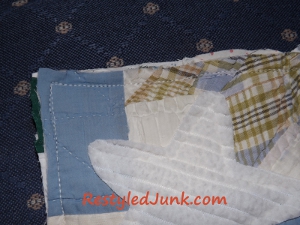
- Lay one quilt rectangle on your work surface with the right side facing up. Position the rectangle with the short ends on the right and the left. Place the 6-inch-square right side up on top of the rectangle on the left side. This is the "blue" field. Align the edges and pin.
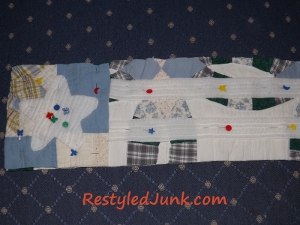
- Top stitch the square to the rectangle with the stitching 1/4 inch from the edges.
- Lay the two chenille strips horizontally across the rectangle. These are the flag stripes. Evenly space the stripes from each other and from the top and bottom edges of the rectangle. Align the left hand ends with the blue field area and the right hand ends with the right hand edge of the rectangle. Pin the strips to the rectangle.
- Top stitch the stripes to the rectangle with the stitching 1/4-inch from the edges. Top stitch on all four sides of each stripe.
- Center the star in the blue field area and pin. Top stitch the edges of the star to secure. The construction of the flag is now complete. This is the front of your pillow.
- Place the front and back of the pillows together with the right sides facing outward. Align the edges and pin. Sew the pinned edges using a 1/4-inch seam allowance. Leave the short end on the right hand side of the flag open.
- Stuff the pillow and sew the short end closed.
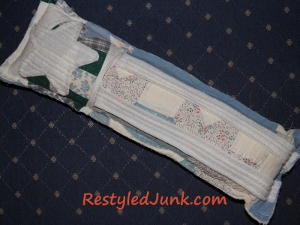
- Cut a 24-inch length from cotton clothesline. Wrap the clothesline around the pillow where the field area meets the stripes. Tie the clothesline in a bow.
Read NextPom Pom DIY Rug