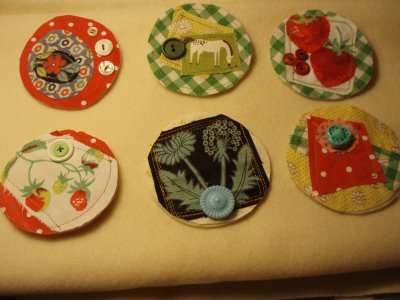
Scrap Fabric and Button Brooch
Chasity of Belle and Burger shares this cute sewing project using scrap fabric and vintage buttons. These brooches make great gifts, as for upcoming Mother's Day. Create a whole bunch as Thank You gifts, like Chasity did.

Materials:
- Fabric scraps
- Fusible interface(optional)
- Round template (i used a jar bottom)
- Felt
- 1" bar pin (jewelry notion)
- Glue gun
- Thread
- Needle
- Button(s)
- Sewing machine (optional)
- Iron
Directions:
-
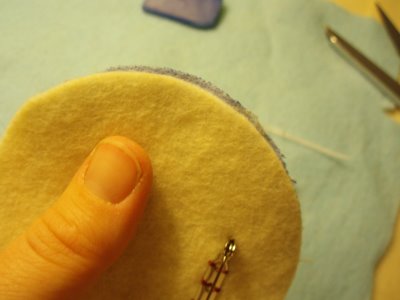
Trace and cut out your pattern from the felt (backing ) and one piece of fabric with interface attached to it.
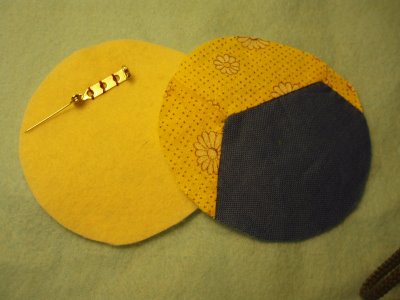
You can use any pattern you would like for your brooch. I decided to use a circle. I wanted it to be easy to repeat and versatile, since I was making 5. I used the bottom of a pickle jar for my template and just traced it directly onto my fabric ( the back of course) with chalk

-
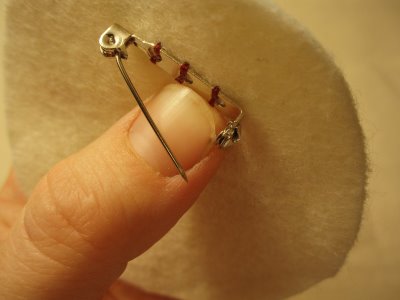
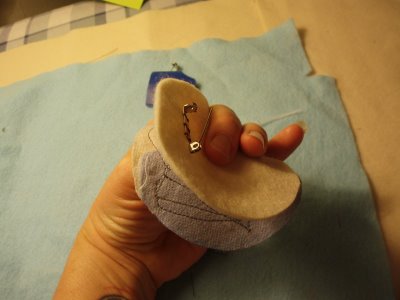
Sew the bar pin to the back of your felt piece. Think about where you want the location of the pin to be when you wear it. Make sure the opening of the pin is facing up so when you put it on it is easy to use.
-
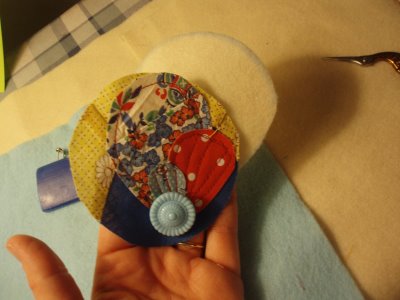
Design your brooch with fabrics and buttons. Figure out where you want everything.
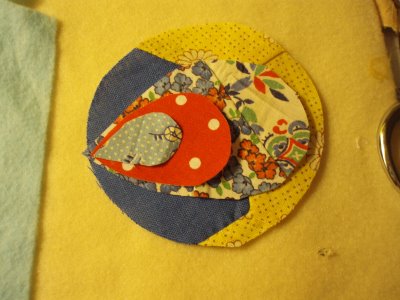
Then start attaching each item from the bottom layer up.
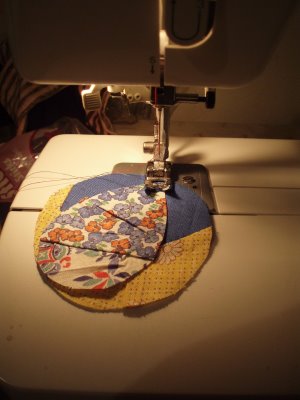
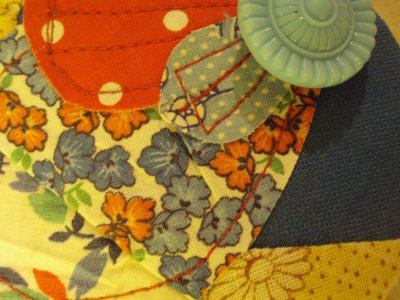
It helps to use your iron here. Iron all the scraps first. Then and if you want add interface to the back of them. Iron the entire brooch after you attach each layer; this keeps everything nice and flat. I like to add decorative stitching to the final layers. Then I arrange a few buttons, or just one special button.
-
Decide which way you want the brooch to be worn and where the pin should be located in relation to that.
-
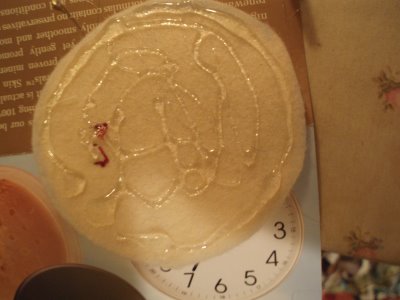
Apply Glue to the back piece . I like to go around about a 1/4 " away from the edge of the brooch with a thin line of glue. Then sort of zig-zag in the middle. Then gently and evenly apply the top piece to the backing. Take care not to squirt excess glue out the sides.
-
Trim any excess fabric
- ......Tada!
Read NextFabric Advent Calendar
Your Recently Viewed Projects
Thanks for your comment. Don't forget to share!
Marilyn B
Jan 23, 2017
In addition to a button or sequin embellishment, you could use metallic or fabric cord and spiral it around starting tightly in the center and wind around to the edge. You can easily apply it with a zigzag stitch, with matching or even contrasting thread for a meat look. You could also add a barrette clip to wear in the hair as well as a pin! Love it! Thanks for sharing! In addition to using a button, you could add a sea shell, or faux pearl! Another approach would be to take metallic or fabric cording and start with a tight spiral winding it in a coil to the edge and attach with a decorative zigzag stick using matching or contrasting thread
Suziqnh 4088088
Nov 16, 2013
Will definitely make some of these for Sorority Sisters.. so cute
zeedin 5817871
Aug 09, 2011
I think this is a great idea of using up all the scraps to recycle it. I love it. This is a great way of using one's fancy buttons and beautiful scraps that one does not want to toss it. How neat!
thomashartm 191199 1
Jan 02, 2011
Thanks for submitting this idea. I have been trying to figure out how to make a pin for my sister using acorns from my oak tree to represent our "Nutty" family- This has given me a great idea for the base and attaching the acorns. Thanks for the inspiration. Tomas Tarpon Springs, Fl
RosieW
Aug 05, 2010
all the comments have made this cute idea come to life! I love the magnet idea,, will be cute stocking stuffers! eeewwwwww, I m mad at myself for bringing up THAT subject. Tahnks for the idea1
Kimikocw
Mar 14, 2010
This looks like a quick and easy project. I'll have to try it. My question is if I decide to use the interfacing would I use the heavier weight interfacing, or does it really matter?
Penny Oo
Jan 18, 2010
I made heart shape ones by gluing pieces of fabric to a piece of cardboard. Kinda like a crazy quilt. I watered down my glue. after it dried I put lace around the edge on the back, and then glued a felt back on it. I embellished them with bling and buttons. I have been sneaking them on to peoples coats at church. It's quite comical to see them notice and wonder where that came from. They are very inexpensive to make, and they make great Valentines Day gifts. You can also use them as refrigerator magnets, by adding a magnet instead of a pin to the back.
Report Inappropriate Comment
Are you sure you would like to report this comment? It will be flagged for our moderators to take action.
Thank you for taking the time to improve the content on our site.