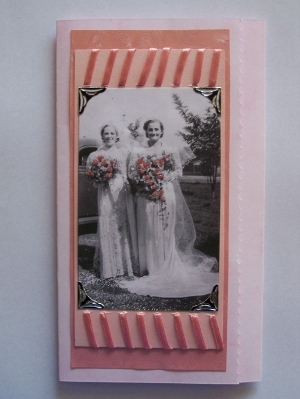
Vintage Wedding Invitation
Invite friends and family to your wedding with this beautiful handmade Vintage Wedding Invitation. Use an image of your parents, grandparents, or great-grandparents on their wedding day for an invitation and keepsake all in one. This is a beautiful card to make that will mean a lot to your close family and friends. You could also use this handmade card design as a congratulations card for a summer vintage wedding or a Happy Anniversary card for someone in your family.

Materials:
- Black-and-white vintage family wedding photo
- 11.4” x 8.2” light pink marbled cardstock
- 7.1” x 3.4 “ darker pink cardstock
- 6.5” x 3.2” light pink textured cardstock
- 60” of 0.1” pink silk ribbon
- Pink craft foil
- Four scrapbook photo corner stickers
- Foilart Super-tack glue pen
- Craft glue
- Stanley knife (utility knife)
- Scissors
- Pattern edged scissors
- Ruler
- Photo editing software (optional)
Instructions:
-
Scan the photo onto your computer.
-
If the photo is not black-and-white, use photo editing software to turn it into black-and-white.
-
Resize the photo if necessary and print it out.
-
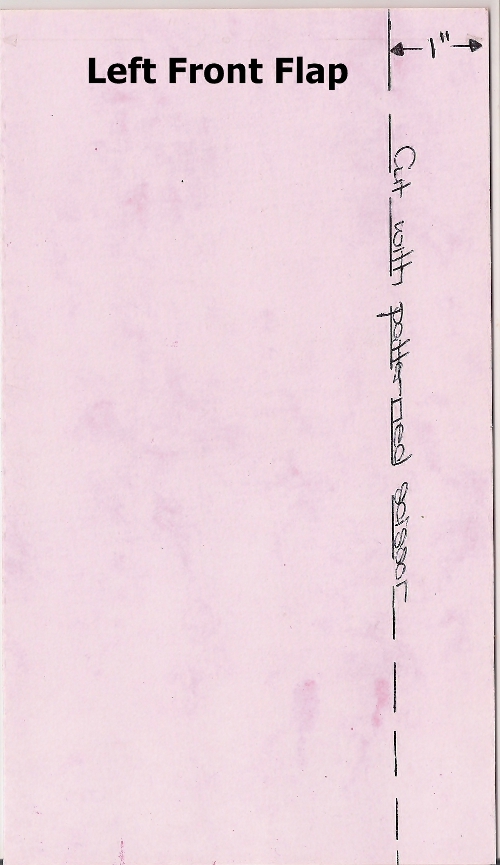
Score the light pink marbled cardstock lengthwise 4.6” from the left and 2” from the right.
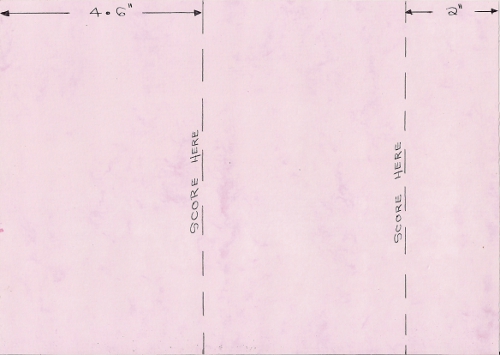
-
The card will now have two folds ~ cut the front right edge with the pattern edged scissors.
-
Glue the 7.1” x 3.4“ darker pink cardstock to the front of the left flap, carefully ensuring that it is an equal distance from the edges.
-
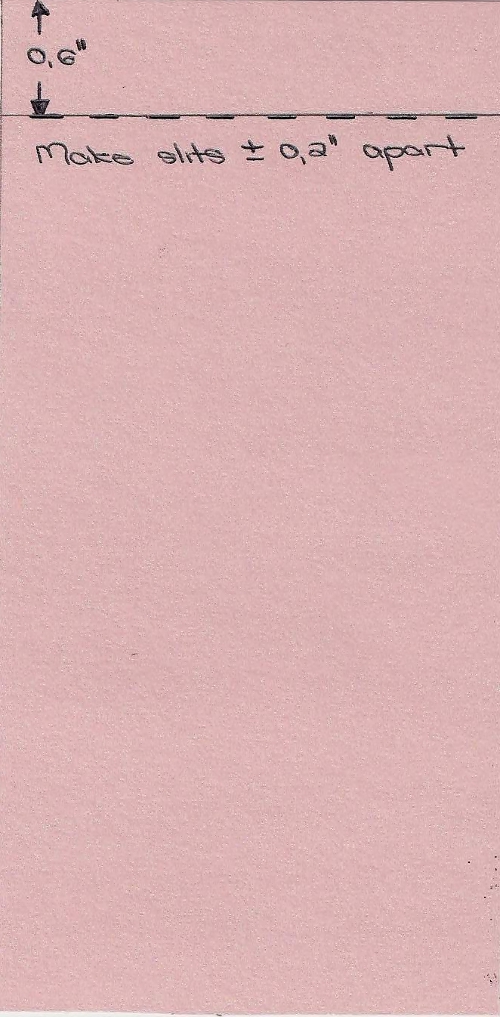
Now use the Stanley knife and light pink textured cardstock ~ make small slits 0.6” from the edges and 0.2” apart.
-
Thread the ribbon through the slits and around the textured cardstock, and glue the ends of the ribbon in place at the back of the piece of cardstock.
-
Glue the light pink cardstock to the front of the left flap, on top of the darker pink cardstock, carefully ensuring that it is an equal distance from the edges.
-
Glue the black-and-white photo to the front of the left flap, on top of the lighter pink textured cardstock, carefully ensuring that it is an equal distance from the edges.
-
Add the photo corner stickers to the corners of the photo.
-
Add Super-tack glue to the areas of the photo that must be highlighted with the craft foil.
-
Allow the Super-tack glue to dry for about 30 minutes. When the glue is wet, it is blue, but when it is dry it becomes transparent.
-
Press foil down on the glue. Remember that – of course - the pink side of the foil must be on top.
-
Rub the foil over the areas where you have added glue with the Super-tack glue pen.
- Carefully lift the foil. On the areas where you have added glue with the Super-tack pen, some of the foil will stay behind, thereby highlighting certain areas or features of the photo.
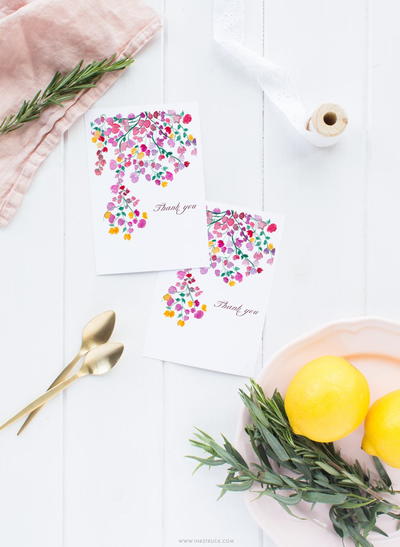
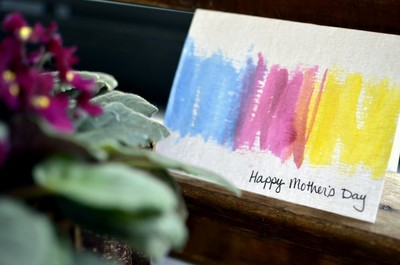
Read NextEasy Watercolor Greeting Cards
Your Recently Viewed Projects
Thanks for your comment. Don't forget to share!
siempre2 2206069
Feb 18, 2013
this demo for a wedding invitation can also be used for another ocassion which i just might take these ideas for my own when making invitations for a quinceanera (15th bday celebration, mexican tradation). also thanks for giving us the sizes and instructions.
Report Inappropriate Comment
Are you sure you would like to report this comment? It will be flagged for our moderators to take action.
Thank you for taking the time to improve the content on our site.