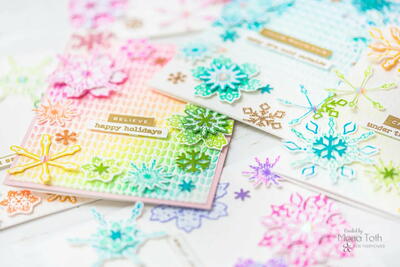
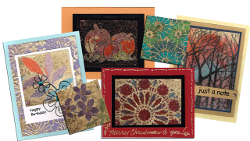
Mica Stencil Greeting Cards
Cut corners this holiday season and save money on common items like cards. Greeting card crafts projects allow you to get creative and try something new. Make Mica Stencil Greeting Cards from Susan Pickering Rothamel and change the way you look at paper crafts.
Materials:
- Cut Bond Create Adhesive Film (CBC)
- Mica D’Lights
- Gildenglitz Gold Leaf (optional)
- Stencil – Metal or Plastic
- Pick & Pierce Tool
- Texture Sponge
- Cardstock
- Scissors
Instructions:
-
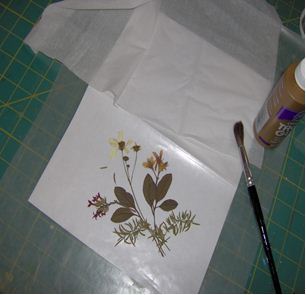
Cut the CBC to fit either all or a portion of a stencil. The stencil may be metal or plastic.
-
Using the Pick & Pierce Tool, remove the white liner of the Cut Bond Create by gently poking the liner corner. Grab it as it comes away, and pull off the entire liner layer.
-
Place a stencil onto the sticky side of the Cut Bond Create.
-
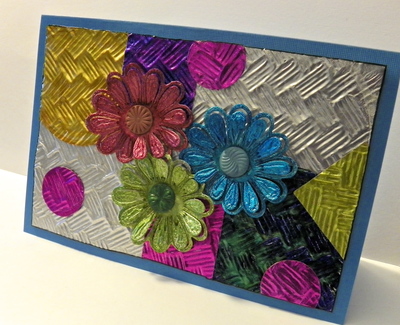
Lightly sprinkle on several different colors of Mica D’Lights until all areas have been covered.
-
Use your fingers to rub and blend the colors together, which gives a sparking watercolory appearance.
-
Use the Texture Sponge to press and remove the extra bits of mica, filling in the holes and lighter areas with any extra Mica D’Lights.
-
Gently remove the stencil.
-
Either sprinkle a contrasting color of Mica D’lights onto the remaining tacky areas, or use Gildenglitz! Once again use your Texture Sponge to press down and remove the excess bits.
-
Use your Pick & Pierce™ Tool to remove the back liner of the Cut Bond Create (this liner is is the grid part and allows you to cut along the lines for trimming).
- Attach your image to a piece of cardstock, trim if necessary and create a greeting card.
Tips:
-
Any type of stencil will work (metal or plastic). But if using a stencil with fine detail, remove the stencil very carefully so as not to bend any of the little wire-like areas.
-
The Pick & Pierce tool makes it easy to remove any type of liner. You don’t have to struggle, especially if you have no fingernails!!
- Trim the decorated piece of Cut Bond Create to create several pieces of artwork!
For a comprehensive video tutorial of this project, check out How to Stencil with Mica.
Read Next64 Handmade Cards for Every Occasion