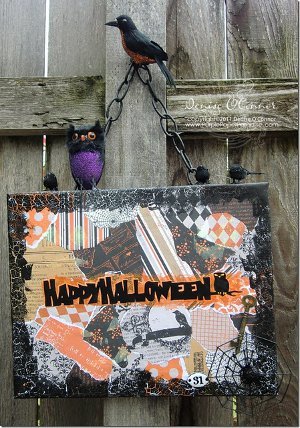
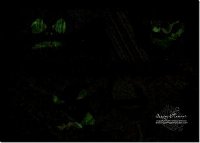
Spooky Glow in the Dark Sign
Need some Halloween decorating ideas? Here's a great project for an October afternoon. Scrapbook paper and your eCraft electronic die cutting machine by Craftwell can help you create this Spooky Glow in the Dark Sign!

Materials:
- eCraft machine
- 11x14" canvas
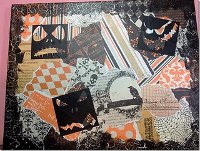
- Various Halloween scrapbook paper (ours was from Echo Park Apothecary Emporium)
- Glue n' Seal adhesive
- Distress Crackle Paint (Black Soot)
- Removable Vinyl
- Glow in the Dark paint
- Glitter paint
- Various Halloween embellishments
Instructions:
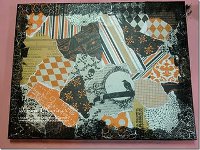
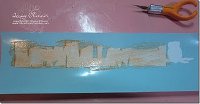
- Rip your paper into smaller sections and cover your canvas with the paper. Use Glue N’ Seal to adhere it down.
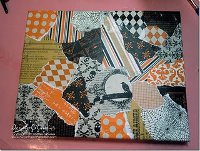
- Add some Distress Crackle Paint in Black Soot to the edges.
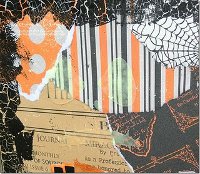
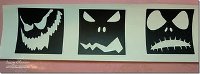
- Use images from the Lettering Delights doodlebats Jack-O-Patterns and cut out on removable vinyl (for all the vinyl on this project, we used a pressure setting of 2 with a vegetable cutting mat, blade cap on, and multi-cut off.
- Place them sporadically on your sign, making sure that you have enough room for the title).
- Use a glow in the dark paint and apply 4 coats to your project...then remove the vinyl (we recommend the uncolored Glow in the Dark Effect paint from Martha Stewart).
- Now it's time to add the title. On your eCraft machine, make a shadow blackout layer in eCraftshop Pro using some white vinyl. After cutting it out, I cover it with some glitter paint.
- Notice in the picture above how the paint pools on the backing paper? This is a really neat effect. To do it, add 3 or 4 coats of the paint until you got the orange color that you're going for and then add that onto your sign with the extra paint pooling on the edges.
- Cut the black layer out of outdoor vinyl because it adheres stronger. You could also use cardstock with a strong liquid adhesive. If the outdoor vinyl does not stick as well as you would like, you can add a little liquid adhesive to secure it.
- The eyes and toes on the owls were also cut out of vinyl. When you get the image from eCraftCentral.com, those parts are actually set to draw with the pen. In eCraftshop Pro, this is easy to change to "cut". To finish the sign off, use some Halloween embellishments of your choice.