Creepy Card
Use this Halloween card craft from Sue Eldred to make a creepy card for someone special. This paper craft is just creepy enough for Halloween.

Materials:
- Fabri-Tac Glue (Beacon Adhesives)
- Black Ink
- Black Cardstock
- Clear Acetate
- Double Stick Tape Runner
- Foam Mounting Strips (Thermo-Web)
- Mc Gill’s Paper Blossoms Punches:
64503 Floral Petals Punch
64502 Birch Leaf Punch
64500 Alpine Snowflake
65800 Tool Kit
65900 Craft Molding Mat - My Little Yellow Bicycle:
BV-301 Boo-Ville Chipboard Frame
BV-190 Boo-Ville Clear Stickers
BV-106 Green Poison Dots
BV-109 Enchanted Black Chandelier
BV-112 Orange Dots w/ Trim
Instructions:
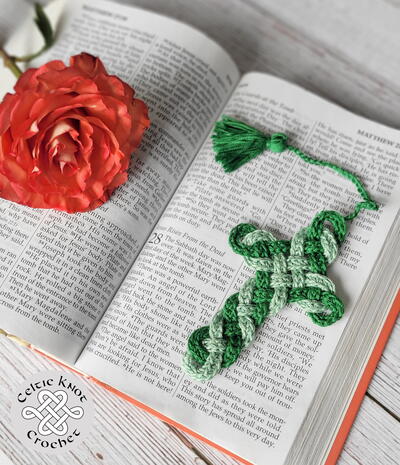
Rose Assembly:
- Punch Floral Petals 6 times with Orange Dot Scrapbook paper.
- Ink the edge of each petal with Black Dye Ink.
- Place the petals on the Craft Molding Mat. With the large ball stylus #8, move the stylus around in small circular motions with medium pressure to shape each petal. The petals will start to curl on the edges.
- Place the tweezers at the smaller, defined end of the petal. Use your index finger and thumb to pinch the shape around the end of the tweezers.
- Holding the pinched end between your finger and thumb, use the tweezers to grasp the side of the shape and roll back to form petal.
- Punch a snowflake out of black cardstock. Lay the snowflake on the Craft Molding Mat, use the #8 stylus and move in small circular motion in the center of the snowflake. The snowflake will cup up. This will be used as our flower base.
- Start with the cupped snowflake. Working with the largest petals first, dip the end of each individual petal into the glue and adhere the petal to the snowflake base. Continuing with the next largest petals to the smallest, glue to the base one by one until you get to the center. The last couple of small petals curl inward to create center.
- Punch two leaves from the Green Poison Dots Scrapbook Paper. Ink the edge of each leaf with black ink.
- Shape the underside of each leaf with the #8 stylus. (step #3)
- With the small end stylus #2 draw veins onto each leaf. Glue leaves to rose.
Card Assembly:
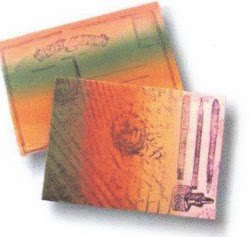
- Add Crow and Green Flourish Stickers to 3 ½” x 4 ½” white cardstock.
Center onto layers:
4 ½” x 5 ¼” Green Poison Dots
5” x 5 ¾” Enchanted Black Chandelier
5 ¼” x 6” Black Card
- Add foam mounting strips under Black Frame. Add frame over “Crow & Flourish”
- Add assembled Rose inside the bottom right corner of the frame with Fabri Tac Glue.
- Adhere “Spider” sticker to clear acetate and cut around spider. Glue to top right corner of frame.
- Adhere “creepy” sticker to a small piece of Orange Dot paper. Add foam mounting strips and add to top left corner of frame.
Inside of Card:
- Place “Happy Halloween” from the Boo Ville stickers onto the center of a white cardstock layer 3 ¾” x 4 ½”.
- Cut two strips of Orange Dot paper ¾” x 4 ½” and adhere one strip to the top and one strip on the bottom of the white cardstock layer.
- Continue layering with a 4 ¼” x 5” Green Poison Dots layer, then onto a 4 ¾” x 5 ½” Enchanted Black Chandelier layer.
- Add layers to inside of card.