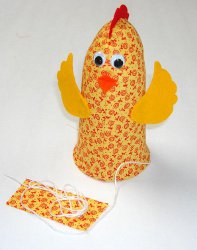
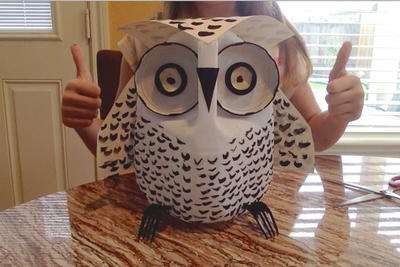
Whimsical Chicken Noisemaker
Don't throw away that plastic cup! Instead, use it to create a Whimsical Chicken Noisemaker from Heidi Borchers! Crafts made from recycled materials are a great way to trim your trash and be eco-friendly! Plus, who wouldn't want this little cutie on their desk or table?
Materials:
- 16” square of yellow print fabric
- Felt scraps: yellow, red, orange
- Cotton crochet thread
- Glue
- Styrofoam ball 2” diameter - cut in half
- Polyester stuffing
- Plastic cup 10 ounce
- Wiggle eyes-2- 1/2”
- Push pin
- Bead- small for end of thread
Instructions:
- Use the push pin to poke a hole in the center of the bottom of the cup.
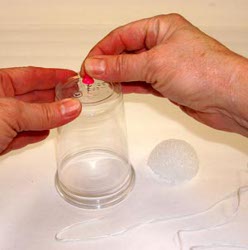
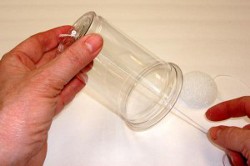
- Push one end of the thread through the hole. (Hint-Place small amount of glue on the end of the thread, let dry, then insert into hole).
- Place the small bead onto the thread on the outside bottom of the cup and knot bead onto the thread.
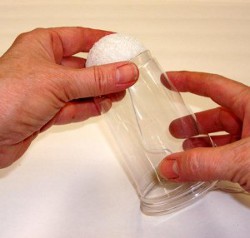
- Glue half of the Styrofoam ball onto the bottom flat area of cup covering the knot. Let dry.
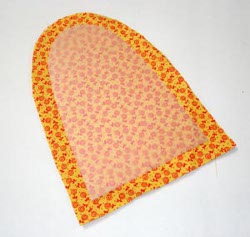
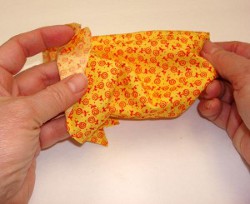
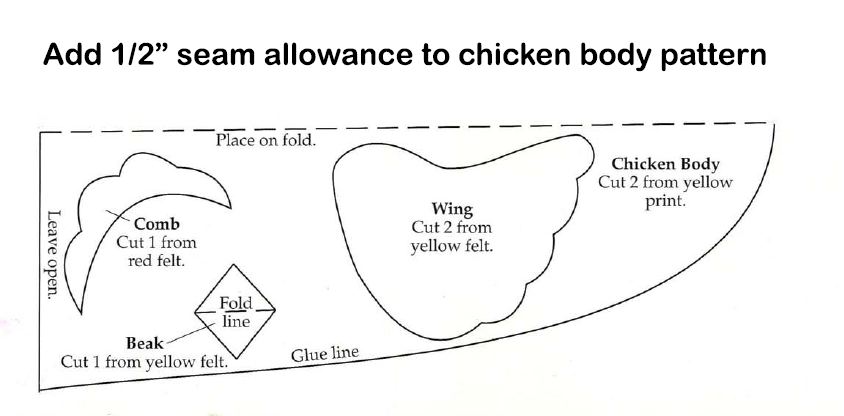
- Transfer the body pattern to the fabric and cut out.
- Be sure to leave a seam allowance of 1/2”.
- Squeeze a line of glue on the right side of one body piece, leaving bottom edges unglued.
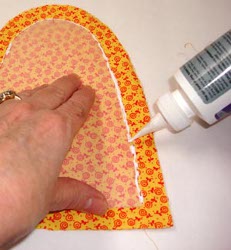
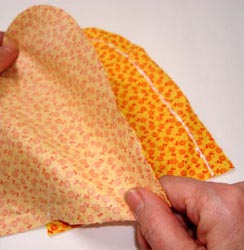
- With right sides facing and raw edges aligned, lay the other piece of the body fabric down to glue the pieces together.
- Let the glue dry.
- Clip the curves. This makes the seam nice and smooth when it's turned right side out.
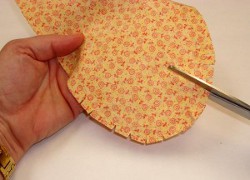
- Turn the body right side out.
- Place a small amount of stuffing on top of the Styrofoam ball.
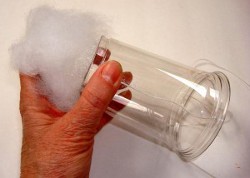
- Carefully pull the fabric body over the cup.
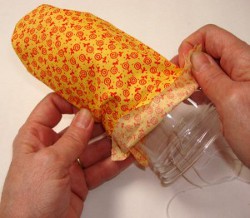
- Pull the fabric taut.
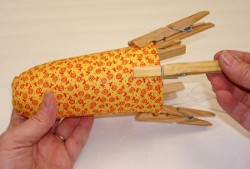
- Place glue on the inside bottom edge of the cup.
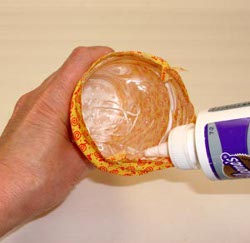
- Fold the fabric up inside the cup into the glue.
- Use clothespins to help hold until the glue dries.
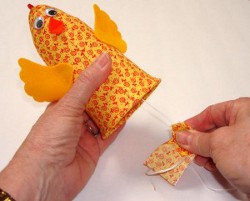
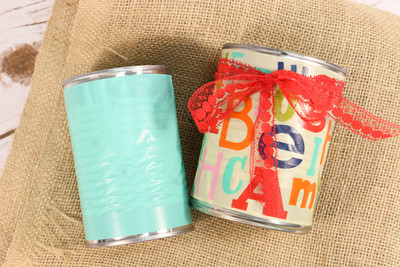
- Cut the remaining patterns from felt, and glue into place using the photo as a guide for placement.
- Glue on the wiggle eyes.
- Let glue dry.

- To create the ‘noise’, cut a piece of fabric 3” to 4” square.
- Dampen the fabric square with water and fold in half around string.
- Jerk fabric down string to make noise.
For a comprehensive video tutorial, check out How to Make a Chicken Noisemaker.
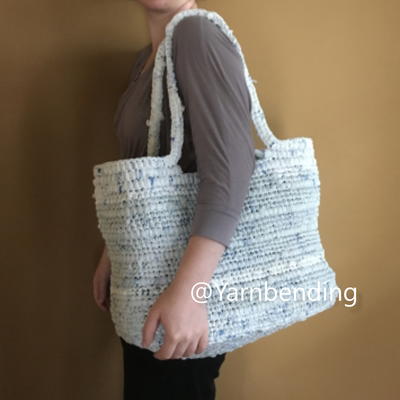
Read NextLarge Durable Plarn Tote


Thanks for your comment. Don't forget to share!
KathrynAllison
Mar 25, 2016
I love eco-friendly projects like this cute little chicken. It's great when you can reuse materials you already have. Plus, it's a great teaching moment for kids.
Report Inappropriate Comment
Are you sure you would like to report this comment? It will be flagged for our moderators to take action.
Thank you for taking the time to improve the content on our site.


