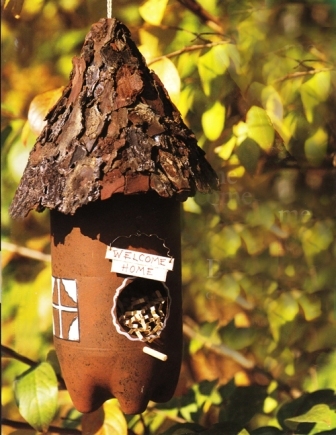
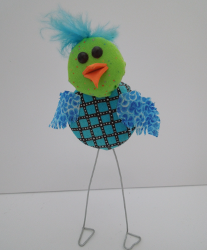
Plastic Bottle Cap Bird
Go green and make plastic bottle cap crafts that adults and kids will love to look at. A Plastic Bottle Cap Bird from Heidi Borchers is a fun and whimsical decorative piece you can display anywhere. Use feathers and fabric scraps to bring your little guy to life.

Materials:
- Aleene’s Original Tacky Glue
- Plastic water bottle or soda caps – the deeper caps are the best choice for this project – smaller size for head – larger size for body
- Drill and small drill bit
- Cardboard – cereal box or thin cardboard
- Circle template
- Fabric scraps
- Batting – 1/4″ thickness
- Craft wire – 18 gauge (or strong enough to hold birdie upright)
- Feathers
- Craft foam
- Flat back beads – black (for eyes) or wiggle eyes or buttons
Instructions:
-
Drill two small holes in side of larger cap – spaced approximately 1/2″ apart. (These will be used for wire legs.)
- Use your circle template to determine the inside measurement of the bottle caps. Cut circles from cardboard to fit inside caps.
-
Cut and glue fabric to one side of each cardboard circle.
-
Cut and glue batting to outside top of caps.
-
For head, measure and cut two circles approximately 2-1/2 times larger than the smaller bottle cap. Apply glue to outside and inside of cap. Place cap batting side down centered on wrong side of fabric. Wrap fabric up and around sides of cap and press into glue on inside of cap. Adjust to remove as many excess wrinkles or folds on top of cap.
-
Glue fabric covered cardboard inside cap to cover gathered fabric.
-
Repeat to cover body cap with fabric. Note: Be sure to mark where the drill holes are so that you can find them again after you attach the fabric in place.
-
Cut two pieces of wire to approximately 7″ each. Turn one end of each wire into a spiral. This will help to stabilize the wire inside the cap. Cut the opposite end to a sharp point and press one wire through each hole. Glue spiral end inside cap. Cut sharp point to a blunt end.
-
Using pliers, form a triangle shape at the blunt end of the wire and then bend at 45 degree angle to form birdie foot.(Once you fully assemble your birdie, you may need to readjust the feet angle.
-
For beak, cut two pieces of craft foam into small triangles. Glue in place on front of head cap.
-
For eyes, glue two beads in place above beak.
-
For wings, cut two leaf shapes. Fringe edges with scissors. Glue in place on body.
-
Glue head to front top of body.
-
Glue small feather fluff on head. Let glue dry completely.
- Re-adjust feet as needed so that birdie can stand solidly.
For a comprehensive video tutorial of this project, check out Aleene's Bottle Cap Birdie.
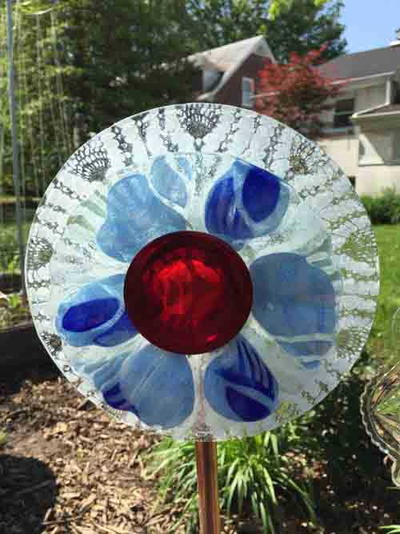
Read NextGarden Dish Flowers
Your Recently Viewed Projects
Thanks for your comment. Don't forget to share!
brenda
Jan 06, 2013
Love the idea will give a copy to a friend & school TA as that is the sort of thing they do with children also save the project for myself.
Report Inappropriate Comment
Are you sure you would like to report this comment? It will be flagged for our moderators to take action.
Thank you for taking the time to improve the content on our site.