CD Cupcake Stand
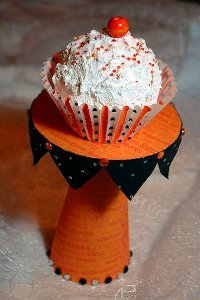
Use this recycled CD craft idea from Alexa Westerfield to make a CD cupcake stand. Turn an old CD into a cute stand to hold a single cupcake for your next party.

Materials:
- 1 used CD
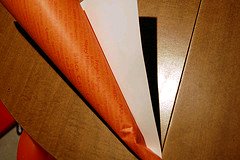
- 1 piece of 12" x 12" orange scrapbook paper
- 1 piece of 12" x 12" silver polka dotted scrapbook paper
- Xyron runner or self-adhesive spray
- 1 package self-adhesive rhinestones (I got mine at Michael's in Halloween section)
- 1 small styrofoam cone
- Jack o' Lantern Orange Americana Acrylics paint
- Black Craft Twinkles Writer paint
- Jar of Snow-Tex (4 oz.)
- Glamour Dust Glitter by DecoArt
- White jumbo cupcake holders (mine were from Wilton)
- Medium sized smooth foam ball
- Orange seed beads (mine were an assorted mix)
- Medium sized wooden orange bead
- Glue gun and glue sticks
- Scissors
- Palette knife
- Paper cutter or ruler and exacto knife with cutting board
- Small liner brush
- Pencil
- Kitchen knife
- Scotch tape
Instructions:
For CD cupcake stand:
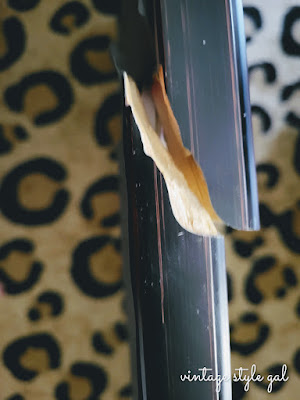
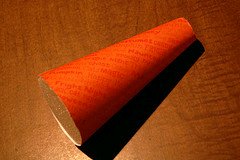
- Take spray adhesive or Xyron runner and coat back of 12" x 12" paper. Wrap paper around cone until tight and secure. Cut off top and bottom of paper around cone.
- Lay cd on top of adhesive on remaining 12" x 12" paper and trace with pencil. Cut out with scissors.
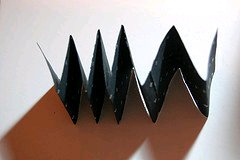
- From the 12" x 12" black paper, cut out two strips 12" long by 2" wide. Lay side by side to form one long strip. Place tape in middle to join the two strips.
- Accordian fold the strips back and forth in approximately 1.5" segments. When finished, cut diagonally on both sides 1/8" down from top of folded strip. Unfold to reveal pennant banner design.
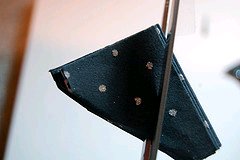
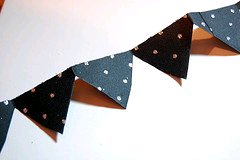
- Carefully glue gun pennant banner around side of CD, and cut off and glue any excess that overlaps.
- Use glue gun to glue top of styrofoam cone to bottom of CD.
- Embellish bottom of stand with black and silver self-adhesive rhinestones, and dot in between pennant sections using orange rhinestones.
For cupcake:
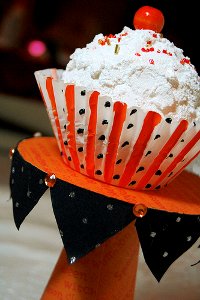
- Using liner brush, paint alternating sections fo the cupcake holder Jack O' Lantern Orange. Let dry.
- Use Black Craft Twinkles to dot in between these alternating stripes as shown. Set aside and let dry.
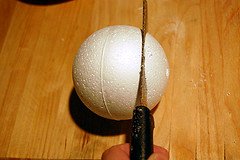
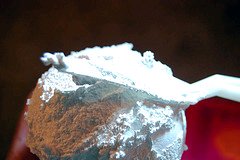
- Cut off the bottom of the foam ball to create a flat surface using kitchen knife or styrofoam cutter.
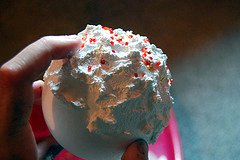
- Add a few drops of water to your bottle of Snow-Tex paint. This will give it a creamier consistency for your "frosting". Frost your cupcake everywhere except for the bottom. While wet sprinkle on beads and gently press into place. Also place wooden ball into place into this wet paint. Sprinkle on Glamour Dust as well over top. Let dry.
- Once dry, use glue gun to glue cupcake to bottom of paper cupcake holder. Place on top of your finished cupcake stand and admire :) Here's a detail!
Your Recently Viewed Projects
Thanks for your comment. Don't forget to share!
treklovers1964
Feb 29, 2012
I thought it was for a REAL cupcake...not a fake one. :( Maybe clarify in the future what is real and what's not. :)
joetathome 0975469
Jun 17, 2011
I love the fact that they are low calorie! Plus they look beautiful all the time and don't melt or get all over the carpet like real cupcakes! What a good way to use old CD's too!
Report Inappropriate Comment
Are you sure you would like to report this comment? It will be flagged for our moderators to take action.
Thank you for taking the time to improve the content on our site.