How to Make Bottle Cap Wall Art

Looking for fun bottle cap craft ideas? You're in luck! Learn how to make bottle cap wall art that can be displayed anywhere. This is a fun and easy craft project from Heidi Borchers that's sure to spice up your space. Use embellishments to create a unique piece.
Besides bottle caps, you'll need marbles and buttons to create a truly original design. For your canvas, you can use an empty wax paper box. Talk about cheap and easy crafting! Don't spend big money on generic, impersonal wall art. Instead, make your own pieces and show off your personality.
Primary TechniqueGreen Crafting

Project TypeMake a Project
Materials List
- Aleene’s Original Tacky Glue in the Gold Bottle
- Aleene’s Tacky Tape Runner
- Aleene’s Hot Glue Gun
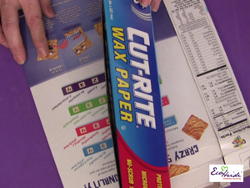
- Wax paper box (empty) or other choice of box or canvas surface
- Plastic bottle lids
- Buttons and/or flat backed marbles
- Scrapbook paper – one 12″ x 12″ piece for box and other various scraps for accent squares
- Ruler
- Scissors
- Scoring tool
Bottle Cap Wall Decor Video Tutorial
How to Make Bottle Cap Wall Art
-
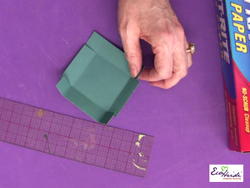
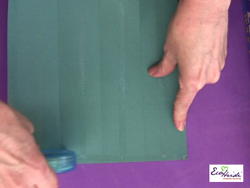
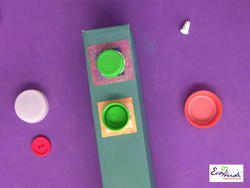
Select box for your “canvas” surface. I like the unusual shape of the wax paper or foil boxes for this project. You can also use cereal boxes, shipping boxes or a stretched canvas. Glue your selected box shut with Aleene’s Hot Glue.
-
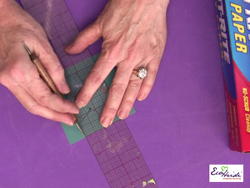
For the wax paper box, I measured to determine size of paper for ends of box. (The 12″ scrapbook paper was slightly short so I had to cover each end.) On this wax paper box, the measurement was 2″ square so I added 1/2″ around all edges and scored along ruler line.
-
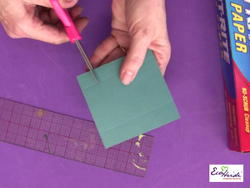
Next, cut 1/2″ into score lines along opposite edges. This will create the flaps to wrap around box.
-
Bend paper along score lines.
-
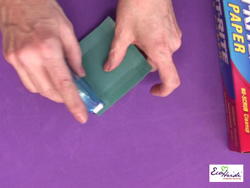
Apply Aleene’s Tacky Tape Runner along all edges and in center.
-
Press into place on box end, wrapping tabs, and adhere in place.
-
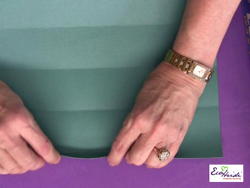
Measure and mark score lines to fit scrapbook paper around box bend on score lines. On this box, I made score lines at 2″ intervals and added an additional 1/2″ to overlap.
-
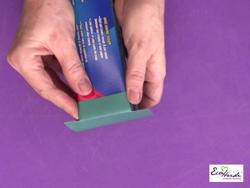
Apply Aleene’s Tacky Tape Runner to each section and along edges.
-
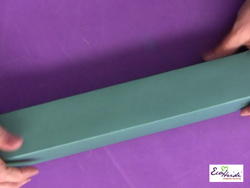
Adhere paper around box.
-
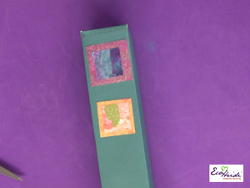
Cut scrapbook paper scraps into assorted square shapes. Apply Aleene’s Tacky Tape Runner to back of paper and adhere to box. Layer for interesting patterns.
-
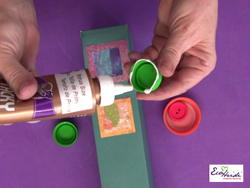
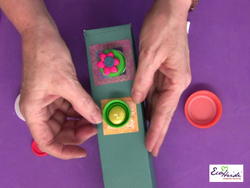
If desired, paint bottle caps with acrylic paint. (The bottle caps I used in this tutorial were not painted.) Apply Aleene’s Original Tacky Glue to plastic bottle caps and adhere over scrapbook paper squares.
-
For variety, glue some caps face up and some caps face down.
-
Glue buttons and marbles in place on bottle caps.
-
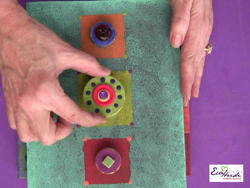
If you don’t have a box on-hand, you can use other surfaces for your canvas. On this project, I used a piece of masonite for the base of my project which I then sponge painted. The squares were also painted and are highlighted with paint dots in the corners. I also used larger plastic bottle caps for this art piece.
-
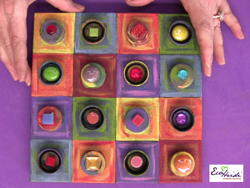
For this project, I used a stretched canvas. To create the background design, I marked off lines to create squares and then I painted each square a different color. I used a dry brush technique to add an accent color to each square. Next, I glued the bottle caps in place and then added various tiles and flat backed marbles for the final touch!
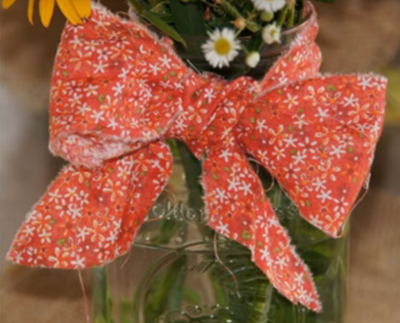
Read NextHow to Tie a Fabric Bow on Mason Jar