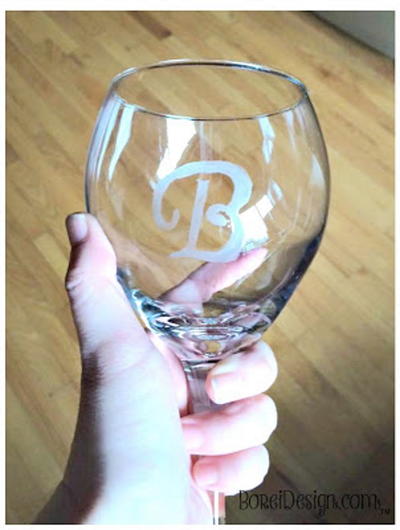
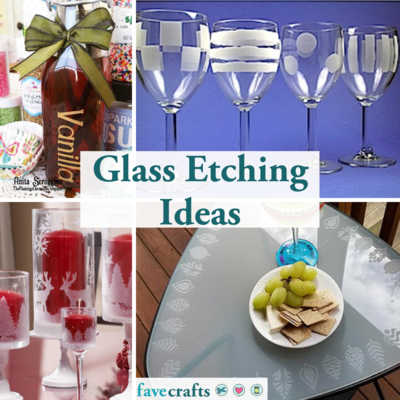
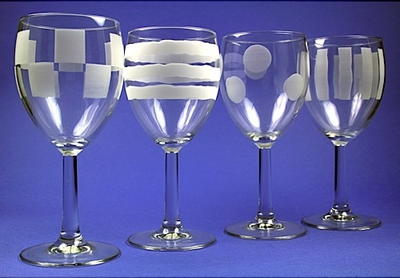
Etched Wine Glass
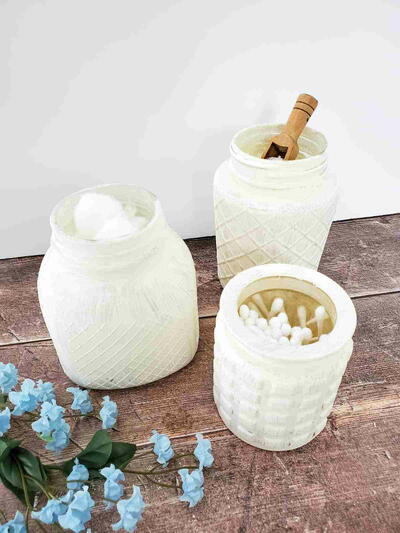
It's never been easier to make Etched Wine Glasses. Serve your guests wine in your homemade glasses or use this as inspiration for homemade gift ideas. Whether you're looking for homemade Christmas gift ideas or simply want to welcome a friend to his or her new digs, this is a great way to show someone you care. Best of all, this craft is super easy to complete, so you don't have to spend all day working on your masterpiece. Try different shapes and patterns - before you know it, you'll have a cabinet full of homemade wine glasses.

Materials:
- 15-0150 Armour Etch Cream, 70-9001 Sand Etch Kit or 61-5020 Pencil Bottle Blaster
- Assorted decals, stickers, labels (optional)
- 31-0401 BeigeVinyl masking
- Straight sided drinking glasses
- Pencil or marker that will write on the vinyl masking
- Craft knife
- Sponge brush
- Old credit card or letter opener
- Scrap or sheet of computer paper
- Popsicle stick
- Thick towel (optional)
Materials:
- Wash & dry glass in hot soapy water prior to applying stencil.
- Cut a piece of vinyl masking slightly longer and wider than the length & circumference of your glass.
- Wrap the piece of vinyl masking completely around glass, applying and smoothing in one direction as you go, leaving no gaps or air bubbles. This may be easier to do if you lay the glass down on its side on a thick, folded towel. Trim masking at the top & bottom.
- With a pencil or marker, draw horizontal & vertical for the stripes or broken squares. Stickers can be used as a templete to cut the circles.
- Cut out one stripe or block at a time and peel away a section. This will be the part that will be etched.
- Take a piece of paper and lay over remaining masking. Take a popsicle stick, letter opener or old credit card and rub over the paper to smooth down the vinyl. Examine every strip of masking remaining and make sure every edge is tight to the glass. The better the masking is bonded to the glass, the better your results will be.
- Etch the glass with your preferred method. If you are using the Etch cream, do not apply the cream on the stripes like your painting (straight strokes). It will come out streaky and blotchy. Instead, pat the cream on randomly with the sponge brush, going back around to fill in any spaces until every spot of glass is covered.
- Rinse glass under warm, running water until all cream or sand is off the glass. Remove masking and rinse again.
- Dry glass & enjoy!
Your Recently Viewed Projects
Thanks for your comment. Don't forget to share!
Weberme
Aug 10, 2016
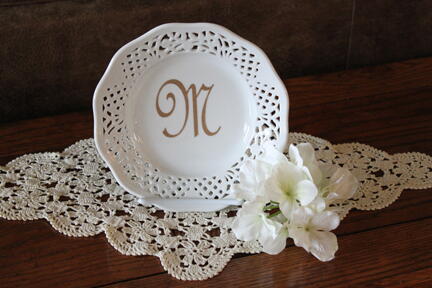
OKAY so you can use a glass or plate after it has been etched? I thought it would be harmful after using the etching cream. These are so pretty that I may try etching now and make these glasses. Can you put it on glass plates too? If so this is such a great way to make your place settings your own on clear glass plates. Would that not look good on your holiday table? I wish there was a video to explain it though.
Toby K Editor
Jul 19, 2016
I've seen this done before, and I always wondered how it was done. These look so pretty! I'm trying this out for sure )
Report Inappropriate Comment
Are you sure you would like to report this comment? It will be flagged for our moderators to take action.
Thank you for taking the time to improve the content on our site.