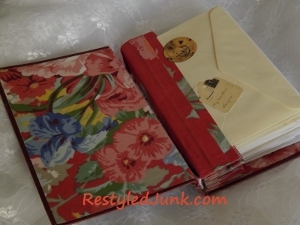
Made From Scratch Memory Book
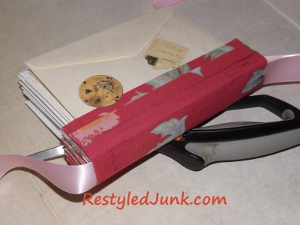
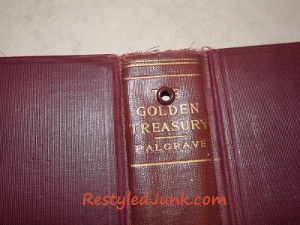
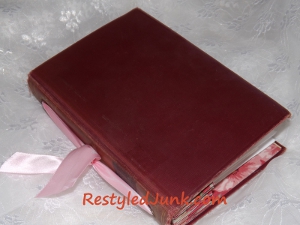
If you have envelopes and a old book, you can easily create this Made From Scratch Memory Book. Recycled craft ideas can help you clean up your clutter and save on craft materials. Tuck important papers and images into the envelops so you don't forget a thing. You can also make this for a friend and give it as a gift. This thoughtful gift will show how much you care without breaking the bank.

Materials:
- Old hardback book
- Craft knife
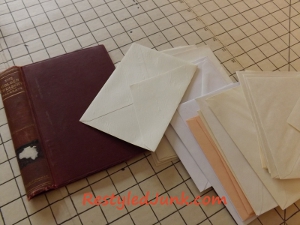
- Assorted envelopes
- Cotton fabric
- Heavy-duty fusible web
- Iron
- Scissors
- Ruler
- Flat embellishments
- Stick glue, rubber cement, paper adhesive and/or craft glue
- Chipboard
- Crop-A-Dile (heavy-duty hole punch and eyelet tool)
- Large needle
- Crochet thread or string
- Ribbon
- Two 1/4-inch metal eyelets
Instructions:
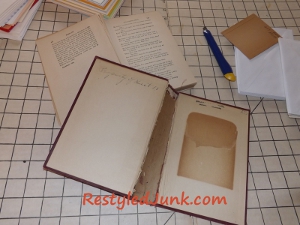
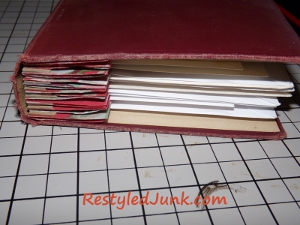
- Cut the pages from a hardback book along the spine using a craft knife. Do not cut through the spine or cover of the book. You will not be using the pages for this project.
- Measure the inside front cover of the book. Choose envelopes in assorted sizes, with no envelope bigger than 1/8 inch from each edge of the cover. Measure the width of the spine. Stack your chosen envelopes until the height of the stack is half the size of the spine width.
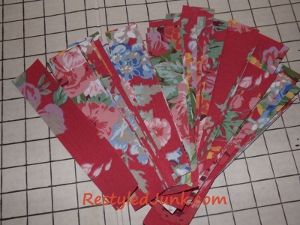
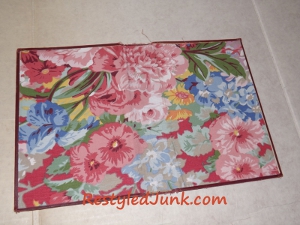
- Choose cotton fabric for your book's lining and the spine tabs of each envelope. The amount needed will depend on the size of the book and the number of envelopes used. Apply heavy-weight fusible web to the back of fabric.
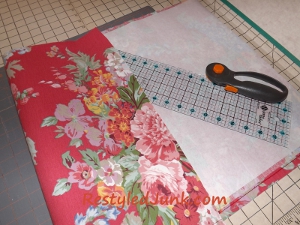
- Cut two 1 1/2-inch-wide tabs by the inside length measurement of the book cover for each envelope. Open the book cover and lay flat. Measure the inside of the cover (front, back and spine). Subtract 1/4 inch from both the length and the width. Cut one fused fabric rectangle using this measurement. This is the book lining. You will need one more piece to bind the envelopes together, but the measurements will need to wait until the envelope pages are constructed.
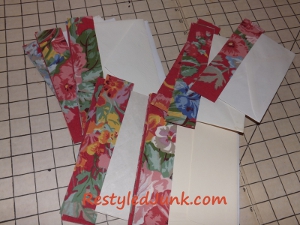
- Peel the paper backing from two envelope tabs. Place one tab horizontally on your ironing surface with the glue side facing up. Center the bottom edge of the envelope on the tab, 1/2 inch below the top, long edge of the tab. Place the other tab over the envelope with the glue side facing down. Align the top and side edges of the tabs. Iron to fuse the tabs together with the envelope sandwiched in between. Repeat with the remaining envelopes and tabs.
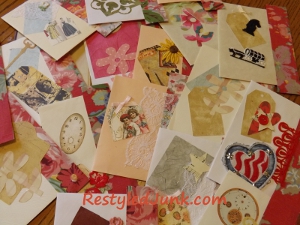
- Place an envelope page on your work surface with the flap side facing up. Turn the page with the tab on the left and the flap on the right. This is how the page will be inserted in the book. Decorate the front and back of each envelope page using any flat embellishments of your choice.
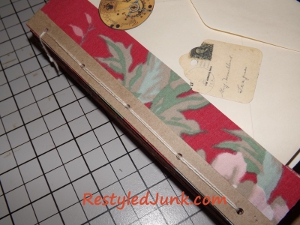
- Cut 1/2-inch-wide strips by the length of the fabric tabs from chipboard. The cardboard from the backs of old tablets are a great substitution for chipboard. Cut one strip for each envelope. Lay one envelope page right side up as instructed in Step 6. Glue one chipboard strip on the outer edge of the fabric tab using craft glue. Repeat with one chipboard strip on each page.

- Starting 1/2 inch from each end, evenly space and punch five holes down the middle of one chipboard strip. I used a Crop-A-Dile to punch the holes, but a leather or heavy-duty punch can be used. Place the punched page over another page. Align the tab edges. Use a pencil to mark through the punched holes to the unpunched strip. Remove the punched strip and punch each mark on the new page. Repeat until all the pages have been punched.
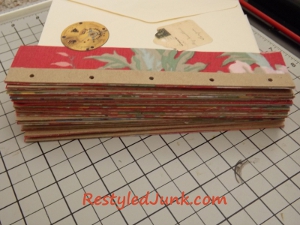
- Stack each page and align the tab edges. Insert the stacked pages inside the book cover. Close the book. If the cover does not lay flat, remove pages until it does. Remove the stack from the cover. Thread a large needle with two strands of crochet thread or string. Stitch the pages together through the punched holes. Knot the ends.
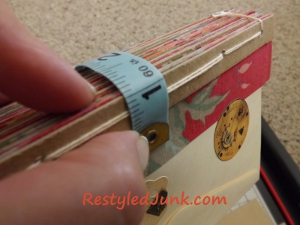
- Measure the depth of the envelope stack along the spine edge. Add 1 inch. Cut a fused fabric strip using this measurement for the width by the same length as the previous fabric tabs. Cut a length of ribbon three times the length of the book cover. Center the ribbon on the width of the spine with an even amount of ribbon extending from each end of the spine. Peel the paper backing from the fused fabric. Wrap the strip around the page spine, encasing the ribbon inside. Adjust the fabric strip with an equal amount folded around each side. Iron the strip to fuse and cover the spine.
- Open the book cover. Peel off the paper backing from the fused fabric book lining. Center the fabric on the inside of the cover and iron to adhere.
- Measure down 1/2 inch from the top edge of the cover and center a mark on the book cover's spine. Repeat 1/2 inch up from the bottom edge. Punch each mark. Insert and attach an eyelet in each hole.
- Place the pages inside the book. Thread the ends of the ribbon through the eyelets from the inside of the cover to the outside. Tie the ends of the ribbon in a knot on the outside of the book spine. Trim the ends if desired.
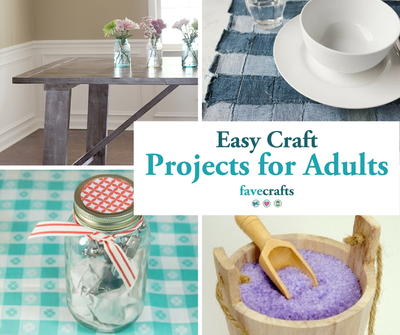
Read Next76 Easy Craft Projects for Adults