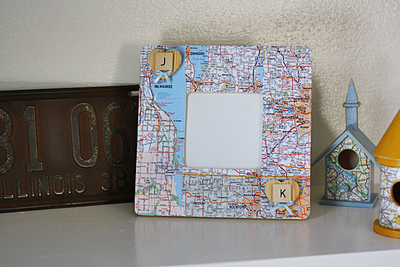
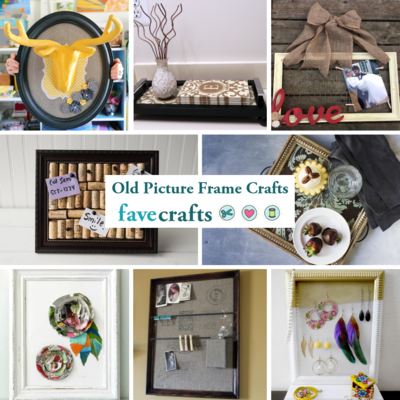
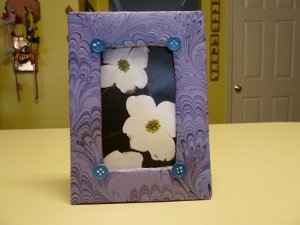
Scrapbook Photo Frame
Pretty scrapbook papers aren't just for your photo albums! The Scrapbook Photo Frame from Crystal Donnelly is one of our favorite inventive, easy crafts using scrapbook paper. Follow these simple instructions for how to make a homemade picture frame.

Materials:
- Corrugated cardboard
- Lightweight cardboard (cereal boxes are perfect)
- Scrapbook paper of choice
- Buttons or rhinestones for embellishing the frame
- Scissors
- Craft knife (Optional; for adults only)
- Tacky Glue
- Ruler
- Pencil
Instructions:
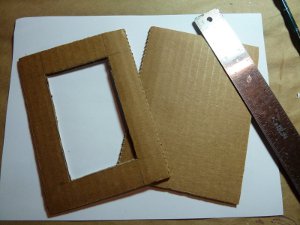
- Cut a piece of corrugated cardboard 6 ½ x 4 3/4 inches.
- Measure 1 inch from the edges of the cardboard all around and cut out the center. You may use a craft knife, but since the scrapbook paper covers the opening, it is not necessary to cut it perfectly. The opening should be about 2 ¾ x 4 ½ inches.
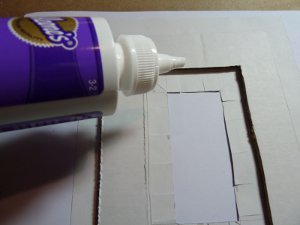
- Cut a piece of scrapbook paper 8 x 6 inches.
- On the non-colored side of the scrapbook paper, place the cardboard on top and trace the center opening. Measure ½ inch inside the marked line around and cut out.
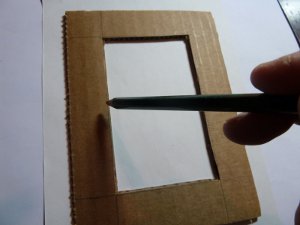
- Make slits in the paper around the opening of the scrapbook paper to the line that represents the cardboard opening. Add a bit of glue on the edges and fold up the scrapbook paper.
- On the outer edges, fold in the scrapbook paper at the corners and glue the sides to the cardboard. Do this all around to finish. Let dry.
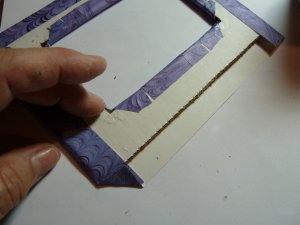
- Cut another piece of cardboard the same size as the frame, 6 ½ x 4 ¾ inches, and glue this cardboard to the back of the frame on three sides only, leaving the top edge unglued. You may use lighter weight cardboard here. (Cereal boxes are great sources of cardboard.)
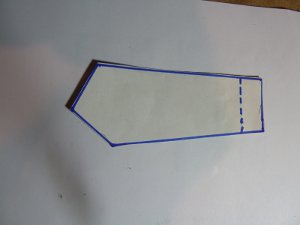
- Make a cardboard stand and cut out. (See photo) Fold 1/2 inch from the top and glue this section to the back of the frame. Make sure it is in the correct position for standing. Let dry.
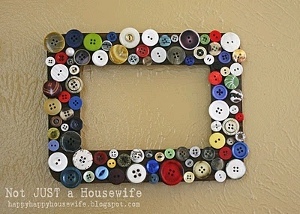
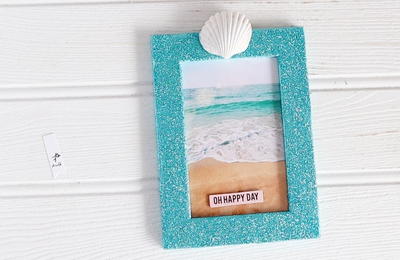
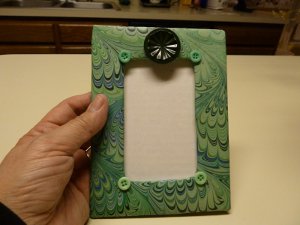
- When completely dry, glue some buttons or other baubles of choice to the corners as an embellishment and to hide any slight imperfections. Slip a photo into the top and enjoy.
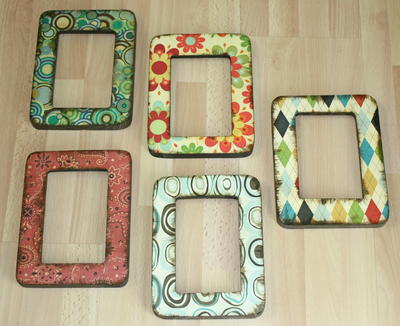
Read NextEasy Decoupage Frames
Your Recently Viewed Projects
Thanks for your comment. Don't forget to share!
kkufa 2855524
Jul 01, 2011
This is a great craft! I made 100 of these with my daughter's 5th grade class. I cut up all of the cardboard, and the kids put on the scrapbook paper and decorated with 3d stickers and jewels. I made mine big enough to accomodate a 4 x 6 photo and we took photos of the kids and put them in the frames. Next I'm going to try using decopauge on the scrapbook paper to see how that turns out. Thanks for the great idea.
Report Inappropriate Comment
Are you sure you would like to report this comment? It will be flagged for our moderators to take action.
Thank you for taking the time to improve the content on our site.