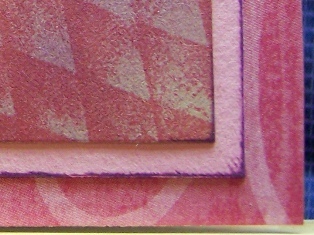
Pretty in Pink Chevron DIY Picture Frame
 Visit Kazan at Nunu Toolies.
Show off your little girl with this sweet Pretty in Pink Chevron DIY Picture Frame. Handmade frames like this one are great for decorating your home and make great gifts for family and friends. Chevrons are also a trendy and fun way to add some color and style to your home decor. Whether you display this frame on your desk, on a shelf, or on the wall, you're sure to love how this DIY picture frame shows off your photo and brightens up your home at the same time!
You can find this project, as well as many other fabulous blogger projects, in our new eBook, The Best Blogger Craft Ideas 2014: Decoupage, Sewing, Jewelry Making, and More free eBook. Download your own free copy today!
![]()
Materials:
- Darice David Tutera Bridal Collection
- Duck Tape Shape Tape
- Elmer's Craft Glue
- Fiskars Amplify scissors
- Tulip Beads in a Bottle
- Plaid Folk Art Acrylic Paint, Mod Podge
- Simplicity Creative Group Wrights Bias Tape
- Canvas
- Cardstock
- Alpha stickers
- Tissue paper
- Printer
Instructions:
- Mask off the center of the canvas where the photograph will be placed with a piece of white square paper measuring 8"x8" Adhere Chevron Duck Tape along the length of the canvas. Mix red and white acrylic paint to make pink and paint over the exposed canvas. Carefully remove the Duck Tape and square mask.
- Wrap tissue paper around an 81/2 x 11 sheet of cardstock. Make sure to tape the edges down firmly. Custom size a photograph on the computer to print 8"x8". Run the tissue paper/cardstock through the printer. The printed image will appear on the tissue paper. Remove the printed tissue paper from the cardstock and trim around the printed image.
- Brush a layer of Mod Podge over the white unpainted square area on the canvas. Carefully position the printed tissue paper over the Mod Podge and smooth out any wrinkles and bubbles. Apply a layer of Mod Podge over the printed image and allow to dry.
- Mat several layers of cardstock together to form the frame. Using a utility knife cut a square out the middle. Adhere the matted frame over the image.
- Trim strips of gems from the Bridal Collection self stick shimmer sheet. Adhere the strips along the inner edge of the frame to form a border. Squeeze out drops of sparkle beads along the outside border of the mat using Beads in a Bottle.
- Adhere Bias Tape to the outside edge of the frame and finish by adhering the alpha stickers and embellishments.
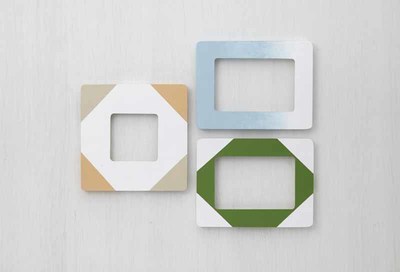
Read NextColor-Blocked Picture Frames