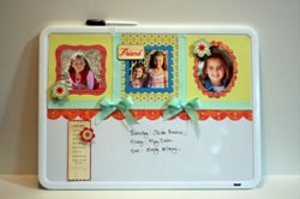
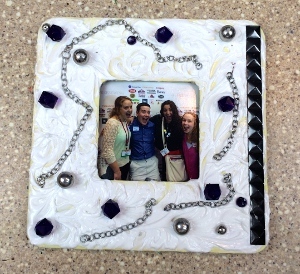
Magnetic Picture Frames
Decorate a white board or your refrigerator with these Magnetic Picture Frames from Spellbinders. Each handmade picture frame in this set can be made with paper scraps, so you can clean out your craft stash at the same time!

Materials:
- Grand Calibur Die Cutting Machine
- Magnetic White Board 17 x 23"
- Magnetic Sheets 8 ½ x 11"
- Early Bird Brunch and Farmers Market papers
- Tube Socks and Elements, The Boyfriend Collection (Cosmo Cricket) papers
- Lil'Man Jumping Jack (Cosmo Cricket) paper
- Thursday Girl Friday (Cosmo Cricket) paper
- Citron Treasures cardstock
- Pool Colormates cardstock
- Spellbinders Die Templates: S7-018 Grand 12" Big Scalloped Border Grand; LF-161 Grand Labels One; LF-126 Grand Squares; LF-127 Grand Scalloped Squares; LF-110 Grand Ovals; LF-111 Grand Scalloped Ovals
- SCRAPBOOK ADHESIVES by 3L E-Z Runner
- Glue Dots
- Ribbon
Instructions:
For the Rectangle Panel:
- Cut two pieces of Citron cardstock size 7 x 7". Cut one piece of Early Bird Brunch patterned paper 7 x 7". Overlap each square slightly and adhere together to form a long panel. Adhere ribbon along the vertical seams and bottom seam. Adhere panel to white magnetic board.
- Cut two scalloped strips from patterned paper using Spellbinders Grand 12" Big Scalloped Borders Grand. Lay the die template diagonally on the Base Plate A. Position paper over the cut side of the die template and cover with the Cutting Plate C. Cut out strips with the Grand Calibur Die Cutting Machine.
- Adhere strips to the white magnetic board. Make decorative bows and attach to the panel with Glue Dots.
Magnetic Frames:
- Red Label Square Frame: Adhere paper to magnetic sheet. Nest the Grand Label Die templates (size #1 and #3 where #1 is the smallest die template) to form a frame. Place the magnetic sheet over and over and cover with the Cutting Plate C. Cut with the Grand Calibur. Adhere picture to the back of the frame.
- Scalloped Blue Frame: Adhere paper to magnetic sheet. Nest the Grand Square die template #1 in the Grand Scalloped Square die template #2. Place magnetic sheet over and cover with Cutting Plate C. Cut with the Grand Calibur. Adhere picture to the back of the frame.
- Scalloped Oval Frame: Adhere paper to magnetic sheet. Nest the Grand Oval die template #2 in the Grand Scalloped Oval die template #3 with the cut side down on the patterned side of the magnetic pad. Secure with a piece of removable tape. Flip the magnetic sheet over and position on the Base Plate A. Cover with the Cutting C and run it through the Grand Calibur. Secure picture to the back with tape.
- Decorative Magnets: Cut out the flowers from patterned paper. Adhere to the top of the magnets with Glue Dots.
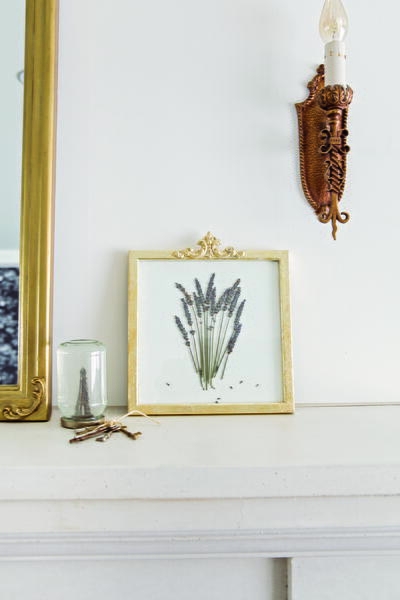
Read NextPressed Lavender in Frame