Sentimental Shirt to Pillow
Preserve a sentimental college sweatshirt or other shirt that has seen better days with this shirt to pillow craft project from Baby Lock. This project would make a great Father's Day gift for a pillow to throw in his office or den.


Materials:
- Baby Lock Sewing Machine and zipper foot
- Sweatshirt, T-shirt or sweater
- 1 yard fusible knit interfacing
- 1 bag of polyester fiberfill stuffing
- 2 to 3 yards of cording (depending on the size pillow)
- All-purpose thread
- Chalk
- Iron and Ironing board
- Ruler
- Scissors
- Hand sewing needle
Instructions:
- Lay the shirt flat with the logo you want to keep facing up.
- NOTE: The size and shape of your pillow will be determined by the logo on the shirt.
- Using the ruler and chalk measure around the logo and draw lines at least 3” from the logo on all sides. If the logo is very small you will need to leave more of the shirt.
- Cut along the lines.
- Then cut a back piece from the other side of the shirt the same size as the front.
- Thread the machine and set it up for a straight stitch with the zipper foot attached.
- Cut two pieces of the fusible knit interfacing the same size as the front and back.
- Place the front and back on the ironing board with the right side of the fabric and the logo facing down.
- Following the interfacing’s manufacturers directions fuse the pieces to the wrong side of the front and back. This will help stabilize the fabric especially if it has already been well loved and worn. It will also help the finished pillow keep its desired shape.
- Stitch the cording to the pillow front with the flange facing the cut edge.
- Cross the ends when the cords overlap.
- Place the front to the back with right sides together and pin. Stitch the front to the pillow back leaving an opening for turning and stuffing.
- Clip the seam allowance at the corners of the pillow to but not through the stitching.
- Turn the pillow right side out and insert the pillow form.
- Hand stitch the opening closed.
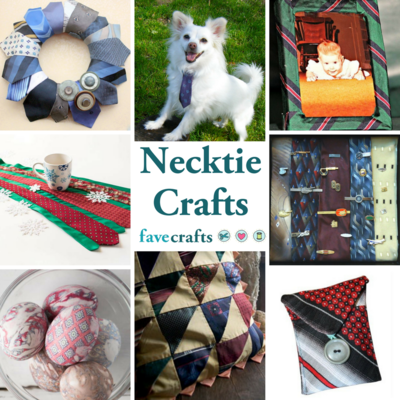
Read Next16 Necktie Crafts Ideas
Your Recently Viewed Projects

Thanks for your comment. Don't forget to share!
Report Inappropriate Comment
Are you sure you would like to report this comment? It will be flagged for our moderators to take action.
Thank you for taking the time to improve the content on our site.