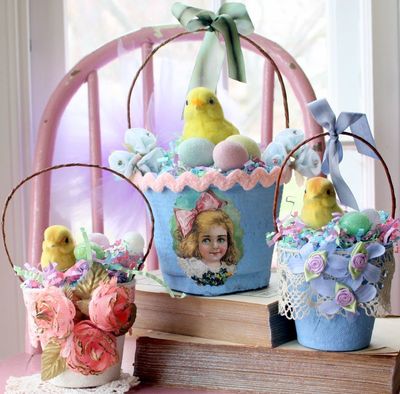
Vintage Basket Easter Craft Project

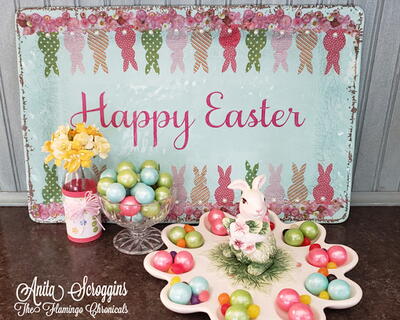
Turn an old pot into a beautiful Vintage Basket Easter Craft Project. Use paint and found images to create an unforgettable design. Easter egg basket ideas don't have to be traditional - this project shows that they can be innovative and cool at the same time. Easy Easter crafts make the season so much fun, and you'll want to make a new basket year after year. If you have a few peat pots on hand and don't know what to do with them, now is the time to upcycle them. Use pastel colors and traditional Easter bunnies to decorate your pot and create a one-of-a-kind basket. Be sure to stick it outside on your porch for some fun holiday cheer.
Primary TechniqueGreen Crafting

SeasonSpring
Materials:
- Peat pots
- Chalk paint or craft paint
- Paint brush
- Laser copied images
- Mod Podge (matte)
- Foam core
- Wire for handles (mine was jute covered)
- Wire cutters
- Hot glue
- Paper shred
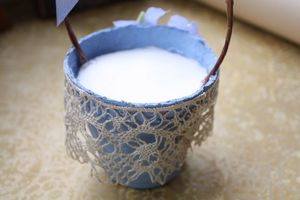
- Lace for trimming
- Easter chicks, bunnies, and eggs to fill the baskets
- Flowers and other embellishments of your choice
Instructions:
- Paint the peat pots with your chosen paints. I painted mine with chalk paint, and I was pleased with the outcome.
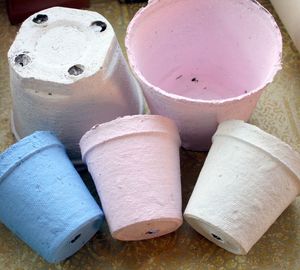
- I painted the bottoms and the insides, which wasn't really necessary. I would suggest just painting inside the rims. They had to dry overnight, which took patience.
- After your peat pots are dry, it's time to add the color copied images to them. Using a bit of Mod Podge, coat the back of the image and apply it to the pot. Smooth it out with your fingers to get out any air bubbles and excess glue. Topcoat with Mod Podge.
- Next, cut a length of wire for your basket handle and hot glue it into place inside the basket.
- I wanted my chicks and bunnies to stay stationary within the baskets. If you want yours to do the same, cut a circle of foam core and insert it about a half inch down inside the peat pot, using hot glue to secure it. This will help keep the basket handles secured, too.
- Now you can glue your little chicks, bunnies, or eggs and they won't fall out of your basket. You can even glue some of the paper shred to the foam core so the foam core won't be seen.
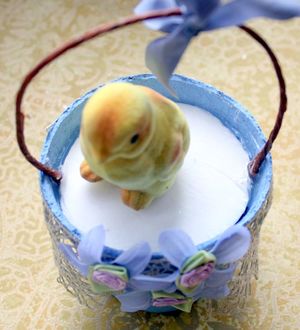
- Now comes the fun part: embellishing the basket! Add your lace, flowers, and ribbons with hot glue to make your basket as fancy as you want.
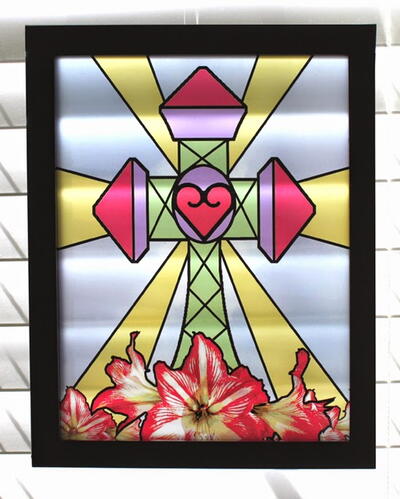
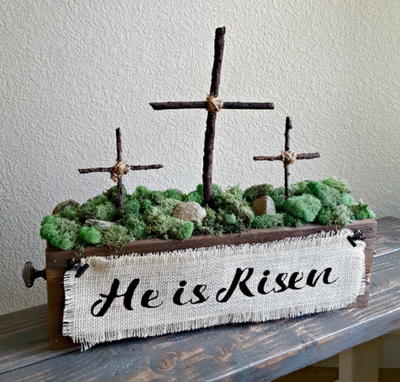
Read NextRustic Cross Centerpiece
Your Recently Viewed Projects
Thanks for your comment. Don't forget to share!
lpalmer59 7490208
Mar 14, 2016
This is just so sweet and cute. I believe in tradition, but it is nice once in a while to change it up and break tradition. This is the way to do it. This project is so easy to do all the kidos could be involved and each one could to their own baskets that could be re-used for years, I love it!
Report Inappropriate Comment
Are you sure you would like to report this comment? It will be flagged for our moderators to take action.
Thank you for taking the time to improve the content on our site.