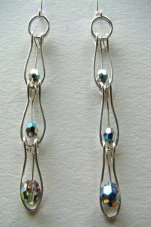
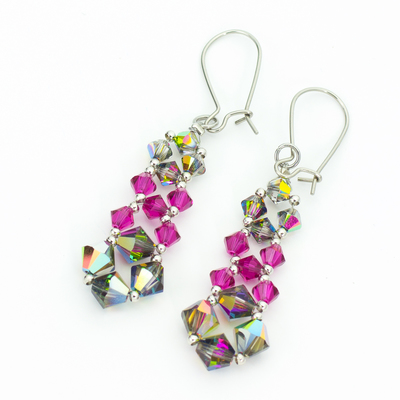
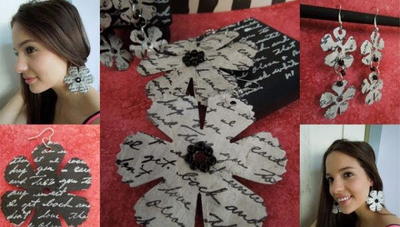
Sparkly Tissue Box Earrings
If you're looking for a new twist on DIY jewelry crafts, look no further than this creative jewelry project. Go green and make Sparkly Tissue Box Earrings from Candace Jedrowicz that you can wear for any occasion. Add beads to the bottom and make your project sparkle and shine.

Materials:
- Aleene’s Original Tacky Glue
- Tissue box
- Scissors and/or shape punch – I used a 1 1/8″ circle punch
- Small hole punch – I used a 1/8″
- Weight or clamp (to hold pieces together while glue dries)
- Dimensional sealer
- 20 gauge wire
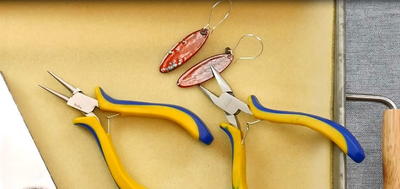
- Round nose pliers
- Chain nose pliers
- Wire cutters
- Beads
- High grit sandpaper or fingernail buffer
Instructions:
-
Cut or punch 2 shapes for each earrings and one piece to go between the 2.
-
Glue each set of the 3 layers together, place a weight or clamp on each assemblage and allow to dry.
-
Punch a small hole in each for hanging.
-
Cut a 3″ piece of wire for each earring.
-
Beginning 1″ from one end, fold over the round nose pliers and crimp with the chain nose pliers to form a loop.
-
Slide the loop through the hole in the cardboard and slip a bead over both wire ends.
-
Grasp the loop with the round nose pliers and wrap the short wire tail around the long tail.
-
Bend the long tail around the handle of the pliers (or anything that you have handy) to form the ear wire and cut off the excess.
- File the ends of the the ear wires until smooth.
For a comprehensive video tutorial of this project, check out How to Make Tissue Box Earrings.
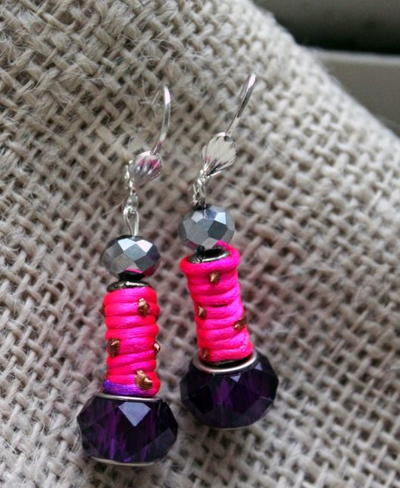
Read NextSassy Hot Pink Earrings