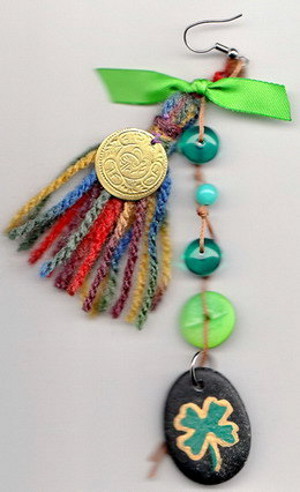
Single Sided Good Luck Earring
Keep luck on your side this year with this fun Single Sided Good Luck Earring. This cute tassel DIY earring can be worn by itself or you can make a pair and wear one in each ear. Be sure to add a cute little good luck charm to the earring to make sure this year is your best year yet! Great for beginners, this DIY earring tutorial is a quick and easy project that makes a great gift for teens and adults alike.

Materials:
- 1 tassel, made of colorful yarn (or threads) – you can make the tassel yourself (find free tutorials online) or buy a ready-made one
- 1 lucky coin charm (worn traditionally on tribal and folklore outfits and jewelry)
- Small piece of green ribbon
- 3-5 green beads (depending on their size)
- Flat rounded and smooth beach pebble, color: black or dark colored (not colorful), top drilled
- 1 hook (for earrings)
- Some thread (pick a color that matches your yarn) and a needle
- Piece of waxed jewelry making string, 7 inches long, any color that matches your tassel
- Acrylic paints, colors: green, gold
- Jewelry making pliers
- Pencil
- Rigger brush, size: 01
- 1 jump ring
Instructions:
-
Start by folding the waxed string in half. After folding it, tie a knot that leaves a loop and attach the colorful tassel to the loop. The two free ends of the waxed jewelry string should be hanging loose.

-
Attach the earring hook, by passing its curled end through the loop you’ve made with the waxed string. Secure it with the help of your jewelry making pliers.
-
Now, take the green ribbon piece and tie it around the yarn (the tassel is suspended from) and the waxed jewelry string. To hold the string and yarn together, and secure them in place, make a double knot. Trim the ribbon, if necessary.
-
When you’re finished with the knot and the trimming, use your needle and thread to attach the lucky coin charm on the tassel.

-
To continue, use your pencil to draw the outline of a four leaf clover on your beach pebble, on both sides.
-
Take your acrylic paints and brush and paint the clover green with a golden lining. Put it aside for a while, and wait for the paint to dry. Repeat the process on the other side of the pebble.
-
While waiting for the paint to dry, string the beads on the waxed string, making a knot after every strung bead.
-
When all your beads are strung, and the paint has dried (on both sides), use your jewelry pliers and the jump ring to attach the painted pebble to the lower end of the beaded waxed string.
- Your Single Sided Lucky Earring is ready to wear.
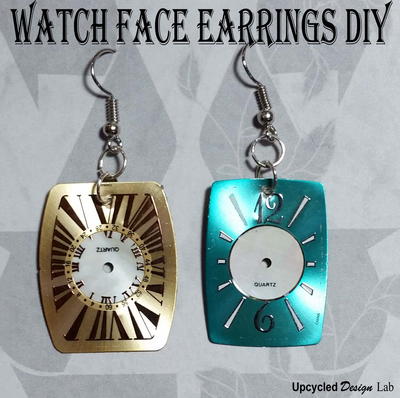
Read NextUpcycled Watch Face DIY Earrings