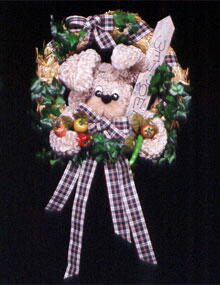
Welcome Garden Wreath
Show your creative side and welcome people into your home with this cute garden wreath. It's sure to last you a lifetime.

Materials:
- STYROFOAM Brand Foam:
- Solid heart, 6" x 1"
- Ball, 3"
- 14" straw wreath
- 1-3/8" green plaid ribbon, 5 yds.
- Beige loopy chenille: jumbo, 4 yds.; junior, 1/3 yd.
- Pom poms: 2" beige, two; 3/4" black, one
- 28mm oval eyes, two
- Craft stick
- Painted "Welcome" picket, approximately 14"
- Artificial vegetable picks, two
- Silk ivy bush with two 12" stems, two 7" stems, and five 5" stems
- Floral pins
- T-pins
- 32-gauge spool wire
- Wire cutters
- Utility knife
- Scissors
- Ruler
- Low-temp glue gun
- Serrated knife and candle stub
Steps:
- Spiral-wrap a 2-1/2 yd. length of plaid ribbon evenly around wreath, gluing ends to back.
- Wrap a 1-3/4 yd. length of jumbo loopy chenille around foam heart to cover, gluing ends to secure.
- Cut foam ball in half with serrated knife waxed with candle stub. Push a half ball, flat side down, in center of chenille-wrapped heart; if needed, trim edges to fit with serrated knife. Glue ball in place and secure with T-pins. Position heart with point at center top for bunny's head.
- Glue two beige pom poms side by side to heart head near center bottom of half ball. Cut a 6" length of jumbo loopy chenille. Form chenille in a coil and glue it covering foam half ball above pom pom cheeks. Glue black pom pom nose and eyes to head just above cheeks (refer to photo).
- Fold in half a 14" length of jumbo loopy chenille, forming an ear. Glue 5" length in between chenille layers, starting at fold. Twist opposite ends together. Repeat to make a second ear. Using T-pins, secure ears to sides of head 3/4" from heart point.
- Form junior loopy chenille in three uniform loops and twist ends to secure. Glue loops to head between ears for a hair tuft.
- Attach bunny to wreath by cutting a point in one end of craft stick. Insert pointed end 2" into inside center bottom of wreath and glue. Apply a generous amount of glue to front of craft stick and press back of bunny on top. When dry, insert floral pins into back of bunny around craft stick to reinforce joint.
- Glue welcome picket to left side of bunny and wreath.
- From jumbo loopy chenille, cut one 14" and one 12" length. Fold each length in half and twist ends together to secure. Shape each to form curled arms and attach to wreath below head with T-pins. Position longer arm at left, wrapped around welcome picket.
- Using 2 yards of plaid ribbon, form a bow with a center loop, two 5-1/2" loops, and two 18" streamers; wire center to secure. Center and wire a 24" length of plaid ribbon to bottom of bow, forming two 12" tails. Cut 12" tails in half lengthwise. Glue and pin bow to center bottom of wreath at bunny's neck.
- Using 24" of plaid ribbon, form a small bow with tails and wire to secure. Glue bow to top of wreath, slightly off-center.
- Insert vegetable picks in wreath, tucking them in curled ends of arms.
- Cut and pin ivy to fill in wreath as desired.
®™ Trademark of The Dow Chemical Company ("Dow") or an affiliated company of Dow. For more project ideas, please see styrofoamstyle.com.
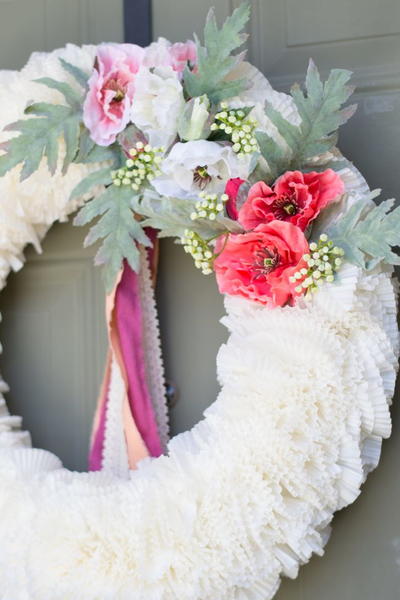
Read NextFaux Flower Cupcake Liner Wreath