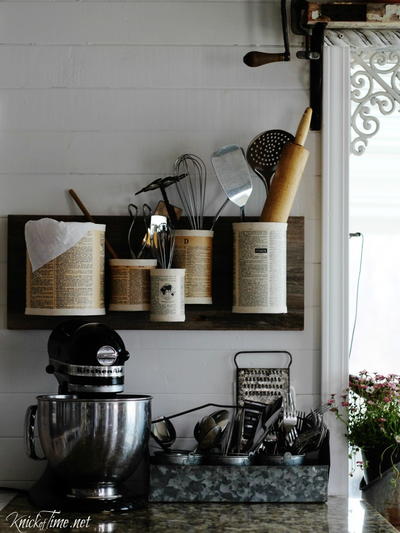
DIY Vintage Window Frame Organizer
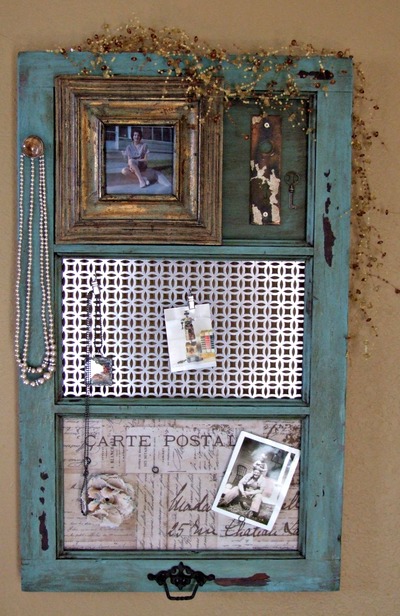
Convert a vintage window frame into a beautiful organizational board, complete with a chalkboard for writing notes and a metal sheet for simple storage and organization. This makes a great home decor piece where you can pin your favorite pictures or notes. Best of all, it's thrifty and budget-friendly...so you can get the look you love for pennies on the dollar. Once you find a windowless frame to convert into your storage board, let your imagination take flight and make it as useful or as whimsical as you'd like!
Primary TechniqueWood Crafts

Materials List
- Old window-less frame
- Plaid Folk Art Home Décor Chalk paint -Cascade
- Plaid Folk Art Home Décor Wax - Clear and Antique
- Brushes
- Lint free rags
- MD hobby metal sheet - Ellipical
- MD snips
- MD gloves
- Aleene's Fast Grab Tacky Glue
- 1/4" piece of wood to fit in window openings X 2
- Fabric
- Batting
- Vaseline
- Misc. metal to decorate
Instructions
-
Prep your surface for painting.
-
If you like a more chipped look. Add Vaseline in a few areas where you want the paint to rub off.
-
Paint on two coats of Plaid Folk Art Home Dcor Chalk paint-Cascade, wait 2 hours between each coat. At this same time paint one of the wood panels cut.
-
Add Plaid Folk Art Home Dcor Clear Wax and let cure overnight. Buff to desired sheen. Also panel.
-
Add Plaid Folk Art Home Dcor Antique Wax over the entire surface, wiping back some areas and letting the crevices sit. Let cure overnight and buff to desired sheen. Also panel.
-
Cut md metal sheet using md metal snips.
-
Take the painted panel and metal panel and pin in place using a pinner or you could use glue and adhere in place.
-
Cut fabric and batting to fit over third panel. Wrap panel with fabric and adhere into place using Aleene's Fast Grab Tacky Glue. Pin this last panel into place.
-
Add any extra embellishments at this time.
-
Add hanger to the back.
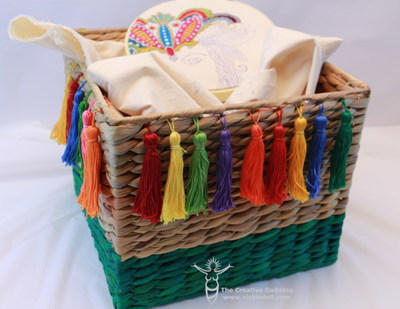
Read NextColorful and Cute Basket
Your Recently Viewed Projects
Thanks for your comment. Don't forget to share!
mulberrygalprinces s
Jul 12, 2018
Very cute idea. But where did the chalk paint come into play? I think thus would be great in the kitchen. Where the photo shows a necklace hanging, I would put a row of cup hooks to hold house and car keys. Maybe even a pair of ever elusive scissors.
Maggie Connelly
Apr 14, 2016
I love this idea because I am the type of person that loves very vintage-like decorations in my house. However, I do think if there was a video of how to do this made, I would definitely be able to execute this. While it sounds simple, it is a little hard to visualize in my head, and I just think if there was a video tagged somewhere I could follow along a lot better. Apart from that, the only issue I really came across is where to find most of these items or tools that I need for this project. If that was included I think this would just be sublime. I do love the look of this craft, and I really think it is an awesome idea. Here's hoping I can actually execute it!
Heidi Lorene
Mar 30, 2016
I love how simple this is to do. It looks like it takes a lot more work then it actually does. It makes a very cute shabby chic decor piece. I love having a storage board that is so pretty and looks great hung up on any wall. I would love to see how yours turned out.
Report Inappropriate Comment
Are you sure you would like to report this comment? It will be flagged for our moderators to take action.
Thank you for taking the time to improve the content on our site.