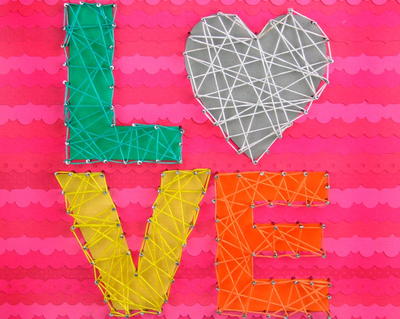
Vibrant String Art
Make your words stand out (literally!) with this Vibrant String Art. This is a great project to help you use up your yarn scraps and create lovely home decor all at the same time. You can spell whatever word you'd like...all you need is yarn and some sturdy pins or nails.

Materials:
- Threading Water Border Punch
- Scalloped Sentiment Border Punch
- Cutting Mat (24" x 36")
- MDF board
- Cardstock
- Hammer
- 1 ¼” Finishing Nails
- Embroidery Floss
- Word Processing Program
- Printer
- Computer Paper
Instructions:
-
Start out by cutting a variety of textures of cardstock in various shades of pink to 1 ½” x 12”. Use your border punches to add a decorative border along one of the 12” sides. Cut a total of 27 strips. Punch all but one of the strips.

-
Adhere the un-punched strip to the bottom edge of your surface. Layer the remaining strips, overlapping one another to cover the entire surface of the board.

-
Use your detail knife to trim off any overhang around the other three edges.

-
Use your word processing program to enlarge your favorite font to create 4” letters for the letters ‘L, V, and E’. Print them off and cut them out to use as a template. Trace them onto cardstock and cut out. Also, trace the largest heart from the Heart Shapes Template onto cardstock and cut out.

-
Arrange heart and letters how you like them spaced and adhere to the border strips.

-
Start nailing nails into your board. It’s best to start nailing at the points of each letter and then fill in the space in between. Keeping an exact measurement for the space between each nail isn’t necessary.

-
Once all the nails are in, tie embroidery floss in a knot onto a single nail and start weaving the floss around the nails to fill in the shape. You can make the stringing as dense as possible or leave it simple to allow the color and texture of the cardstock to show through. Once done stringing a particular color knot the floss off again and clip the tail of the floss close to the knot.

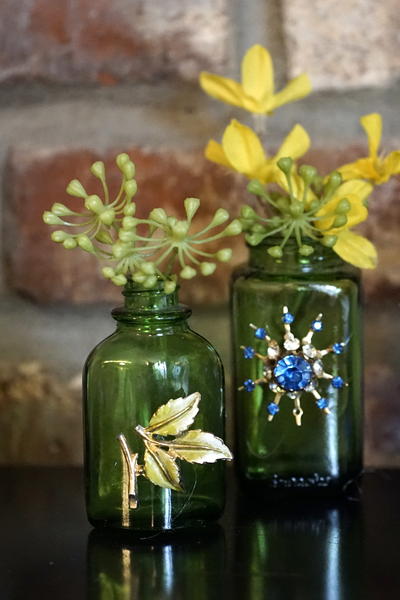
Read NextDecorative Glass Bottles