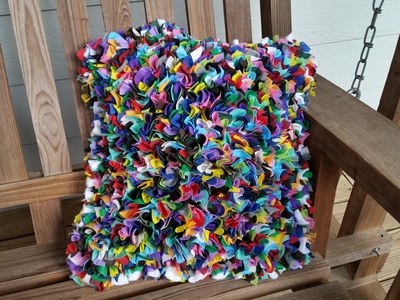
Proggy Rugging Rainbow Pillow

This fun, completely no-sew pillow is made using a version of British rag rugging called "proggy" or "proddy" rugging. This technique can be used to make rugs, pillows, stuffed animals, and more! It's a simple skill that anyone can pick up, and it creates a unique look that's sure to set your decor apart. Craft pillows to help add color to your living room or bedroom. This is a fun spring or summer project and a great decor staple for indoor decorating and outdoor BBQ parties!
Primary TechniqueFabric Crafts

SeasonSummer
Materials List
- OlyFun fabric by Fairfield
- PolyFil polyester fiberfill by Fairfield
- proggy tool by Craft Yourself Silly
- Burlap
- Fleece
Instructions
-
Cut fabric into strips of approximately - wide and 3 long. You need enough fabric for about three times the area of your finished piece.
-
Get a piece of loose weave burlap. It needs a more loose weave so that the proggy tool will go through the holes more easily. Size of the burlap depends on how large you want your pillow.
-
Fold one edge of the burlap over about 2 inches. Always work from the back of the project (the front will be the fluffy side).
-
Starting in the middle of the row, poke a hole through the burlap with the proggy tool. Use the proggy to poke the fabric through the hole. Then move over three strands of burlap and poke another hole, weaving your fabric into this hole.
-
Move over three more strands of burlap and repeat the process until you get to approx. 2 inches from the ends. Fold over the ends and repeat steps 4 and 5. You will fold over all 4 sides of your burlap until all sides are finished and you have a square.
-
Once your borders are done, continue filling in the middle. You can work in rows or just random -- its up to you!
-
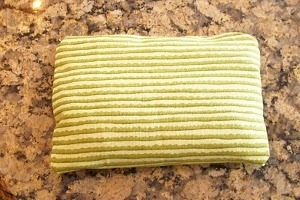
After the burlap is filled in, take a piece of fleece and cut it approx. 2 inches larger on all sides than your burlap square (so if your burlap square is 12x12, then your fleece should be 16x16).
-
Cut fringe into the fleece edge with each fringe strip measuring 2 inches by -.
-
To attach the fleece backing, use your proggy tool to poke the fabric through already established holes once(the backing and fabric will share holes). Repeat until 3 edges are complete. Leave the 4th edge open so you can stuff the pillow.
-
Stuff the pillow with polyester filling.
-
Finish last edge with the fleece backing.
Up Next:
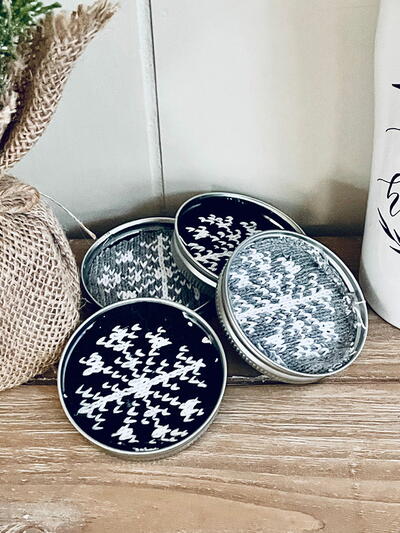
Read NextMason Jar Ring Coasters