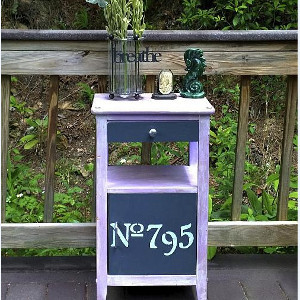
Irresistible Telephone Table
Just because your tables are old, it doesn't mean they don't deserve some love and a fresh coat of paint. Table decorating ideas can give outdated tables new life, and this Irresistible Telephone Table tutorial can help you achieve it. This is a wonderful small living room decorating idea that can be tucked into a corner or butted up next to a couch. Dress up your telephone with a chic piece of furniture that will add a splash of cuteness into any room.
 You can find this project, and many more just like it, in our new free eBook, How to Paint Furniture: 19 Upcycled Furniture Projects free eBook from DecoArt!

Materials:
Americana® Decor™ Chalky Finish Paint
- Everlasting (ADC01)
- Relic (ADC28)
- Remembrance (ADC23)
- Yesteryear (ADC27)
Americana® Decor™ Crème Waxes
- Clear (ADM01)
- Deep Brown (ADM07)
Americana® Decor™ Stencils
- Olde World Numbers (ADS09)
Dazzling Metallics®
- Luminous Gold (Glaze) (DGM02)
Other supplies
- Water container
- Paper towels
- Stencil brush (Americana Stencil Brushes - DABK20)
- Painter's tape
- 2" flat brush
- Waxing brush
- Screwdriver
- Paint tray
- Fine-grit sandpaper
- Telephone table
Instructions:
- Use a damp paper towel to wipe down the surface of the telephone table. Allow to dry.
- Use a screwdriver to remove the door, door handle, drawer, and drawer pull from telephone table.

- Using a 2" flat brush, paint a coat of Remembrance on the table. Allow to dry. Repeat.
- Using a 2" flat brush, paint a coat of Relic on the front of the drawer and door. Allow to dry. Repeat.
- Dry-brush Everlasting across the surface of the table. (Don’t dry-brush door or drawer.) Allow to dry.

- Buff Luminous Gold over the surface of the table with a paper towel or soft cloth. (This gives the table a slightly-metallic finish.) Allow to dry.

- Attach number stencils as shown to the front of the door with painter's tape. Use a stencil brush to apply Yesteryear to the stencils. Remove the stencils. Allow to dry.

- Tape off the openings to apply the very tip of the Traditional Medallion corner stencil to the top front and left edge. Use a stencil brush to apply Yesteryear. Remove the stencil. Allow to dry.
- Use fine-grit sandpaper to sand the edges exposing the wood beneath.

- Paint a coat of Clear Crème Wax to seal the table. Allow to dry.
- Dry-brush a small amount of Deep Brown Crème Wax to create an antiqued finish. Allow to dry.
Notes:
- If you wish to give the surface a more antiqued finish, use a hammer or large chain to distress the surface before you begin adding paint.
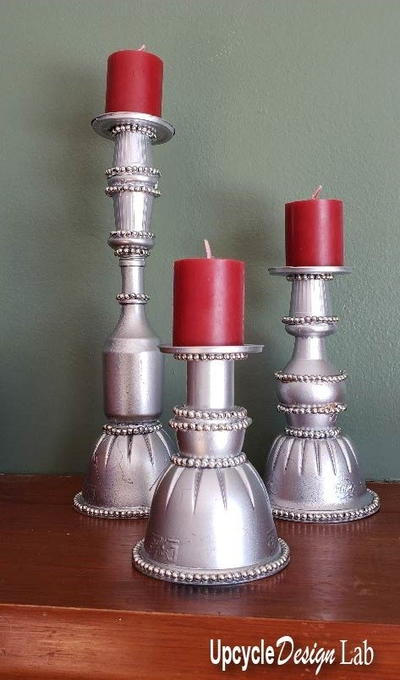
Read NextUpcycled Junk Drawer Candlesticks