How to Decorate Clay Pots
Clay pots are a great base for a variety of decorating projects. Brighten a window sill or patio with painted, stamped or mosaic pots. Decorate pots with silk leaves, buttons and more. Let these instructions inspire you to your own creations. This project ideas comes to us compliments of Heidi Borchers and Tiffany Windsor for Inspired at Home. Heidi provides the fantastic illustrations.
Materials:
- Clay pots
- Acrylic paint (there is a specialty patio paint that also works well for this technique)
- Paint palette (a glass or plastic plate works great for this and is great because it can be reused)
- Pop-up sponges
- Black permanent marking pen
- Mosaic tiles (glass or plastic)
- Mosaic glue
- Grout
- Plastic gloves (for grouting)
- Wet wipes
- Flat backed marbles
- Silk leaves
Instructions:
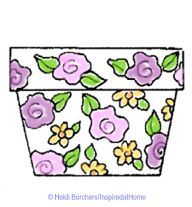
Instructions for Stamping & Painting on Clay Pots
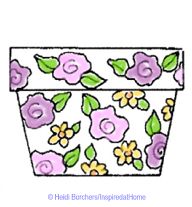
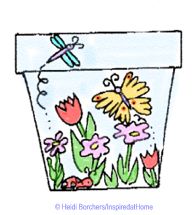
Cut pop-up sponge to desired shapes. A simple scalloped circle makes a great floral rose shape. Dip sponge into water and wring out excess. Pour paint onto palette. Dab sponge into paint. Keep dabbing in an up and down motion to evenly coat the surface of the sponge with paint. Determine placement on clay pot and press sponge and lift. Voila! It’s that easy. Continue until entire clay pot surface is covered. Let dry completely. Use black marking pen to outline design shapes and add detail to leaves and center of flowers. If you want to paint your own design, just transfer the pattern to your clay pot and paint, paint, paint!
Designer Tips: Keep in mind that if you want to use lighter colors of acrylic paint on the clay pot, you may need to first spray the outside of the pot with white Rustoleum paint for a base coat.
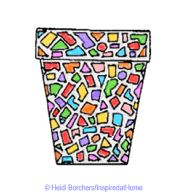
Instructions for Mosaicing on Clay Pots
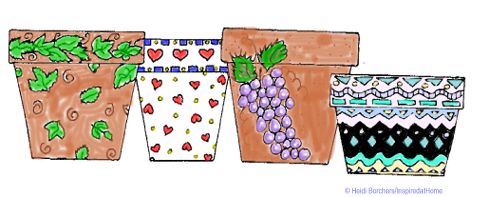
Working one section at a time, glue mosaic tiles onto outside surface of pot leaving small spaces in between tiles. Let glue dry completely. Mix grout according to package instructions. Apply grout over tile. Wipe off excess grout with sponge. Continue to clean surface of tiles with wet wipes. Let grout dry overnight and clean tiles with paper towel and Windex. (See Mosaic Techniques)
Designer Tips: If you want help your tiles stay in place while drying, just use a long strip of blue painters tape to hold sections in place. When the glue is dry, carefully remove the tape.
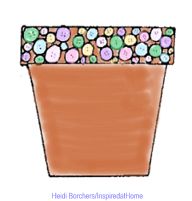
Instructions for Gluing on Clay Pots
Select buttons or beads to glue along the top rim of clay pot. This project can take a little longer because you are going to need to lay your clay pot on its side and glue and then let that section dry. But it’s worth it because your finished project is so darn cute! Another great effect is to glue flat backed marbles onto the side of the clay pot in the shape of a grape cluster. Use silk leaves glued in place for the top of your grape cluster.
Heidi & Tiffany’s Designer Tips: If you can’t find purple flat backed marbles, just paint the back of clear marbles with purple acrylic paint and let them dry completely before gluing onto pot.
For More Great Clay Pot Garden Ideas Click Here!
Read NextFlower Pot Gnome Tutorial


Thanks for your comment. Don't forget to share!
Report Inappropriate Comment
Are you sure you would like to report this comment? It will be flagged for our moderators to take action.
Thank you for taking the time to improve the content on our site.