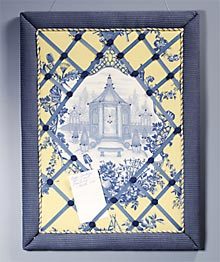
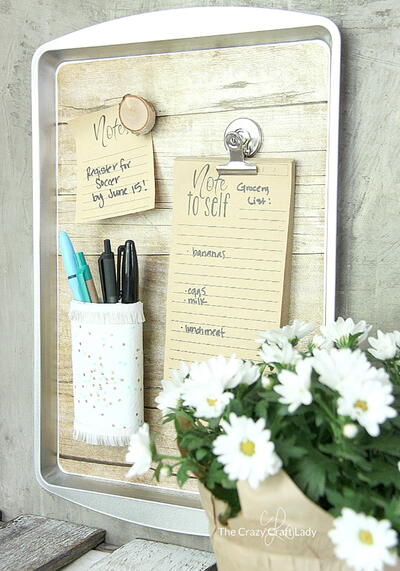
Fabric Memo Board
Decorate this memo board with the pattern of your choice. This project can be completed in as little as two hours.

Materials:
- STYROFOAM* Brand Foam:
- Sheet, 36" x 12" x 1"
- Fabrics: center panel, 2/3 yd.; back/border print, 7/8 yd.; coordinating solid (for buttons), 1/8 yd.
- Coordinating twisted cording, 3/16" x 2-1/8 yds.
- Coordinating grosgrain ribbon, 3/8" x 5 yds.
- Quilt batting, crib size
- Flat button covers, 9/16", 26
- Wooden floral picks with wires removed, 3" long, five
- Sawtooth picture hangers with nails, two
- Serrated knife
- Candle stub or paraffin
- Fine-line black permanent marker
- Sharp pencil
- Yardstick or ruler
- Toothpicks
- Scissors
- Straight pins: glass-head, to coordinate with fabric (optional); standard
- Putty knife, 1" wide
- Iron and ironing board
- Low-temp glue gun and glue sticks
- Glue: fabric; plastic foam
Steps:
1. Using yardstick and marker, divide foam sheet in half widthwise. Wax serrated knife with candle stub or paraffin. Cut foam sheet, creating two 12" x 18" sections.
2. Working on flat surface, use glue gun to glue floral picks, equally spaced, halfway into one long edge of one foam rectangle. Apply foam glue to foam edge around picks. Use glue gun to apply glue to protruding pick ends. Quickly and firmly press second rectangle onto picks, flush with first. Let dry. Finished board should measure 18" x 24".
3. Using yardstick and marker, draw 1-3/4"-wide border around board. Draw diagonal lines from border corners to board corners. Score all lines with sharp pencil.
4. Cut following pieces from batting: four 1-1/2" x 17-3/4"; four 1-1/2" x 23-3/4"; one 14-1/4" x 20-1/4". Trim strip ends to fit within mitered corners. Use glue gun to glue double layer of batting to borders and single layer to center panel. Let dry.
5. Press fabrics as needed. For center motif, cut 15-1/2" x 21-1/2" piece from patterned fabric. For back/border, cut 24-1/2" x 30-1/2" piece from print fabric.
6. Center motif panel over front of board. Working on opposite sides, use putty knife to tuck seam allowances into scored lines, keeping motif centered at all times. Push knife straight down into scored line to keep even tension. Trim fabric at corners and tuck into mitered corners.
7. Center back of board over wrong side of back/border fabric. Bring fabric allowance around to front, over batting-covered border. In same way as center panel, tuck border seam allowance into scored lines. Trim fabric at corners and tuck into mitered corners.
8. Using photo as guide, determine ribbon placement. Place ribbon on board and cut to desired lengths, adding 1/2". Note how designer kept center motif uncovered by ribbon; you may choose to have ribbons criss-cross entire board for additional storage.
9. Use toothpick to place dot of fabric glue on each end of one ribbon length. Tuck ribbon ends into seam lines on board. Repeat for all ribbon lengths. Where ribbons cross, dip straight pin into fabric glue and push pin securely through ribbon into foam.
10. Following manufacturer's instructions, cover button covers with solid fabric. Use fabric glue to glue button covers to board where ribbons cross, hiding pin heads.
11. If desired, insert glass-head pins into center motif to embellish design. Pins may be used to post additional memos or memorabilia.
12. Beginning and ending in one corner, use fabric glue to glue cording around center panel, hiding seam.
13. Position picture hangers on back of board, 1" from top and 2" from edges. Use glue gun to secure. Dip nails into hot glue and push securely into foam.
®™ Trademark of The Dow Chemical Company ("Dow") or an affiliated company of Dow. For more project ideas, please see styrofoamstyle.com.
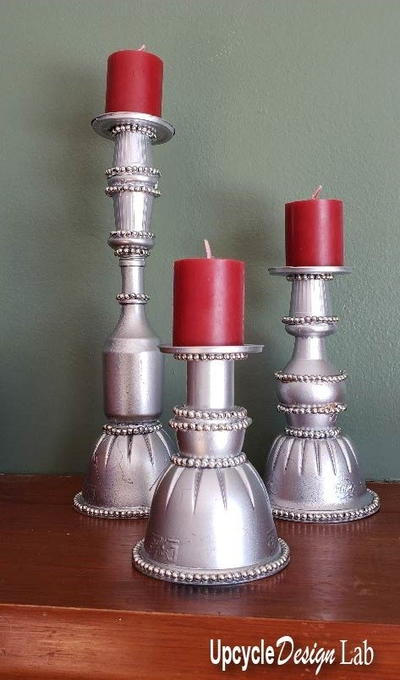
Read NextUpcycled Junk Drawer Candlesticks