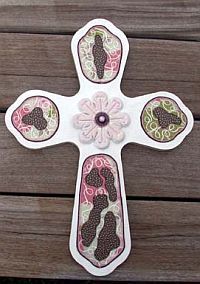
Beaded Wooden Cross
This adorned cross is the perfect gift for a religious friend or to decorate your own home. The colorful braids and floral paper add a nice touch of color.

Materials:
- Wood cross by Walnut Hollow
- Fine #8 Braid 201C
- Tapestry #12 Braid 001J
- Medium #16 Braid 007C, 032
- 1/16" Ribbon 208C
- Pebble texture paper- Cobblestone by Fibermark, Double Espresso
- Floral paper- Anna Griffin Pink Green Floral AG847
- Cabochon in matching color
- 8x10 sheet Treasure Tape
- Treasure It Diamond Beadlets
- White, light pink acrylic paint
Steps:
- First, paint your cross. Allow it to dry thoroughly.
- Trace your cross shape onto blank paper to make a template. Cut out the shapes for each arm by cutting along the inside of the traced outline, about 1/4" in. (Round off the ends as seen in picture.) Trace your shapes onto the floral paper and cut them out.
- Peel back the white liner on your tape and place your cutouts, printed side UP, on the tape. Replace the liner and smooth out any air pockets with your fingers. Cut out your shapes and repeat this process to adhere tape to the front of your inserts (this time place them printed side DOWN). Peelthe liner from the back of each insert and center on the appropriate arm of your cross.
- Cut wiggly shapes from your textured brown paper. Arrange them on your floral shapes- peel back the red liner and place your brown pieces on them. Replace your liner.
- Embellish one arm at a time. Peel back the liner and begin with an outline around the outside of your floral shape. Then outline the brown pieces. Finish with a loop design on the rest of the tape. Replace liner until all arms have been embellished.
- Cut a small circle of tape, the same size as the center of the "flower" shape on your cross. Peel the white liner off your circle and place it on the fower center. Peel back the red liner and place your cabochon in the middle. Use braid to outline the edge of the circle.
- To finish, peel off all liner. Place cross in a shallow tray or ziplock bag and pour Diamond Beadlets over the exposed tape areas. Swirl the beadlets with your fingers to cover fully, and tap to remove excess beadlets.
Kreinik threads available through needlework stores or www.kreinik.com.
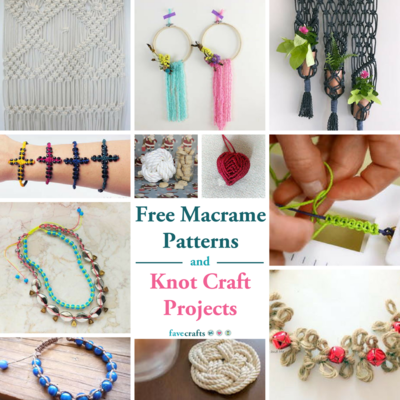
Be sure you check out the other 9 easy crafts for kids!
Your Recently Viewed Projects
Thanks for your comment. Don't forget to share!
Crafter 15468
Jan 24, 2010
This looks beautiful, but is NOT an easy craft. My girls are usually very good at all this crafting stuff, and they were so disappointed when their crosses did not turn out nicely. I had fun though, and love the crosses, but my girls would agree this is not an EASY craft.
Report Inappropriate Comment
Are you sure you would like to report this comment? It will be flagged for our moderators to take action.
Thank you for taking the time to improve the content on our site.