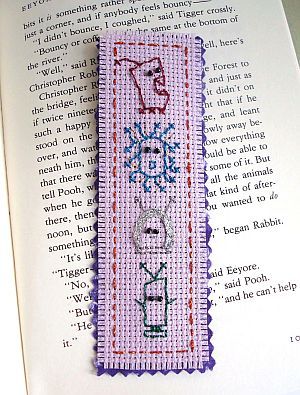
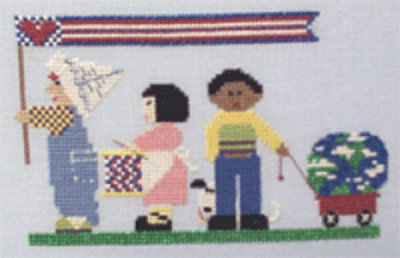
Traditional Thanksgiving Stitch Pattern
This Traditional Thanksgiving Stitch Pattern is a great way to brighten up a space for the holidays. Everyone can enjoy this free cross stitch pattern! Give it as a gift or keep it for yourself.

Materials:
- 1/2 Skeins™ (2.5m) of Kreinik Silk Mori in these colors: 2024, 2063, 2066, 4033, 4037, 7024, 7126, 7135, 8050
- Kreinik Silk Serica® in these colors: 1116, 2063, 6083, 7024
- 10” x 10” piece of Ivory 28-count Jobelan'
- Chart
Instructions:
Each square on the chart represents two fabric threads. Work in the following order:
- All cross stitches, threequarter stitches, and backstitches.
- All half stitches.
- Fill in Satin Stitches of backstitched sections for pumpkin and apple, following direction of arrows on the chart. Work pumpkin first, starting with the back areas and then the front. Fill in the apple last, allowing for dimple and stem.
- Couch the circle band behind the central motif and the border line following the method illustrated below.
- Bring up the laid thread (A) and hold with your left thumb while working. Keeping distance between stitches consistent, bring couching thread up at 1, down at 2, up at 3, etc. Repeat until all laid thread is anchored.
- Draw ends of laid thread to back and secure.

Use the following tips when working with silk threads:
- Use a non-greasy hand cream to moisturize dry skin.
- Work with a length of silk that is no longer than 18 inches.
- Let the needle dangle every few stitches to return the thread to its natural twist. It is especially important to maintain Silk Serica’s twist as it comes from the spool to ensure uniform stitches.
- Use a needle whose eye is large enough to easily accommodate the thread, but which does not distort the fabric.
- In this design, use Silk Serica straight off the reel without separating it into plies. Refer to the diagram at right for an example of Satin Stitching, which is used in this design.
- To open the snap-spool mechanism of Silk Serica, insert your thumbnail under the endcap and gently lift the lid to release the thread. Snap the lid shut to secure the unused portion.
- With Silk Mori, separate the strands before using and recombine the appropriate number before threading the needle. Cut your length of thread, hold the end, and pull out one ply at a time. Straighten the thread after each ply has been pulled out.
- To maximize the luster of Silk Mori when using two strands or more, use a laying tool or your needle to keep the strands parallel while stitching.

Read Next37 Free Cross Stitch Patterns
Your Recently Viewed Projects

Thanks for your comment. Don't forget to share!
cinbadl 4995771
Dec 11, 2014
Um...yes, there is a chart, but no Key for the colors???? I love this and want to make it....but......
FaveCrafts Editor JL
Dec 11, 2014
Hi there, This is all that was provided by the manufacturer. I apologize for the inconvenience. If you would like more information, please contact Kreinik directly. - Julia from FaveCrafts
JessiCAN
Jun 03, 2011
@doctorannette 1704727 Thanks for catching this glitch! We have updated the pattern so that you can click on the link in the materials list or the small picture of the chart to open the full-size chart in a new window. Hope this helps! -- Editors of FaveCrafts
Report Inappropriate Comment
Are you sure you would like to report this comment? It will be flagged for our moderators to take action.
Thank you for taking the time to improve the content on our site.