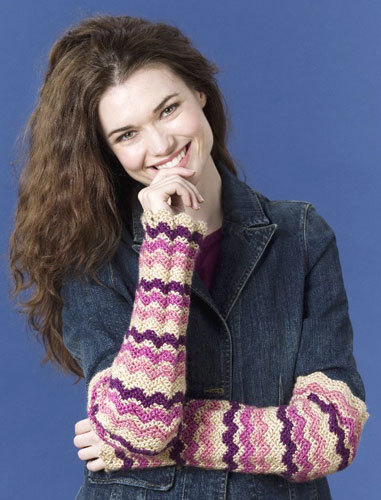
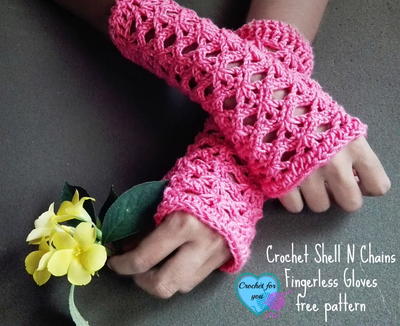
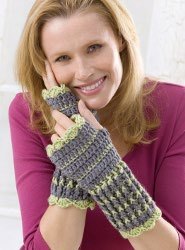
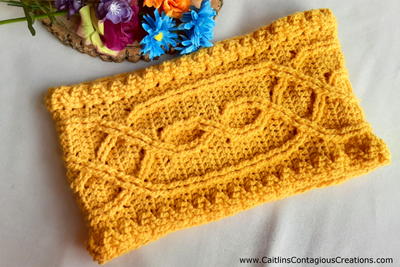
Lacy Wrist Warmers
Keep your hands toasty and your fingers free to work with this wrist warmers crochet pattern or fingerless mittens crochet pattern. These stylish wrist warmers would make a great gift or a quick crochet project. You can make them in any color combination you'd like, and they're the perfect gift to make for the teen or tween in your life. Not only are they comfortable, fun, and fashionable, but they leave fingers free for typing and texting. These Lacy Wrist Warmers are sure to be appreciated by anyone lucky enough to receive them.
.jpg "Lacy Crochet Wrist Warmers")
Materials:
- 1 ball Red Heart® Eco-Ways™ yarn in Storm (A)
- 1 ball Red Heart® Eco-Ways™ yarn in Lichen (B)
- 6mm [US J-10] crochet hook
- Yarn needle
Gauge: 14 sts = 4” in dc.
Special Abbreviations:
- fpdc (front post double crochet): yarn over, insert hook from front to back to front around the post of indicated stitch and draw yarn through, [yarn over and draw through 2 loops on hook] twice.
- bpdc (back post double crochet): yarn over, insert hook from back to front to back around the post of indicated stitch and draw yarn through, [yarn over and draw through 2 loops on hook] twice.
Instructions:
Directions are for size Small/Medium; changes for size Medium/Large are in parentheses.
To Change Color: Work the joining slip st with next color to be used.
Do not cut yarn when changing color but drop to the wrong side of the work and pick up again as needed.
- With A ch 26 (30) loosely; join with a slip st in first ch to form a ring making sure that the ch is not twisted.
- Rnd 1: Ch 3 (counts as dc), dc in next ch and in each ch around; join with a slip st in top of ch-3 – 26 (30) sts.
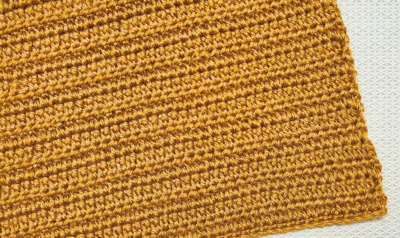
- Rnd 2: Ch 3, fpdc around next st, * bpdc around next st, fpdc around next st; repeat from * around; join with a slip st in top of ch-3.
- Rnd 3: With B repeat Rnd 2.
- Rnds 4 and 5: With A repeat Rnd 2.
- Rnds 6-11: Repeat Rnds 3-5.
- Rnd 12: Repeat Rnd 3.
- Rnds 13 and 14: With A ch 3, dc in next st and in each st around; join.
- Rnd 15: With B ch 1, sc in each st around; join with a slip st in first sc.
- Rnds 16 and 17: Repeat Rnds 13 and 14.
- Rnd 18 (Thumb Opening): With B ch 1, sc in same st as joining, ch 4, skip next 4 dc, sc in each dc around; join.
- Rnd 19: With A ch 3, 4 dc in ch-4-space, dc in each sc around; join.
- Rnd 20: Repeat Rnd 13. Cut A.
- Rnd 21: With B ch 1, sc in same st as joining, * skip next dc, 5 dc in next dc, skip next dc **, sc in next dc; repeat from * around, end at **; join. Fasten off.
FINISHING - Cuff Edging
Rnd 1: With right side facing, join B at lower (cuff) edge; ch 1, sc in same st as joining, *skip next ch, 5 dc in next ch, skip next ch **, sc in next ch; repeat from * around, end at **; join. Fasten off. Weave in ends.
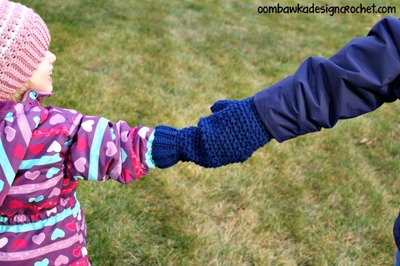
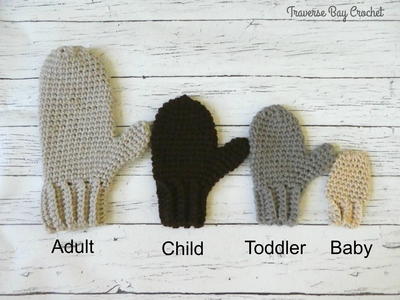
Read NextFamily Mitten


Thanks for your comment. Don't forget to share!
Barbara
Sep 20, 2021
Just finished first mitt. I love the design and the cuff is really snug but the hand section is too wide (smallest size), particularly above the thumb, and gapes around the top. Id have to remove the equivalent of the width of 2 of the scalloped edging section for it to fit. Any suggestions?
msdeb21
Dec 04, 2016
These are beautiful! I wish I knew how to crochet. These look so soft, and I think the colors are lovely. We are having our first snow of the season, so I am thinking about gloves and hand warmers. Maybe I can find a similar pattern to make on a loom. I am discovering working with a round loom is good for stress release after a day of work!
Egyptologistcrafts
Aug 28, 2013
I would like to sell this online and directly to people. I made some changes to the color from the pattern colors to blue for most of it and alternated between blue and white for two rows starting after the thumb opening. I would include a link to the pattern when I go to sell it online.
freddykitty45 7495 061
Dec 17, 2012
This is an awesome pattern and so easy. I am making a pair for two of my daughters. Thank you so much!!!!! I finally found a very good pattern for hand warmers.
swingo 4008372
Mar 06, 2011
me again.So this works good for wheelchair..got some no slip fabric and attached to inside of hand..:-)thank you!
swingo 4008372
Feb 27, 2011
I am wondering if this will work for me..in a wheelchair and need something that won"t slip on the metal
123Babs
Jan 09, 2010
just right for this cold season. one of the coldest we have has for several years, wonder where the global warming is.
Report Inappropriate Comment
Are you sure you would like to report this comment? It will be flagged for our moderators to take action.
Thank you for taking the time to improve the content on our site.