Crochet Hairpin Rosette
Imagine pulling a hairpin out of your coifed hairdo and proceeding to crochet a rosette with it!.....Hi! I'm Dawn from Sew Ritzy~Titzy and while I won't pull a hairpin out of my hair, I will show you a project that involves a hairpin, crochet hook and simple sc stitches that will become a darling rosette.

Let's begin.
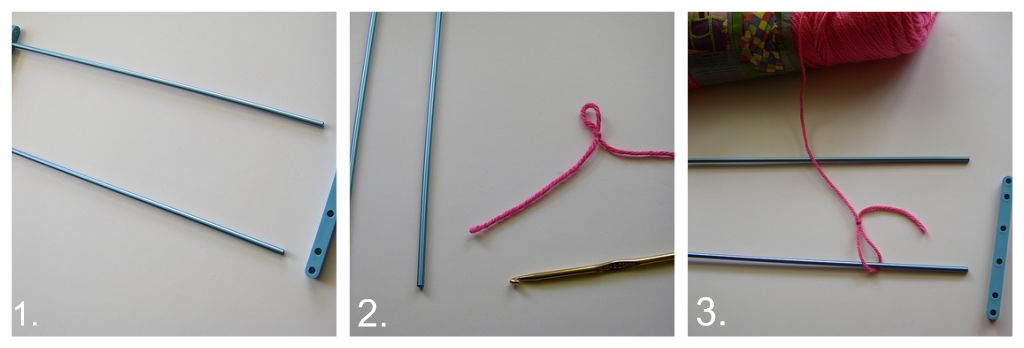
Pic 1: This is the hairpin frame. I actually snagged this one at the thrift store, but I know they are readily available in craft stores.
Pic 2: Make a slip knot with your yarn (I used weight 4 yarn and a G crochet hook.)
Pic 3: Slide the bottom off of the frame and place slip knot on left bar. Make sure the knot is centered. Wrap the yarn around the right hand bar and to the back. Slip bottom bar back in place. You can determine the width of your loops by the project you are doing. Mine is spaced about 3 inches.
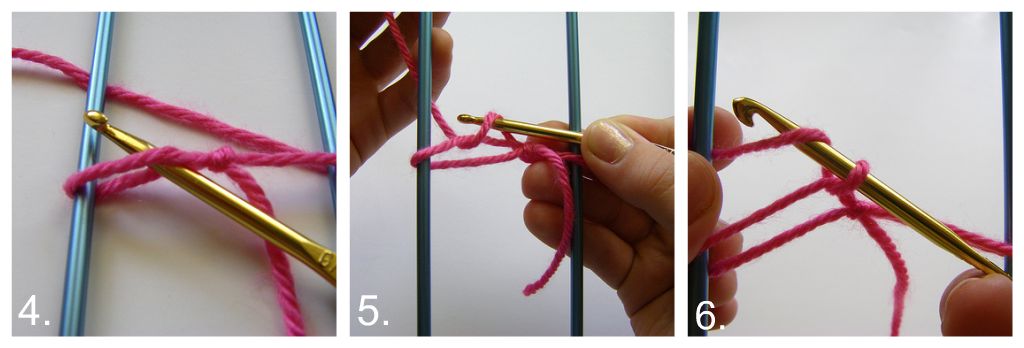
Pic 4: (At first, it will seem very wonky to have hold the frame and make a sc. I hold the frame against my stomach to steady it. Whatever works for you.) Now take your crochet hook and slip it under the front edge of loop.
Pic 5: Yarnover and pull up loop.
Pic 6. Sc 1.
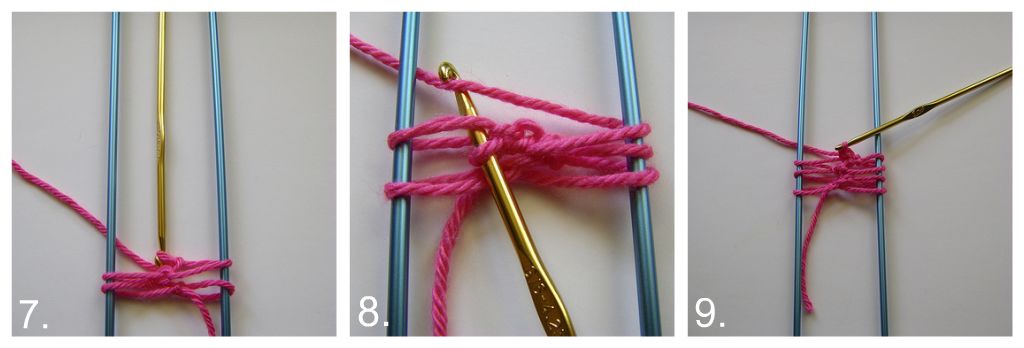
Pic 7: Now take your crochet hook and turn it upside down. This seems so awkward at first, but this too will come! While holding the hook upside-down, take the frame and turn it 180 degrees. Pretend it is a book and your are turning the page. It is just like that! You should now have a 'new loop' wrapped around the right bar.
Pic 8: Slip your hook underneath the front of the loop. Yarnover and pull up loop.
Pic 9: Sc 1.
Repeat directions from pic 7-9 until you have desired no. of loops on bars.
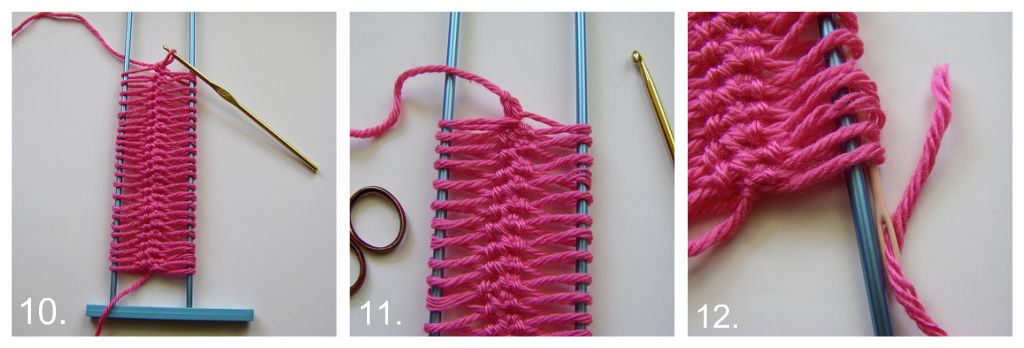
Pic 10: You will need 24 loops on both sides of frame for this rosette.
Pic 11: Cut yarn and tie off end.
Pic 12: Cut a small amount of yarn and thread through tapestry needle. Slip off bottom bar and before slipping off the loops, thread the needle along the edge.
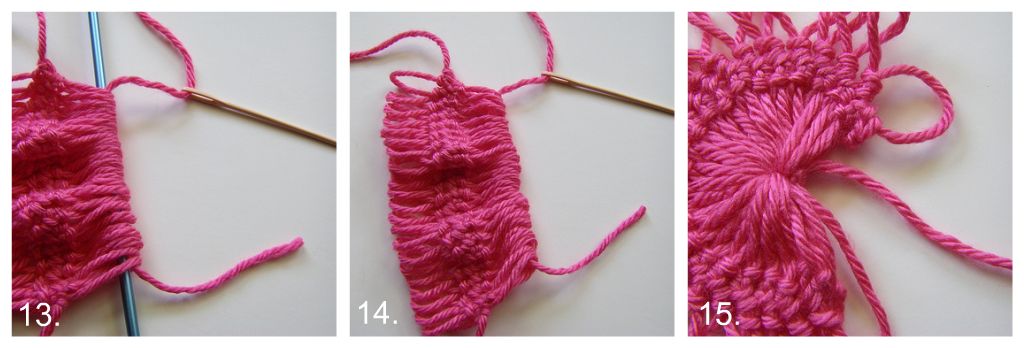
Pic 13: Continue to thread the edge until you reach the last loop.
Pic: 14: Carefully slide off loops.
Pic: 15: Gather thread and knot. You will see the rosette taking shape.
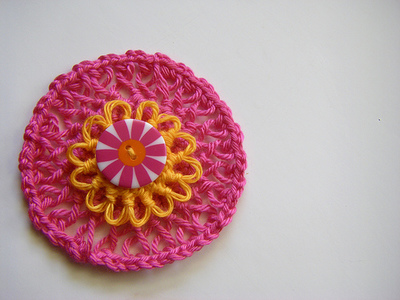
Pic 16: Join by tying ends together and weave ends into rosette. You can leave rosette just as it is or add a crocheted border. For a border --around outer edge, sc in each loop -- keeping loops twisted! Make 2 chs between each sc. Join to form a ring.
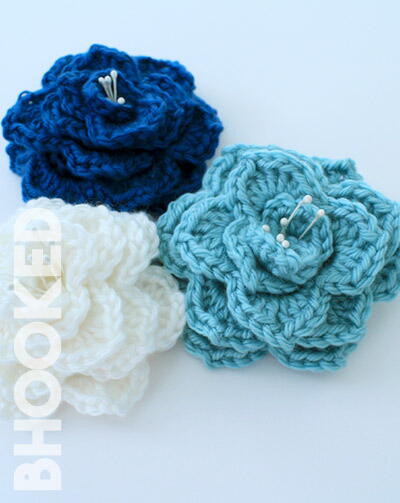
Pic 17: By moving hairpin bars closer together, I crocheted a smaller rosette to sew to larger rosette. And a fun button to complete it!
Pic 18: A Hairpin Rosette

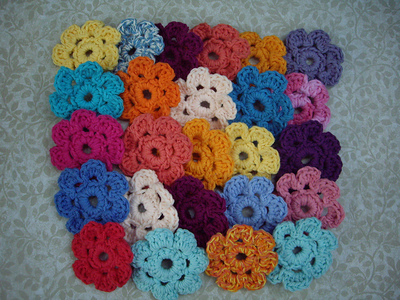
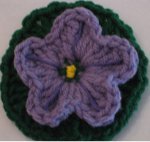
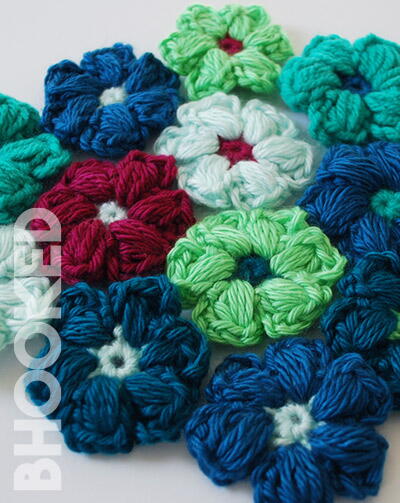
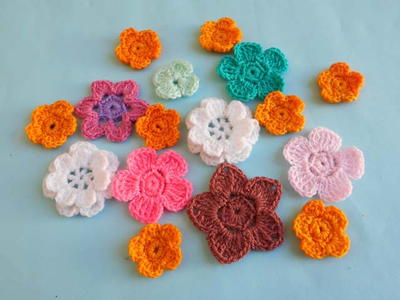
Read NextEasy Crochet Flowers for Beginners
Your Recently Viewed Projects
Thanks for your comment. Don't forget to share!
angellady62rl 0379 597
May 01, 2015
I almost threw my hairpin lace form away because i didnt know what it was. Now i know what it is and how to use it . Thank you ! Will you pass on new patterns to make on it please ? Thank you again , Robin Long
TitaCarr
Jul 22, 2014
Hi, I love your craft, is beauty, I love a colors, I follow your blog, hugs from Brazil. Visit my blog - Tita Carr - free patterns crochet
Jlyon6
Aug 11, 2012
This is SO cute!! I still have my mom's old hairpin lace loom, but I've never used it. I nearly threw it away, now I'm glad I didn't as these are so pretty, I want to make some for my granddaughters right away! Thanks for a unique pattern, I don't think I've seen something like this before!
Seabiscuit0907
Aug 11, 2012
I like this one much better! It is so pretty, and I've always wanted to try hairpin lace, now I will have to!
RoseOfSharonDesign s2
Aug 11, 2012
This is so pretty and looks so easy! Can't wait to try it! :o)
eeeshouse
Aug 11, 2012
I've never seen hairpin lace configured like this! I love it (and most circular stitches) - wonder if I could work this into something else??!!
barbsadams 1423780
Aug 11, 2012
This is so pretty, the others look so false, perhaps I am not explaining myself properly, but, after looking at all the others, this one is by far the best! Barbs. X
JMitchell
Aug 05, 2011
For sbhappe34 and others who wish to print only the pattern without the other things shown on the same page, the following procedure works for some printers. Start at the pattern name and highlight the page content that you would like to print. Make sure your selection/highlight covers everything you want to print. For this pattern, I'd include all 18 photos in my selection. Then click the print button located at either the top or bottom of the pattern. When the print dialogue from your computer pops up, be sure to choose selection. This tells your printer that you only want to print the selected part of the page. Then click okay or continue, depending on what your printer dialogue says. This should help save ink and paper.
jancar101 1881946
Jul 28, 2011
You can get rhe hairpin lace loom-that's what it's called- at Hobby Lobby or online at hobbylobby.com. It will cost you #3.49 at a store or online but with $4.00 s/h thru 7/30.
thedomesticdunn 06 61440
Feb 06, 2011
You can purchase one of these frames at Joann's. I didn't find them on Joann's website, but my local store carried them in the same isle as crochet needles. You can also purchase them from Amazon.com - just search for hair pin lace loom.
2angelboys
Jan 13, 2011
Does anyone know where I can buy this hairpin frame? I have looked in my local craft store and they do not have it. I have even asked the sales clerk and she had no idea what it was. Can anyone tell me where I can buy it online?
sbhappe34
May 11, 2010
I wish these patterns were printer friendly. This way you print everything before and after. Lot of paper and ink wasted. This looks like excellent pattern. The instruction awesome. Hairpin lace I would be interested in learning. I bought a book once hardley any pictures.
ccmksel 3210177
Jan 05, 2012
to sbhappe34, you can highlight the pattern and copy and paste onto word or works and print it. Highlight only what you want and you will not have to waste ink or paper. You can also go into properties on your printer menu and check, black and white, to avoid using your color ink. Hope this helps
Member 3750563
Mar 15, 2010
Hola Me encanto las dos tecnicas para hacer la flor. Muchas gracias por el tutorial. Besitos.
Report Inappropriate Comment
Are you sure you would like to report this comment? It will be flagged for our moderators to take action.
Thank you for taking the time to improve the content on our site.