Guest Tutorial: Freezer Paper Stencil Fun
In this Guest Tutorial, Jaime Mitchell of Little Bird Creations shows us how to use freezer paper to create easy t-shirt stencils. Kids can help create shirts painted with their favorites animals or other shapes. Visit Jaime's Etsy shop to see her other inspired ideas and designs.
You can find this project and more kids' crafts in our free eBook, Family Fun Crafts: 16 Craft Ideas for Kids!
Materials:
- T-shirt
- Freezer paper
- Pencil or pen
- Exacto knife
- Acrylic paint
- Textile medium
- Foam craft brush
- Bowl or container to mix paint in
- Cardboard or shirt form
- Iron
- Pressing cloth
Directions:
First, take the shirt and wash and dry as it will be once finished and worn.
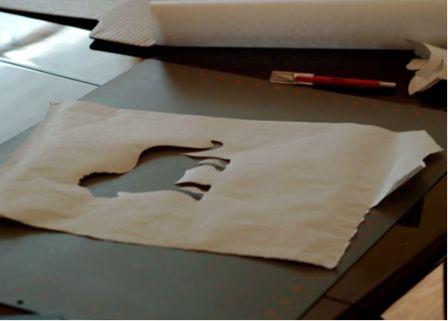
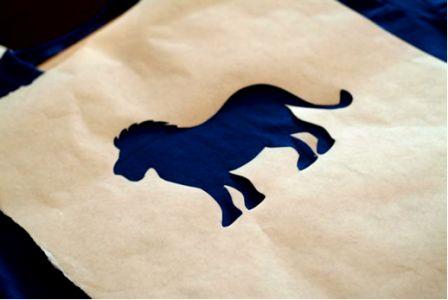
Next, take your freezer paper and draw/trace design of your choice on the “paper” side (not shiny) of the freezer paper. Then, on a craft surface, such as a craft cutting mat, cut out design with the exacto knife, being very careful. This part, as well as the iron and paint mixing is a job for parents to please supervise and help out with, depending on the age of the child.
Once design is cut out, take another piece of freezer paper and place it inside shirt, between the shirt and shirt form, with shiny side facing the inside of the shirt. Make sure to place it right under where you want to paint the design onto to help keep the paint from bleeding through.
Next, place the design, shiny side down on top of shirt. Position it as you would like. Then, with iron on cotton setting, iron freezer paper to shirt. You will only need to iron it about 2 to 3 seconds, just until it “sticks.”
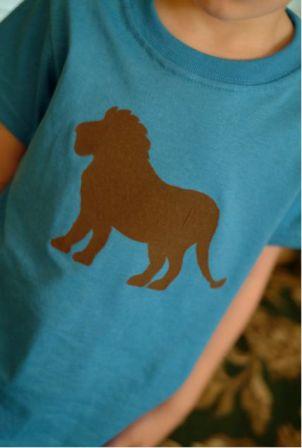
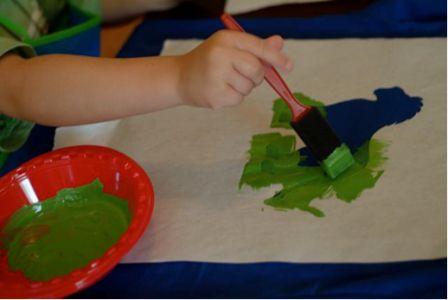
Now, you are ready to mix the paint! Take your paint and, depending on the color paint and shirt you are using, poor the amount of paint needed into the bowl or container. For the green lion shown on the blue shirt, it took about two coats of paint, so I used approx. 3 to 4 tablespoons if it were to be measured. However, I typically eyeball it. Next, following the manufacturers suggestion on the textile medium, mix together with paint.
Now for the fun painting part! Take your foam paintbrush, dip in the paint and start painting design onto shirt.
When finished, let dry overnight. Once drying is complete, you can gently remove the stencil and your freezer paper design will be revealed! Then, to heat set it, take your iron, on cotton setting again, and place pressing cloth over design and iron for a few seconds.
And Voila! A customized shirt is now ready to wear! Enjoy!
Read NextCute Felt Cat Craft
Your Recently Viewed Projects
Thanks for your comment. Don't forget to share!
jimlauri
Apr 29, 2012
Lowering the freezer compartment temperature excessively causes difficulties in maintaining above-freezing temperature in the refrigerator compartment.Domestic freezers can be included as a separate compartment in a refrigerator, or can be a separate appliance.Multidecks
Caticakes
Aug 19, 2011
Perfect rainy day project for my grandsons 5 & 7. They love hands-on activities...and the fact that they can wear it will be a bonus. Thanks!
Report Inappropriate Comment
Are you sure you would like to report this comment? It will be flagged for our moderators to take action.
Thank you for taking the time to improve the content on our site.